Leaf Wax Paper Bags
I love fall. I love the colors, the crisp air, the turning of the leaves, and the earlier sunsets. I also love the anticipation of the holidays buzzing in the air. This is about the time I also start to think about making treats and how to package them. I naturally gravitate toward using things found in nature in my packaging projects. Lately, I’ve been collecting leaves on my morning walks. The colors are so glorious I knew I wanted to make something with them but wasn’t sure what. I’m always looking for new gift wrapping and packaging ideas. I’m a packaging-lover to the max. When I was little, it was my dream job to work in the gift wrapping department at Macy’s. (Do they even offer that service anymore? Did I just date myself?) And I’m sure that’s not what my parents had in mind when they were paying for my college tuition, ha!
Anyway, back to the project. As I was pondering what to make with all these beautiful leaves, I saw this great post from A Pretty Life in the Suburbs . I knew I had to try it. In order to use all the pretty leaves I’ve collected, instead of making wrappers, I decided to make paper bags. This is a super fast, easy, and cheap (yay!) project. Once you know the process, make a whole bunch and use them to pass out holiday treats and gifts. It would also be great for party favor bags!
As a side note, I found that you get a cleaner product if you press the leaves first. Just place the leaves between parchment paper and place it in between a heavy book overnight.
Alright, you ready?
You need:
3 same size pieces of Wax Paper
Leaves (preferably flattened)
Xacto knife (or scissors)
Iron
Sewing Machine
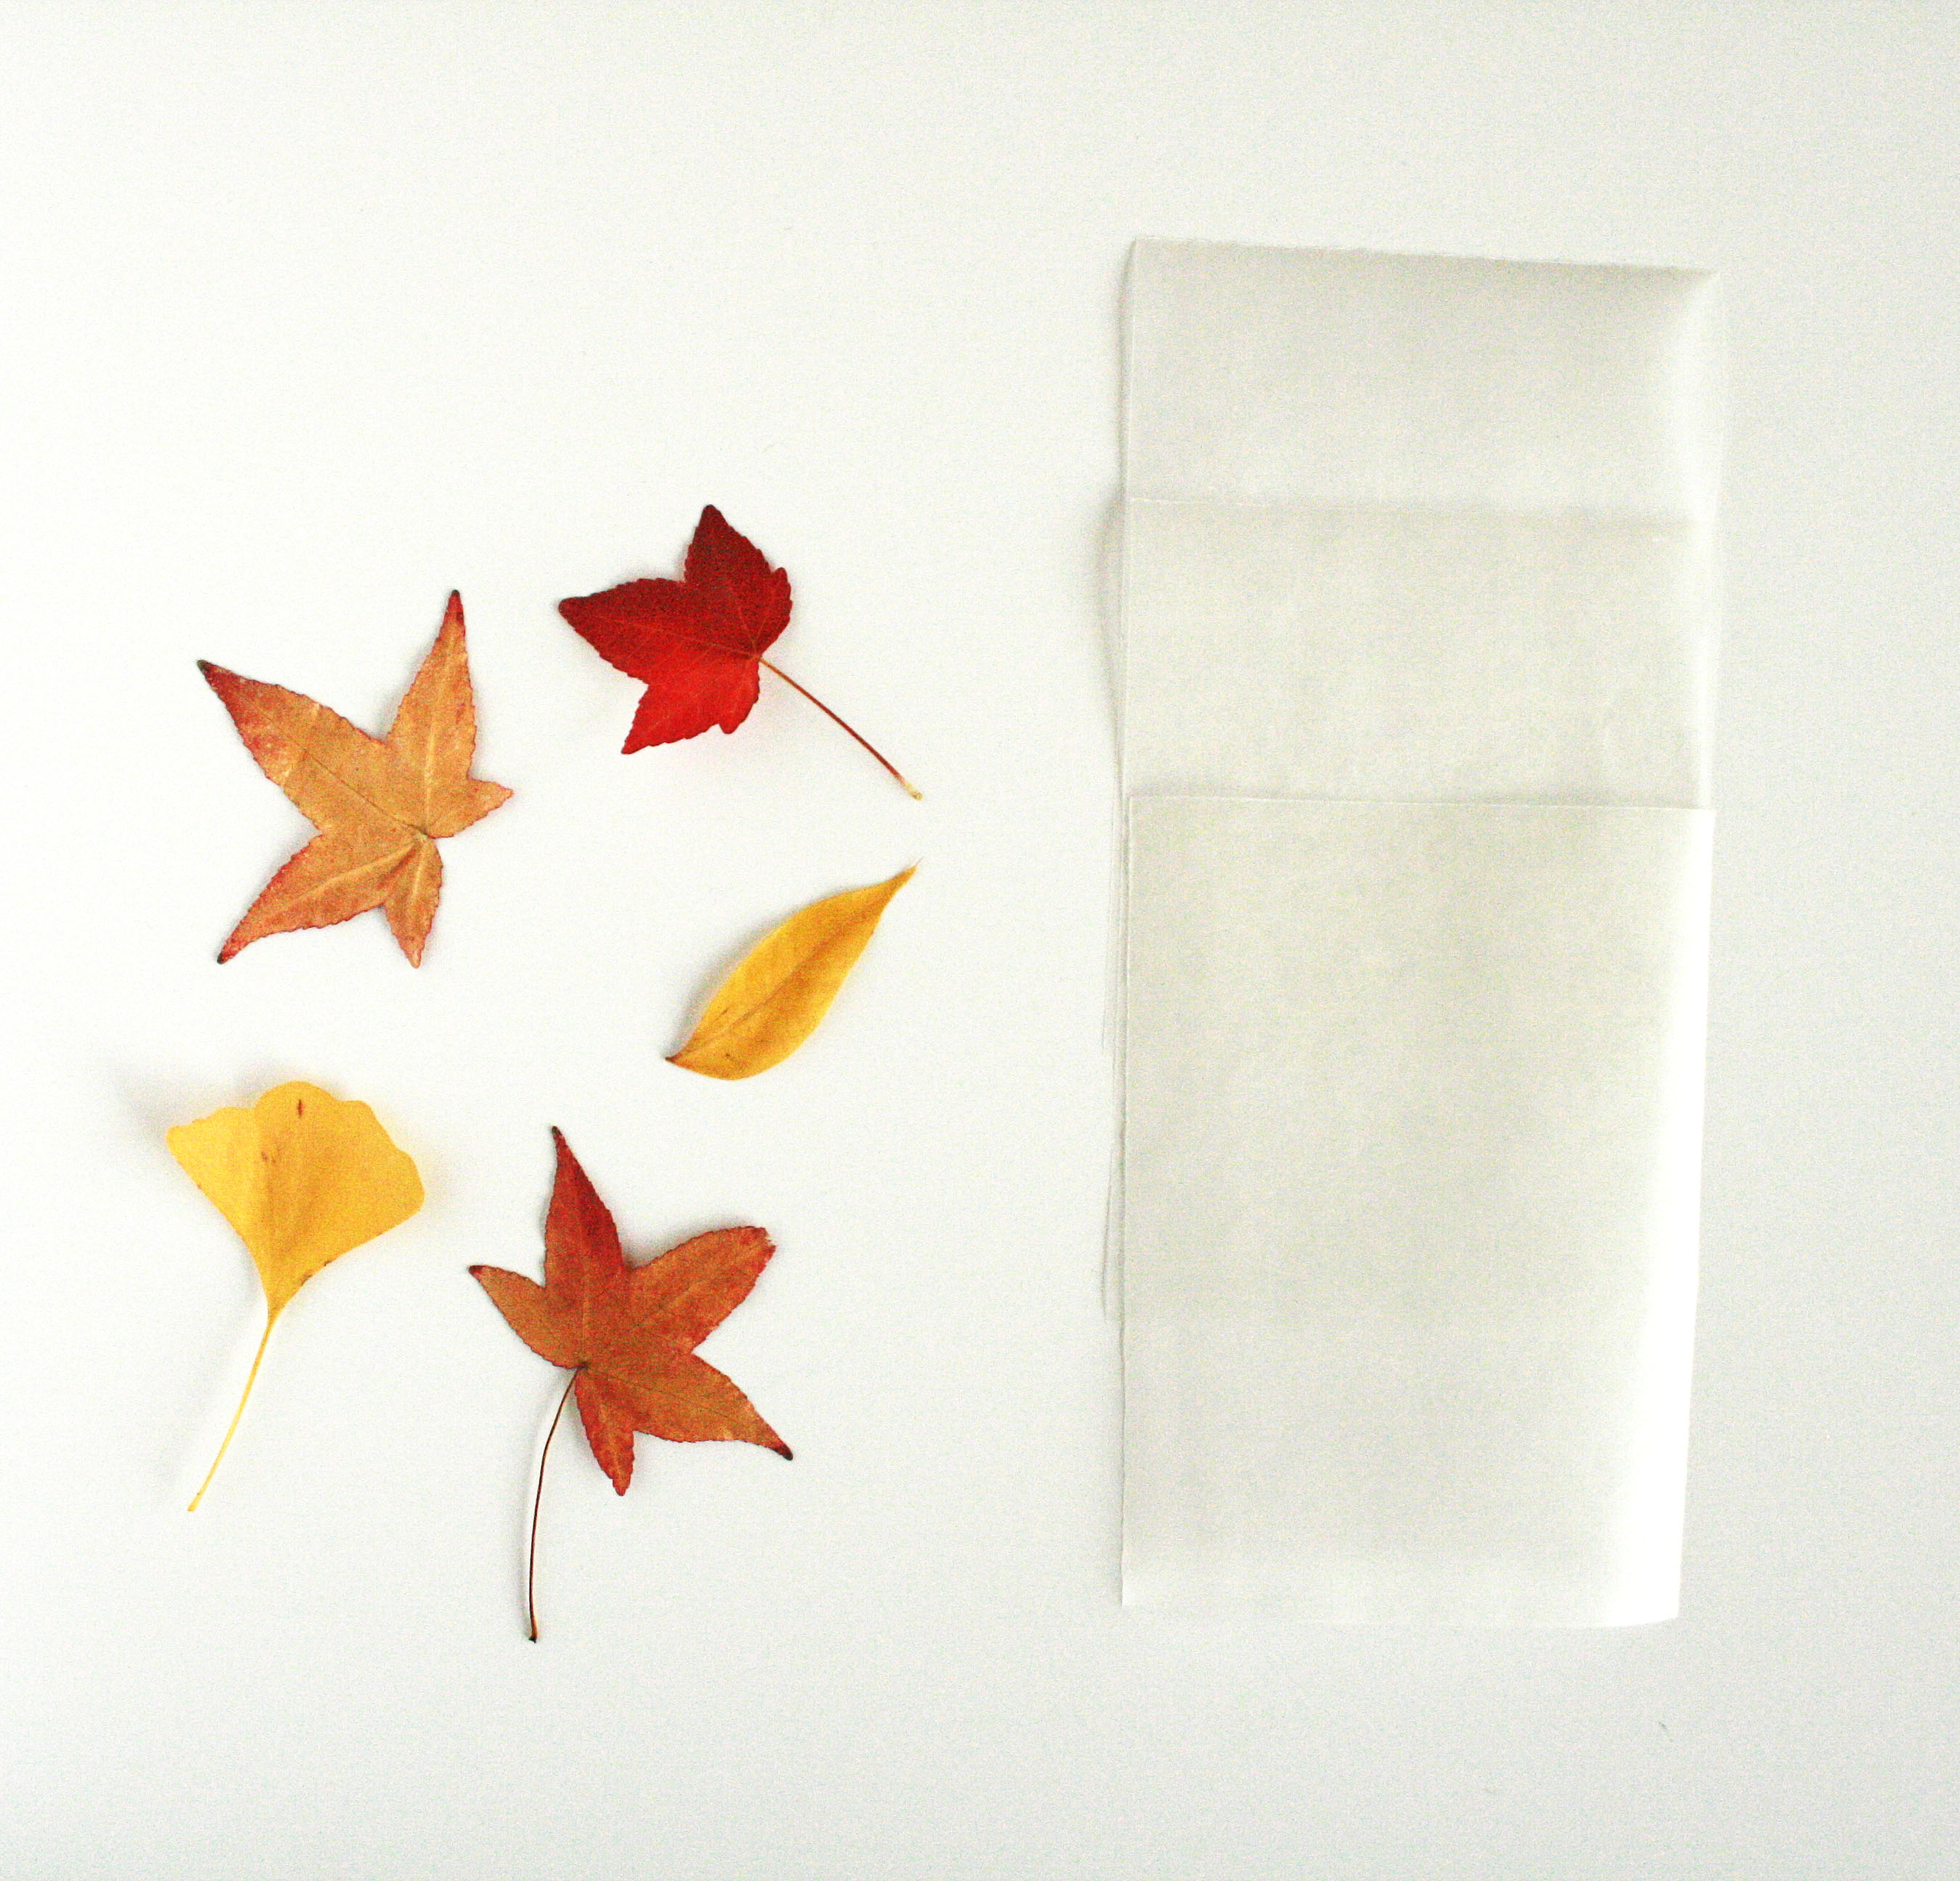
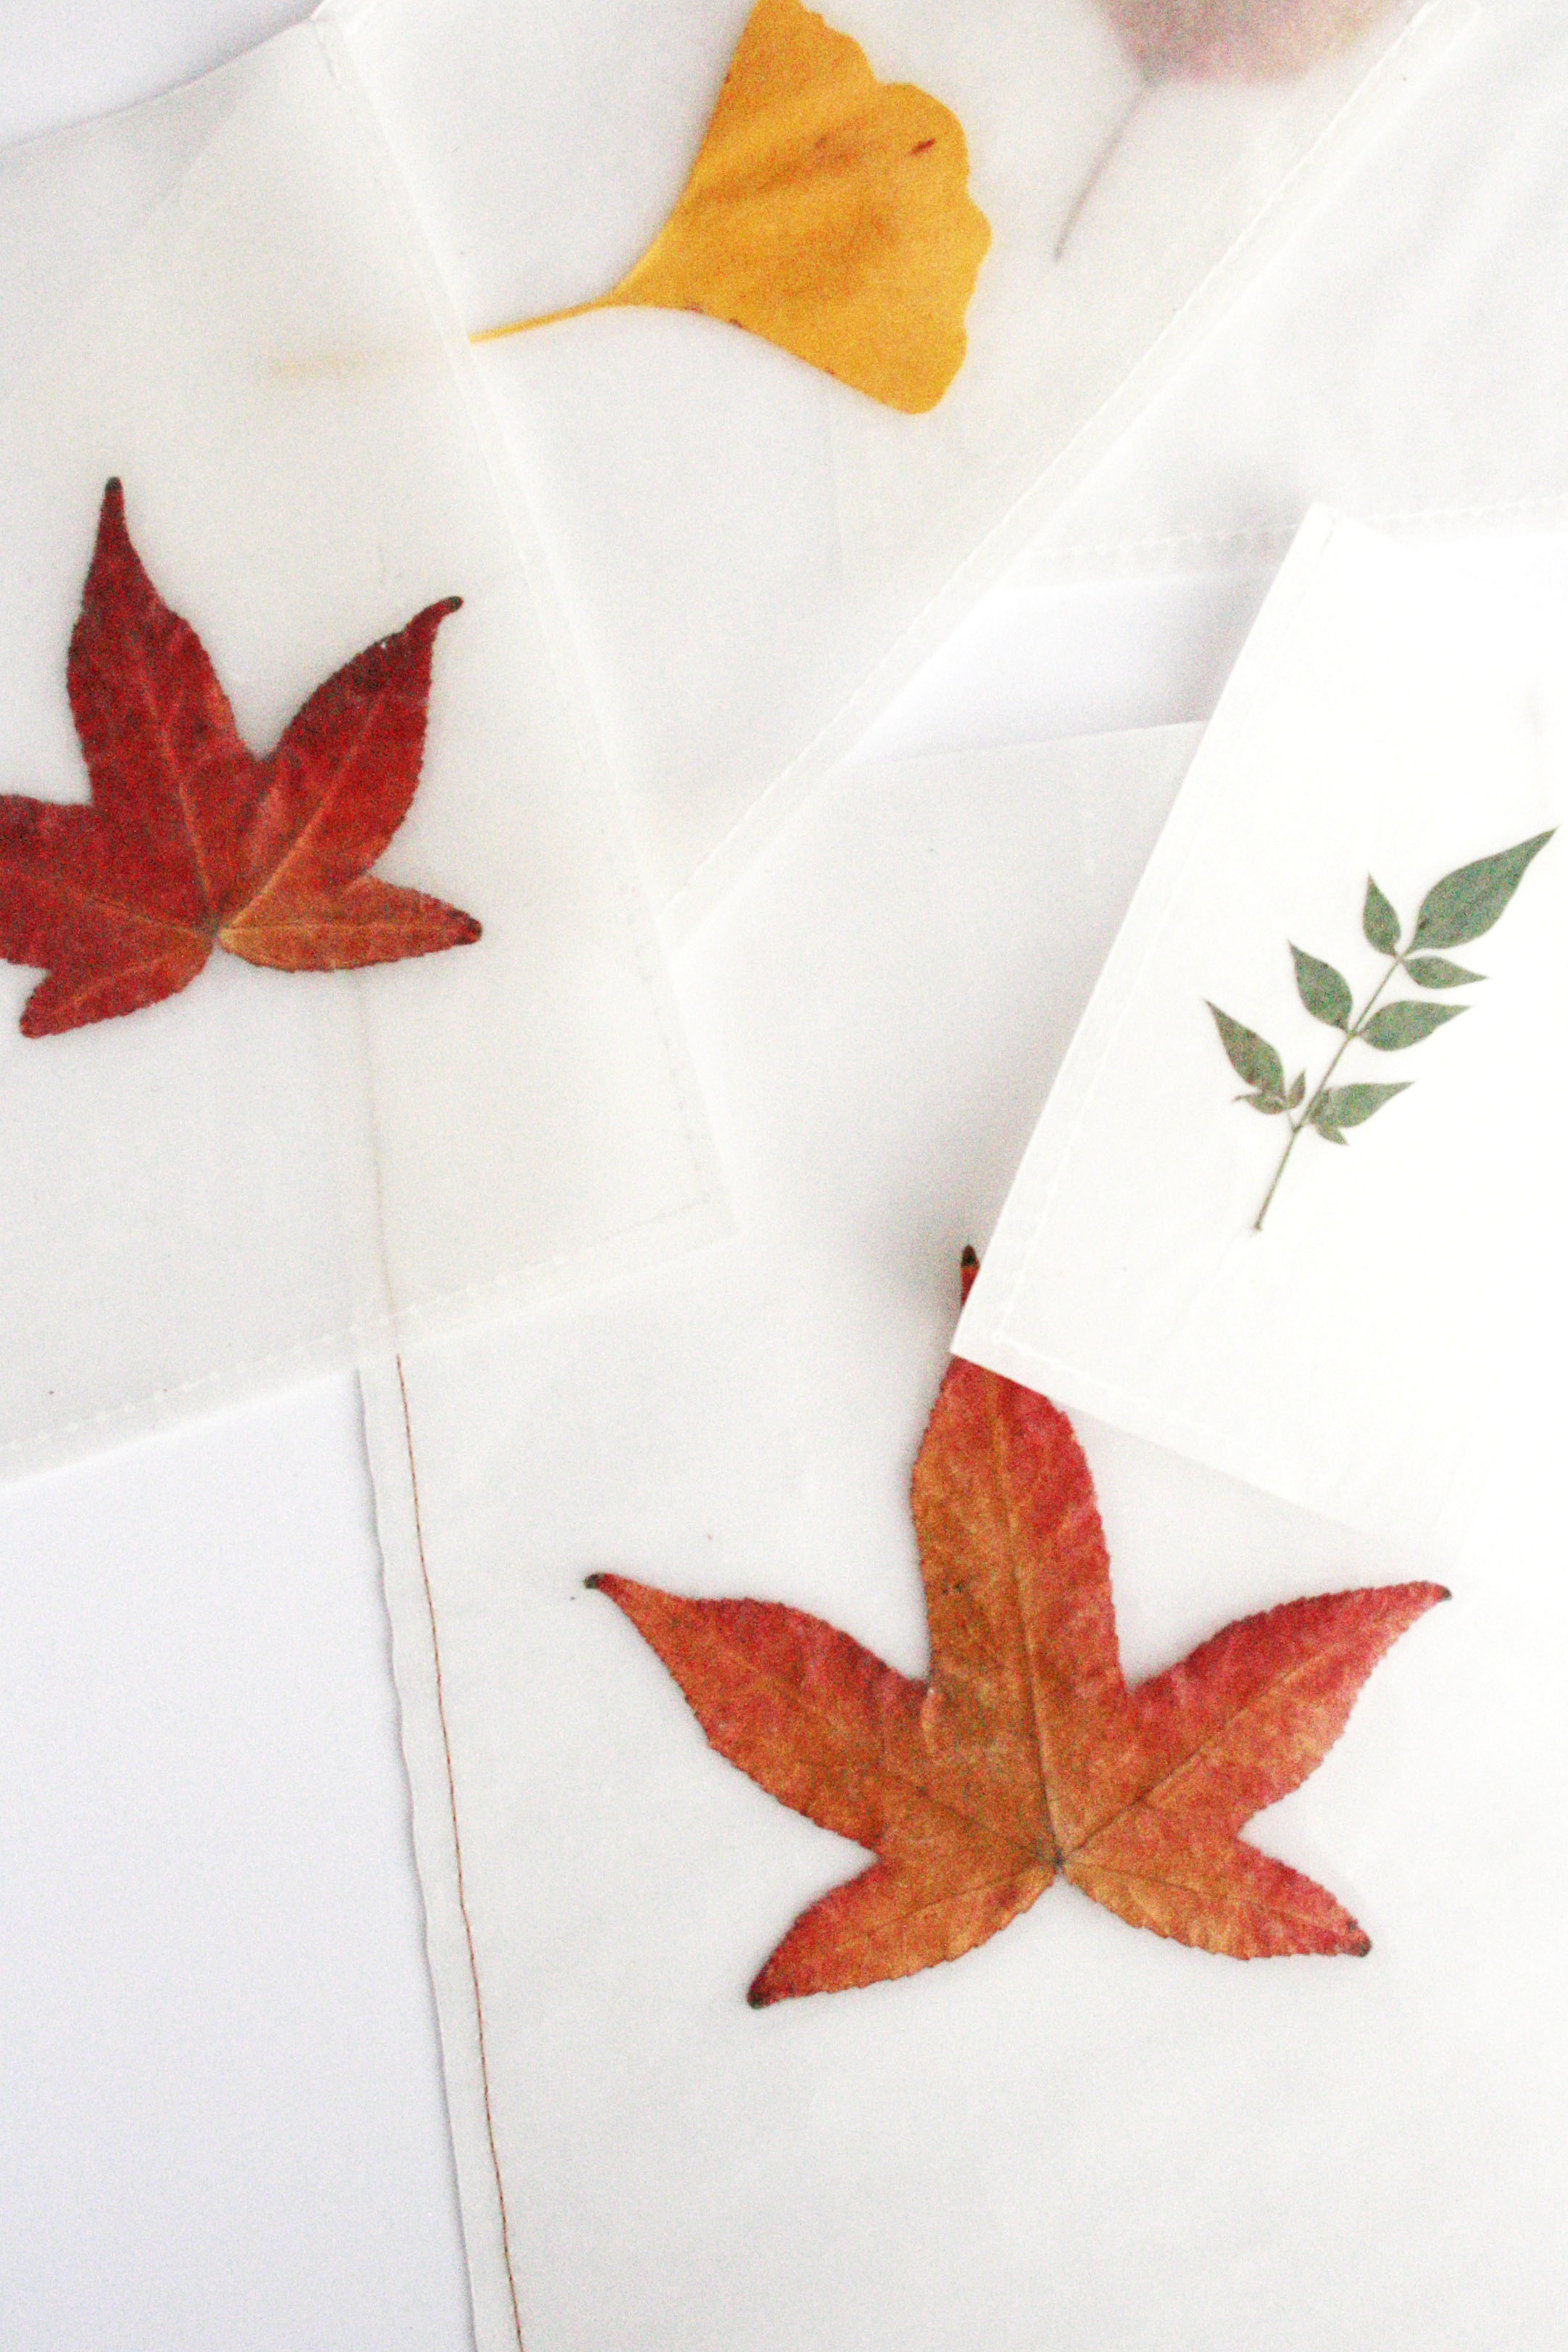
- Cut your wax paper into desired size. You will need 3 sheets of the same size. I cut mine to 5″ x 7″.

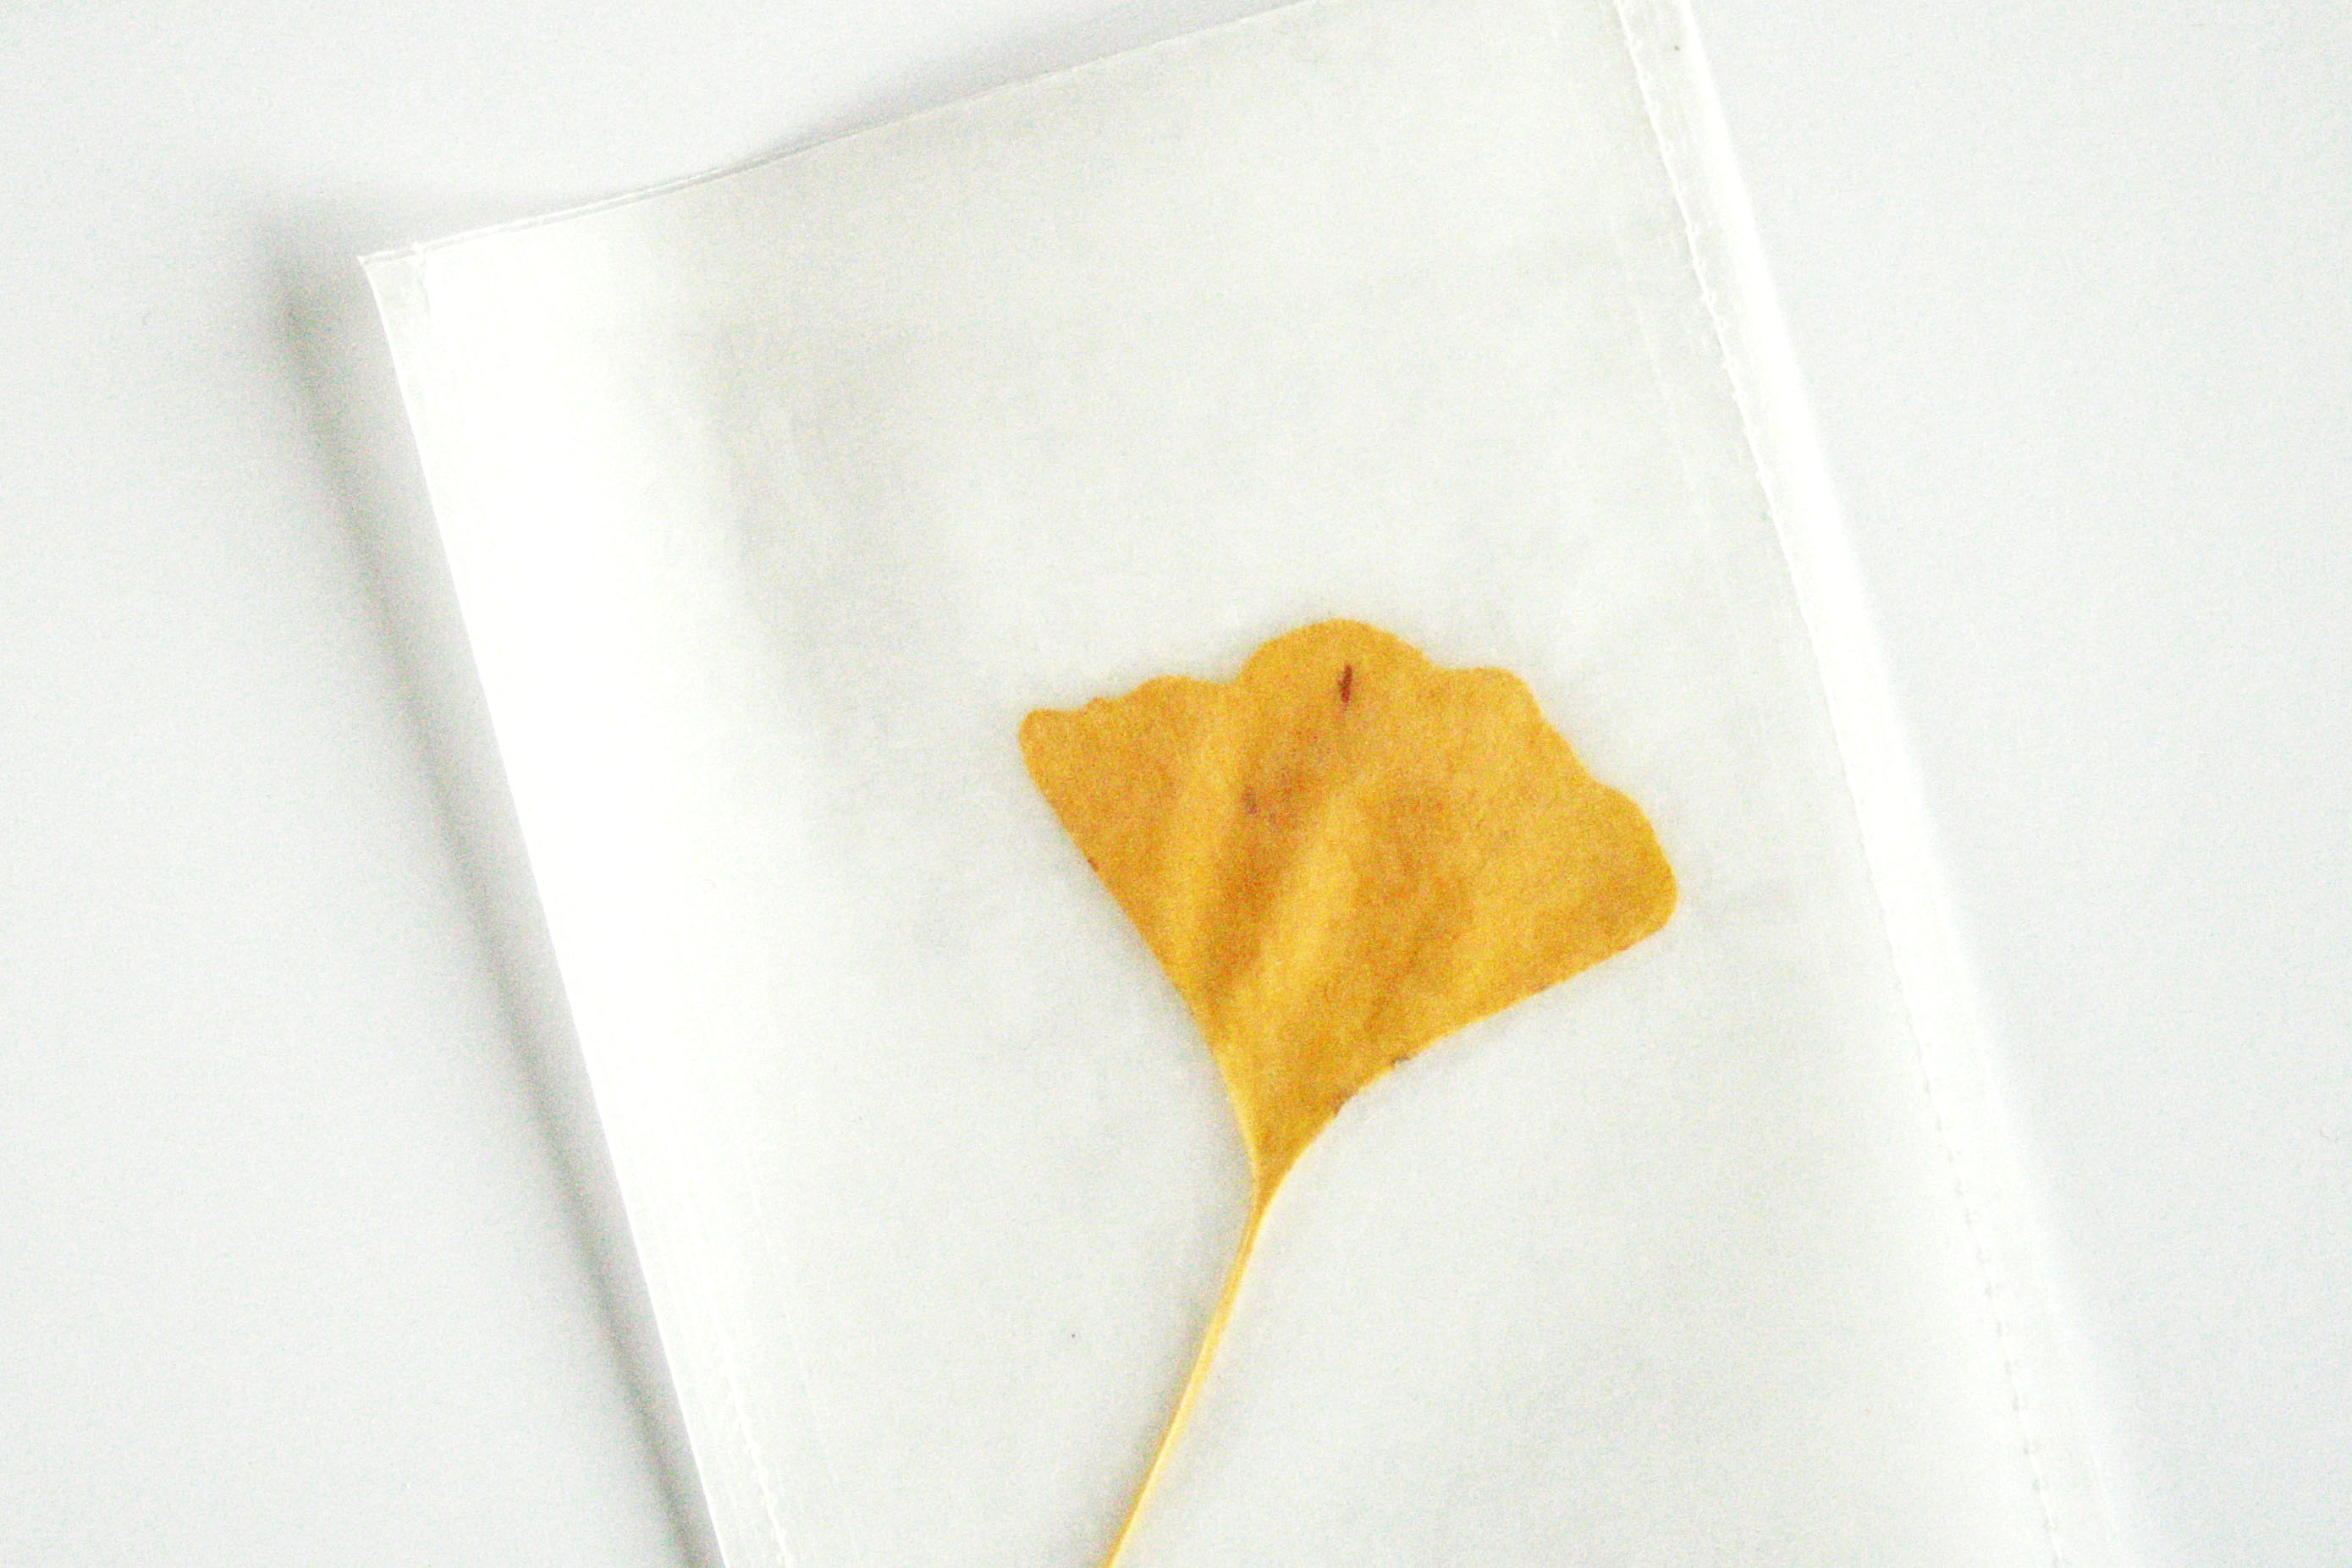
2. Turn your iron on to low setting. On your ironing board, place the leaf between 2 sheets of wax paper. Place a piece of fabric on top of your wax paper to protect your iron. Gently iron. It doesn’t take much heat or time at all. Iron for about 5 seconds and check your paper to see if it adhered to each other. (Too much heat will turn your paper stiff and create “wrinkles”. If this happens, you’ll need to start over.)

- Place your “leaf” paper on top of the third piece of wax paper. Sew around the edges. If you’re using a straight stitch make sure to back stitch at the beginning and at the end.
That’s it! It’s ready to be filled with goodies! Easy, right?
Now that you know the process, just let your imagination run wild! Play with different leaves, sizes and stitching color.


If you’re feeling lazy or just don’t have a sewing machine, you can still make this pretty bookmark. Just do steps 1 and 2. Or make a larger one and turn it into wrapping paper as illustrated in A Life in the Suburbs.


Happy crafting!
I love this idea, I wonder if you could use it to make light shades (for non heat bulbs?) although knowing me, I’d get stuck at the book mark stage!
Ooh, that sounds like a great idea!
Nice! If you are interested in packaging please check my blog #PKGSP | Packaging specialist | packagingspecialist.eu/blog
Thanks
i will check it out. thank you for stopping by!