Teacher Appreciation Week 2015
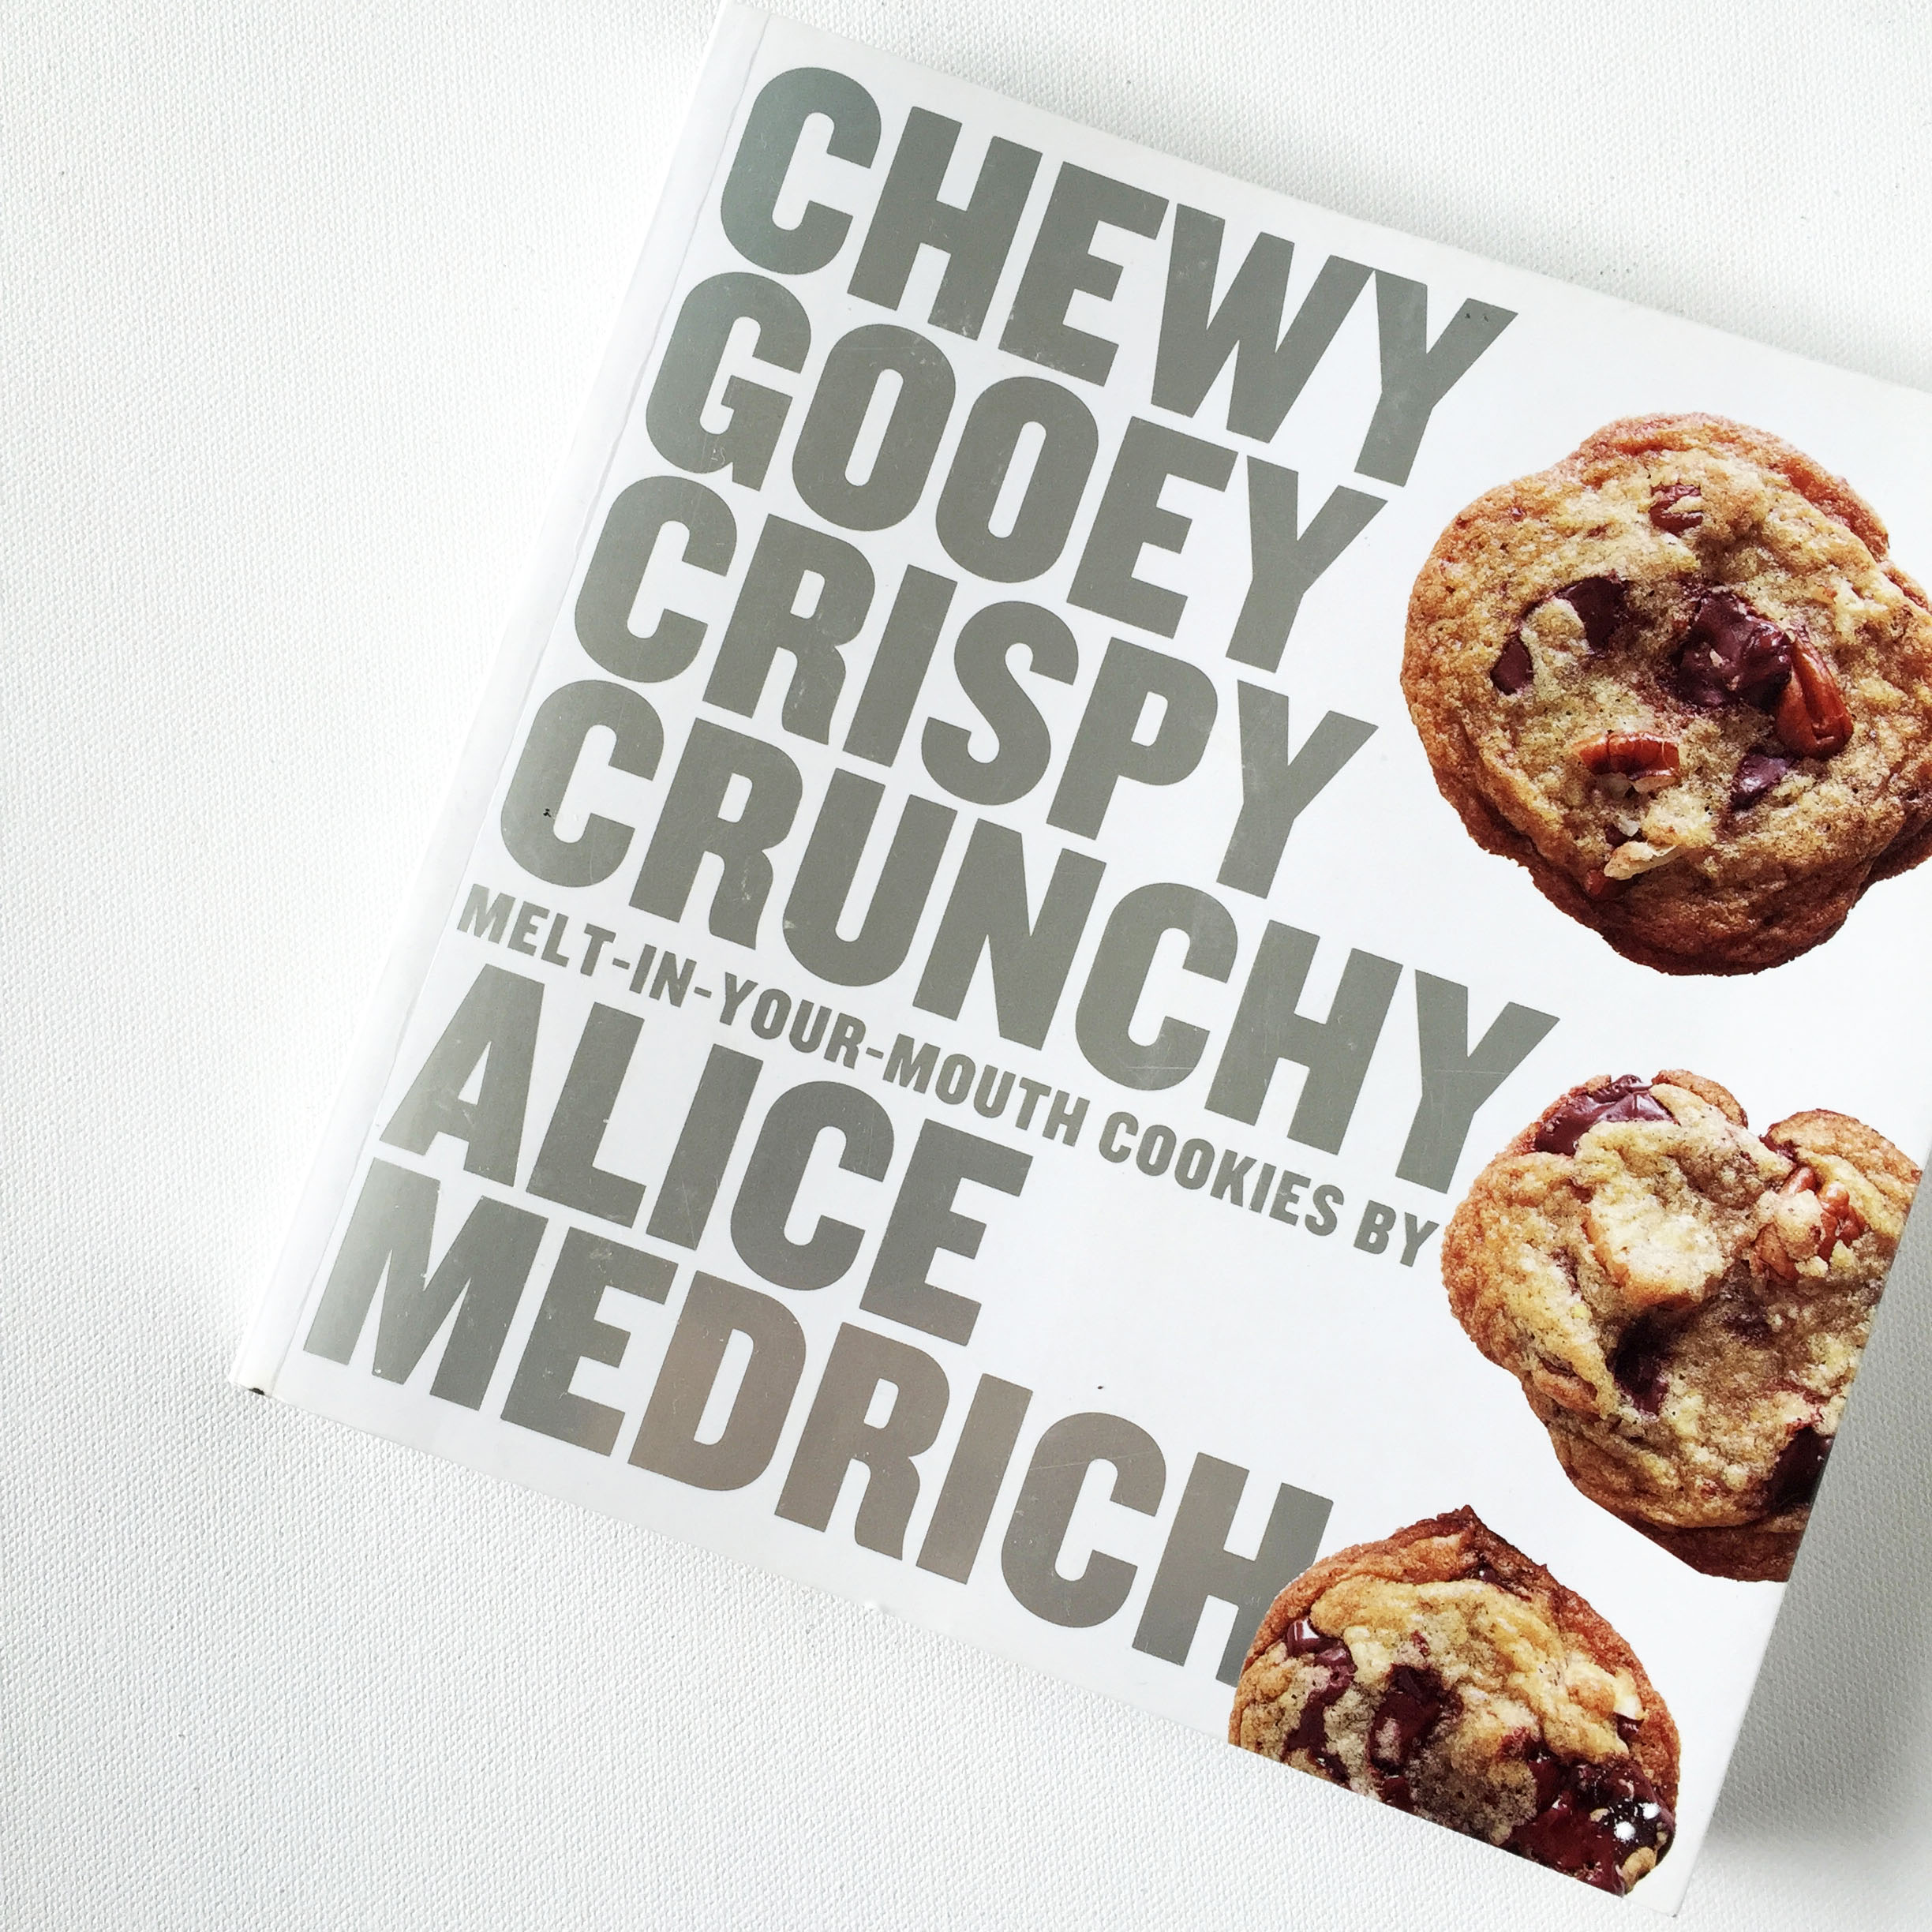
 This week is Teacher Appreciation Week. It’s time to acknowledge the wonderful teachers in our kids’ lives and all the hard work they do. Since we’re getting one big gift as a class to our teacher Ms.Ryan, I decided to make a small treat as a side gift. After all, who doesn’t like something little sweet? This book by Alice Medrich is a great book. It has so many great recipes. These rocky road bars are not only delicious but really easy to make. In fact, it’s so easy you can get your kids involved.
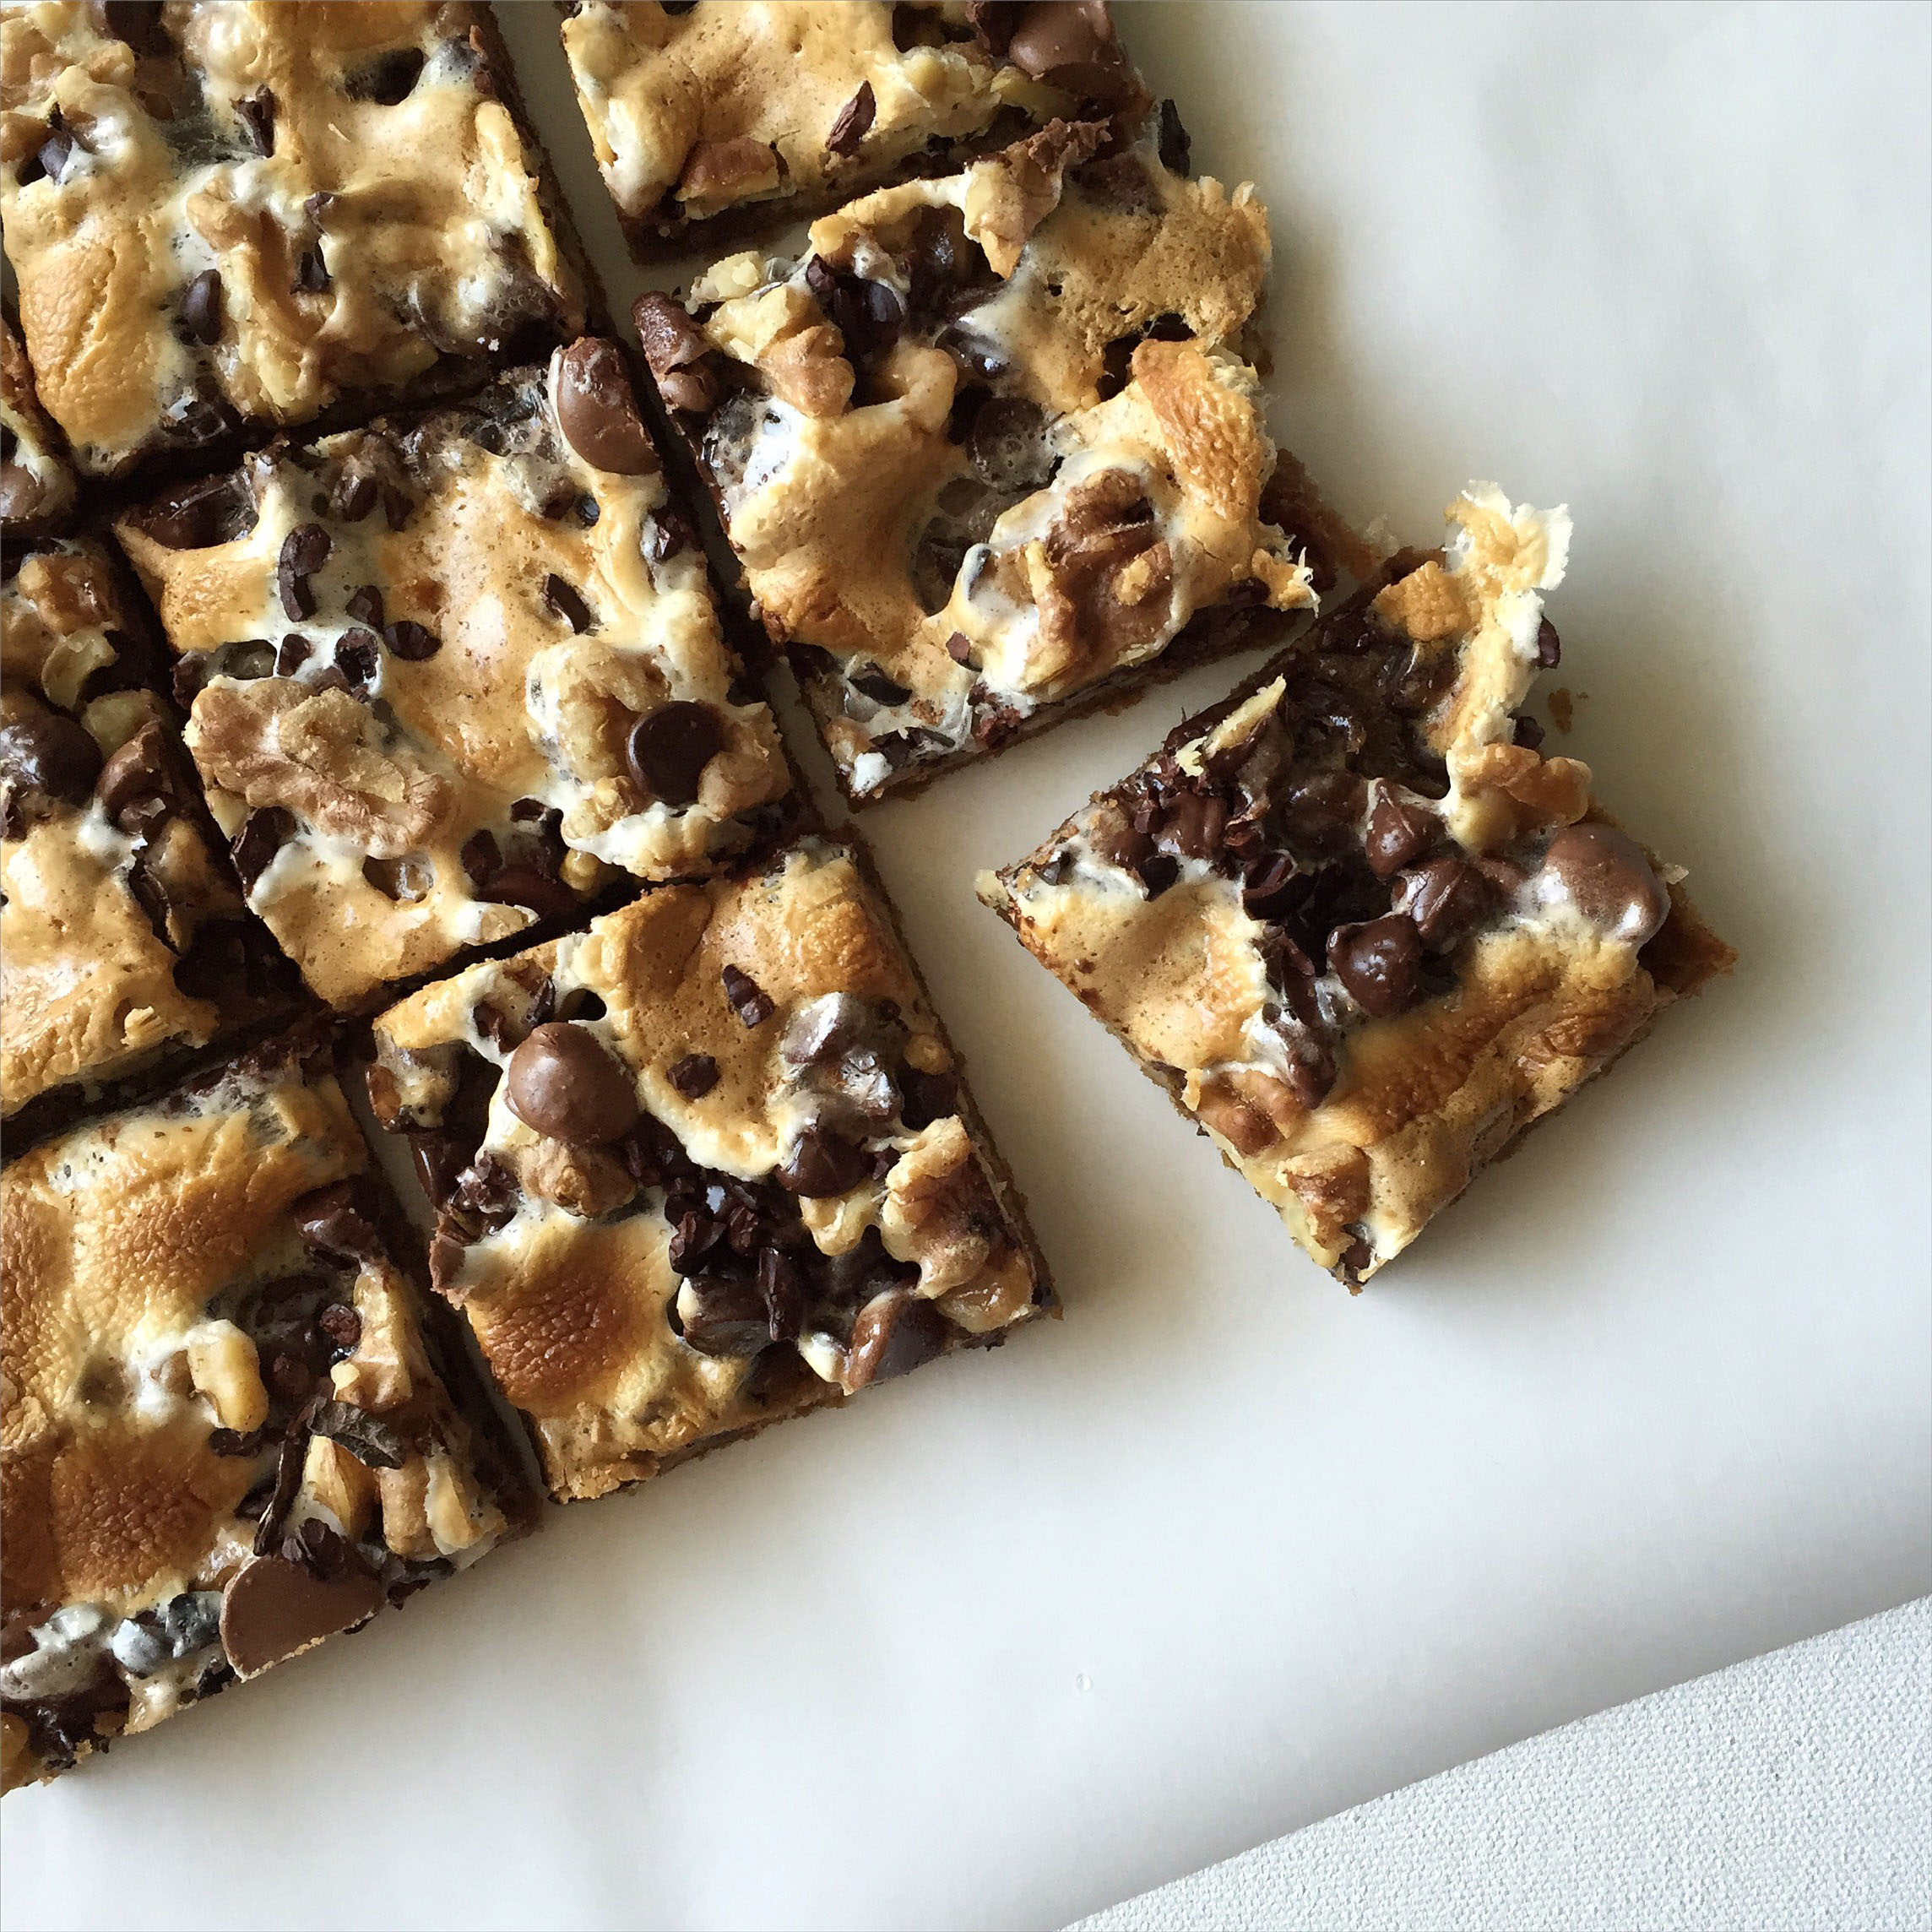
I made a little grown up version of rocky road bars. I used mixture of milk, semisweet, and bittersweet chocolates for flavor complexity, and so that it won’t be overly sweet. I also added cocoa nibs for more texture and bitterness to balance out the sweetness. Lastly, I grated some cinnamon stick over the bars once they came out of the oven. The result is more complex and interesting rocky road bars. These additions are all optional, of course. Please feel free to play around with the toppings. I, myself, am going to also make some with pretzels instead of walnuts to make nut-free version.
Rocky Road Bars adapted from Alice Medrich
Ingredients
6 T (3/4 stick) unsalted butter, melted
1 1/2 c. (5 oz) fine graham cracker crumbs (made from about 9 double graham crackers, see directions)
1/4 c. (1.75oz) sugar
1 c. (3.5oz) walnut halves or large pieces
12 regular marshmallows, quartered (use oiled knife to cut)
1 c. (6oz) milk chocolate, semisweet chocolate or bittersweet chocolate (or combination)
1/4 c. cocoa nibs (optional)
cinnamon stick, grated (optional)
Directions
Line 8 inch square pan with foil. Make sure bottom and all 4 sides are lined. Preheat oven to 350 degrees. Position racks in the upper and lower thirds of the oven.
In the food processor, grind up graham crackers until fine crumb consistency. Add sugar and pulse. Add the melted butter. Pulse until crumbs are moistened. Turn the mixture into the lined pan and spread it evenly, pressing firmly all over the bottom to form a crust. Scatter half the nut pieces evenly over the crust.
Bake on the lower oven rack for about 10 minutes, or until the crust turns golden brown. Remove from the oven and scatter the marshmallows, chocolate chips, remaining walnuts and cocoa nibs, if using. Turn the oven to 375 degrees. Return the pan to the oven on the upper rack, and bake for 10-12 minutes, until the marshmallows are golden brown and merged with one another. If using, grate cinnamon stick over the top. Set on a rack to cool completely. Lift the ends of the foil liner and transfer the bars to the cutting board. Use a long sharp knife cut into sixteen 2-inch bars. May be kept in an airtight container for 4-5 days.
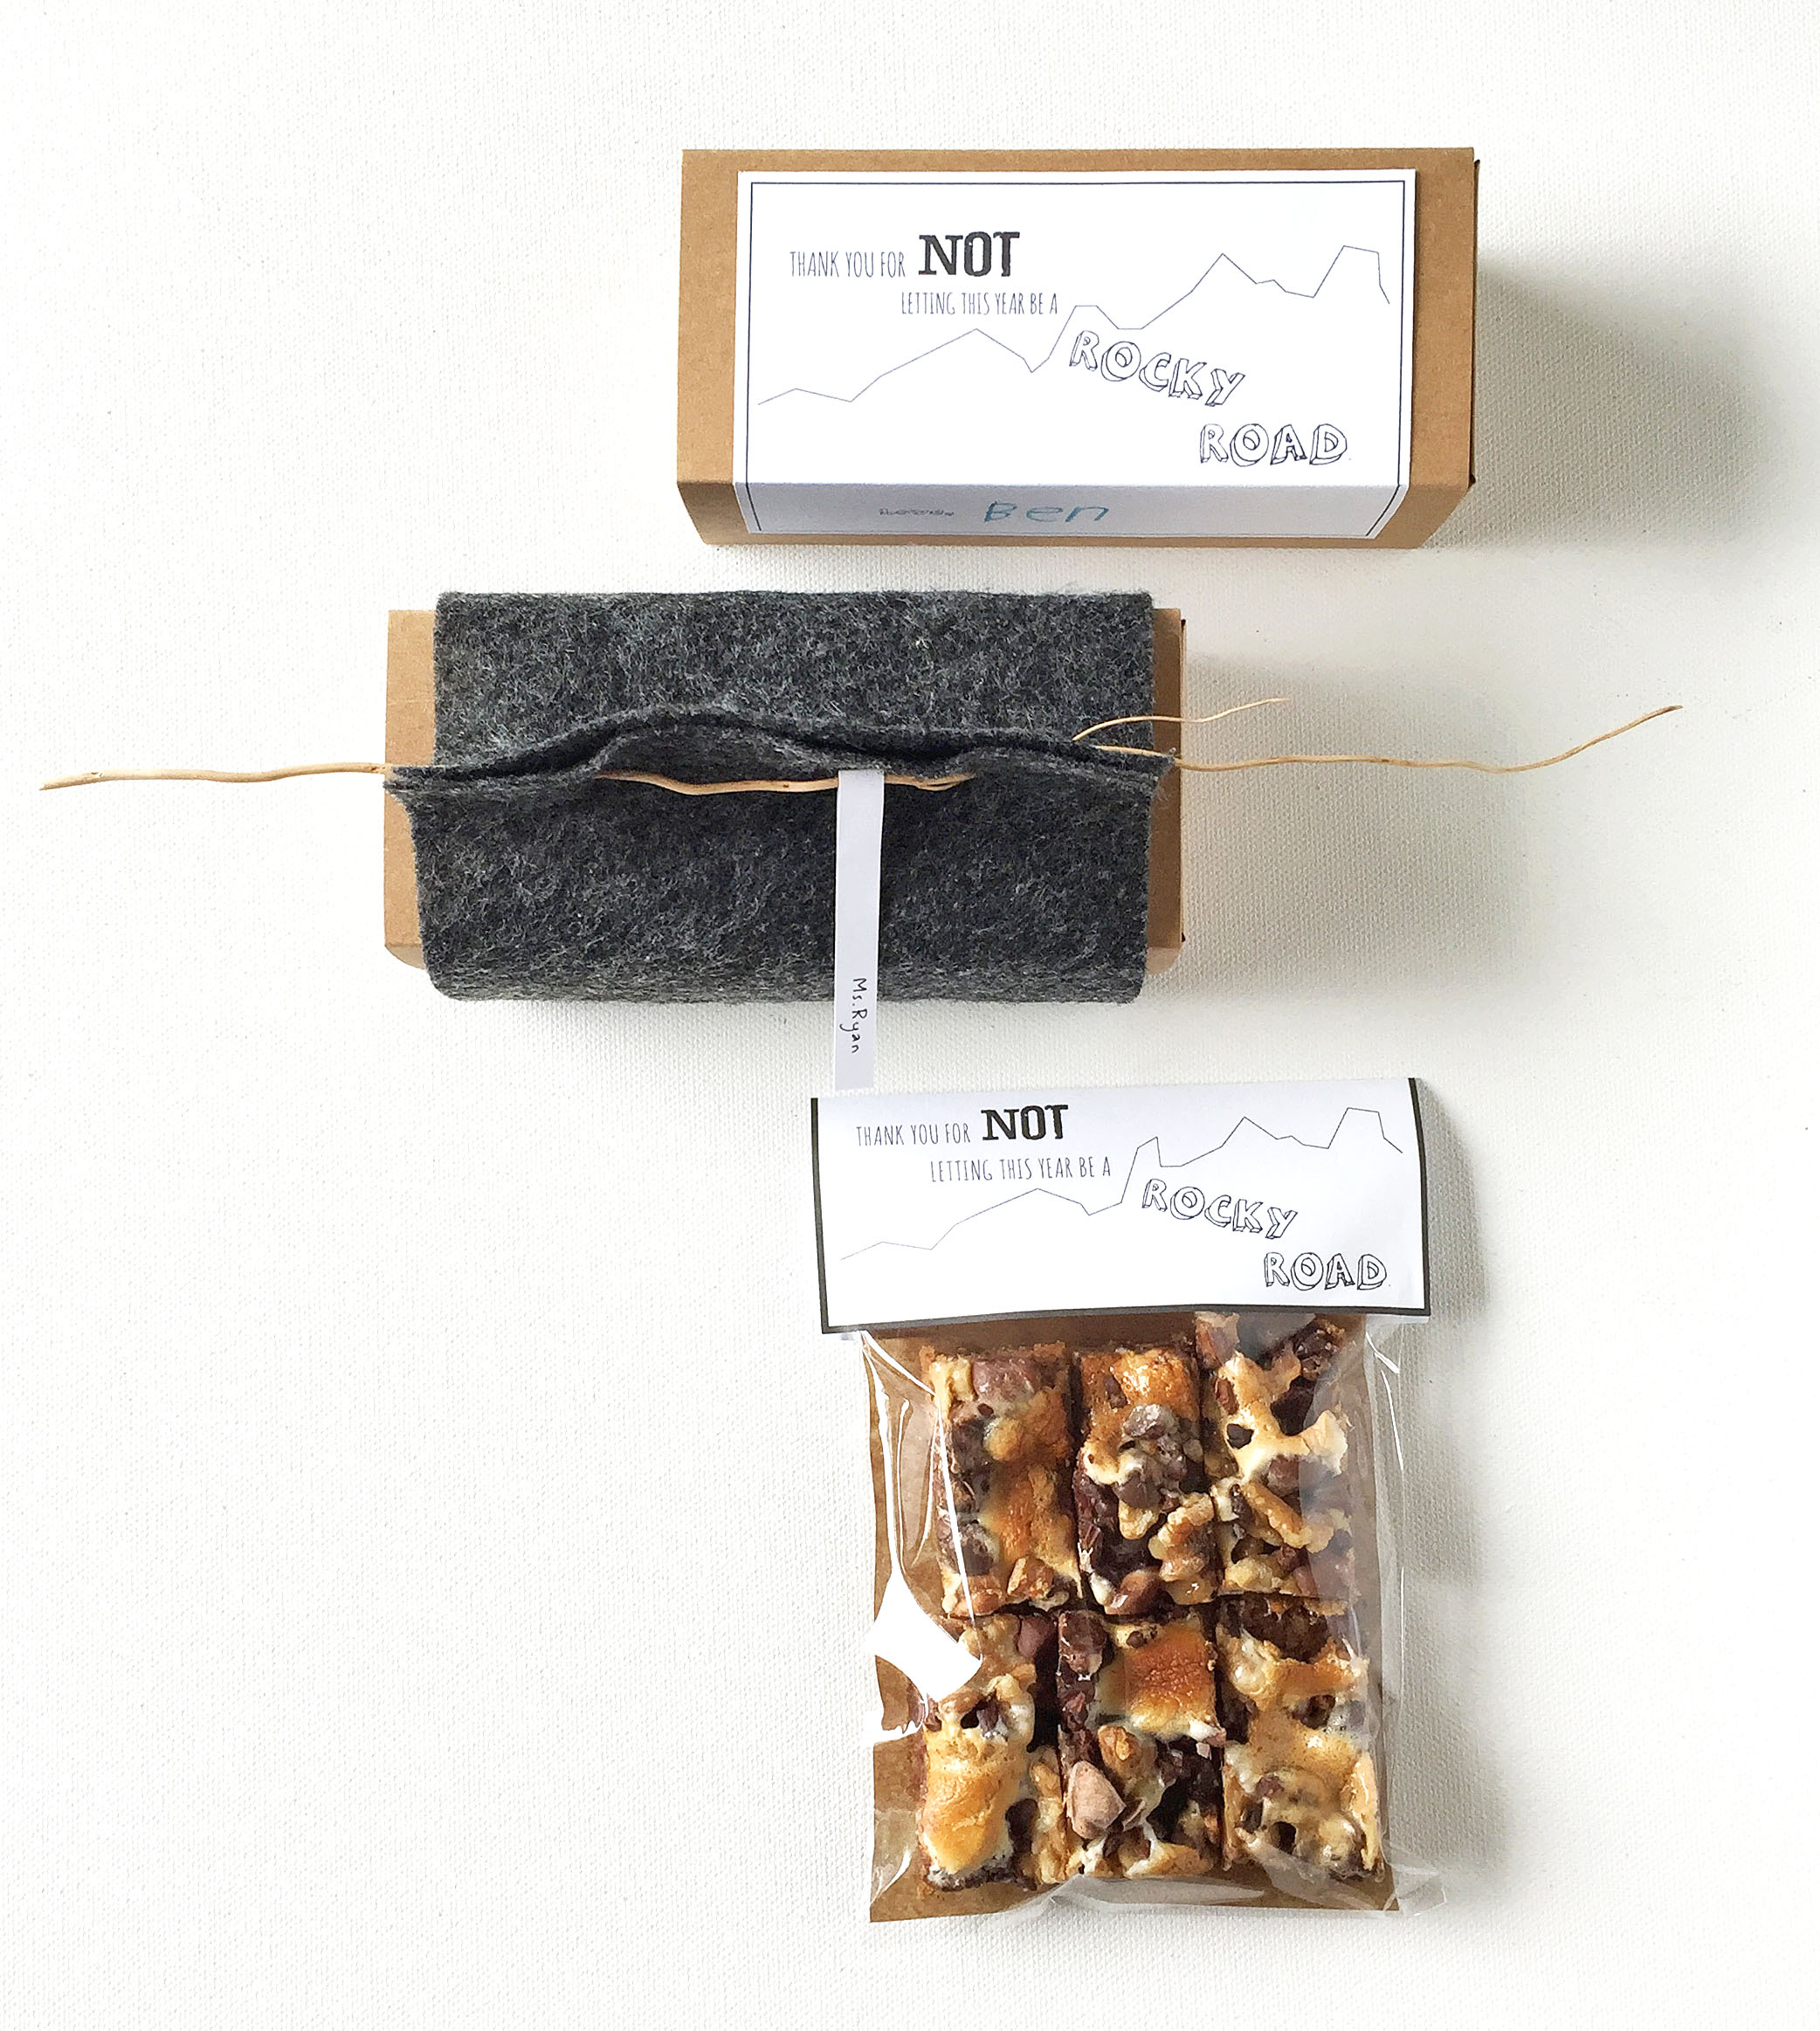
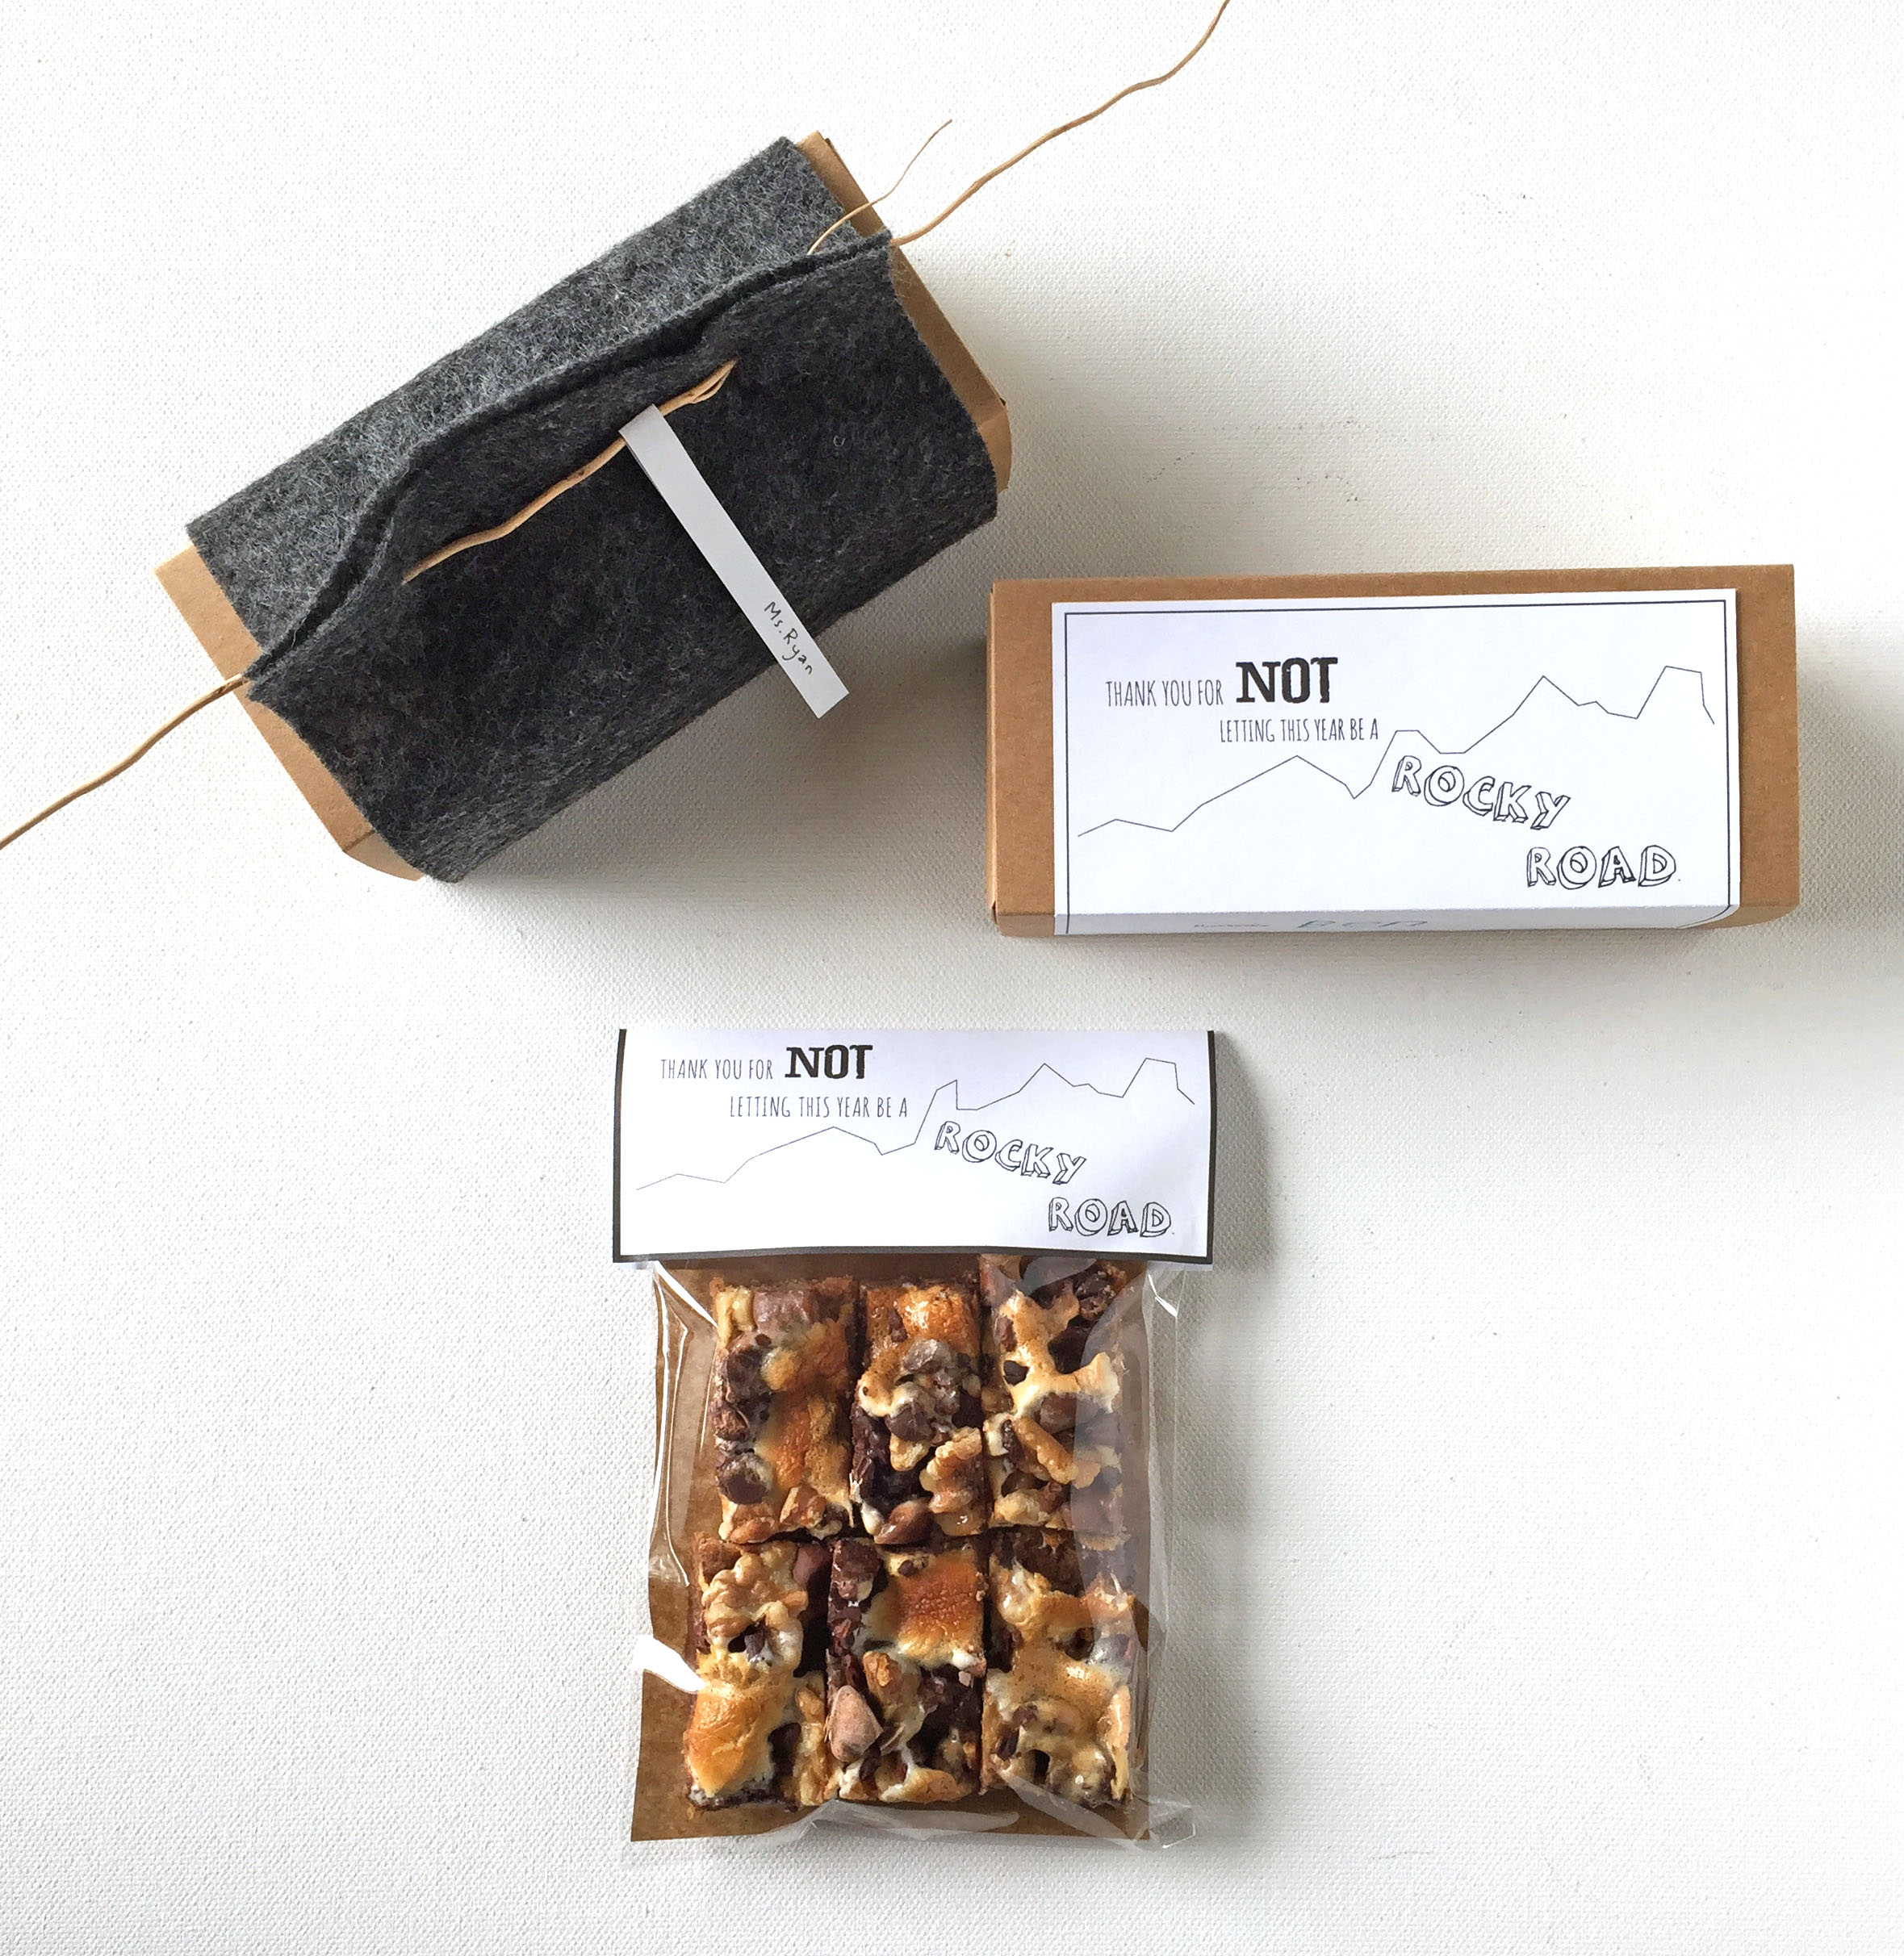 Once you have the bars all cut, they’re ready to be packaged up. This is my favorite part. Packaging up goodies doesn’t have to be complicated or pricy. Here are 3 simple ideas. All these ideas are inexpensive and easy to do. I promise!
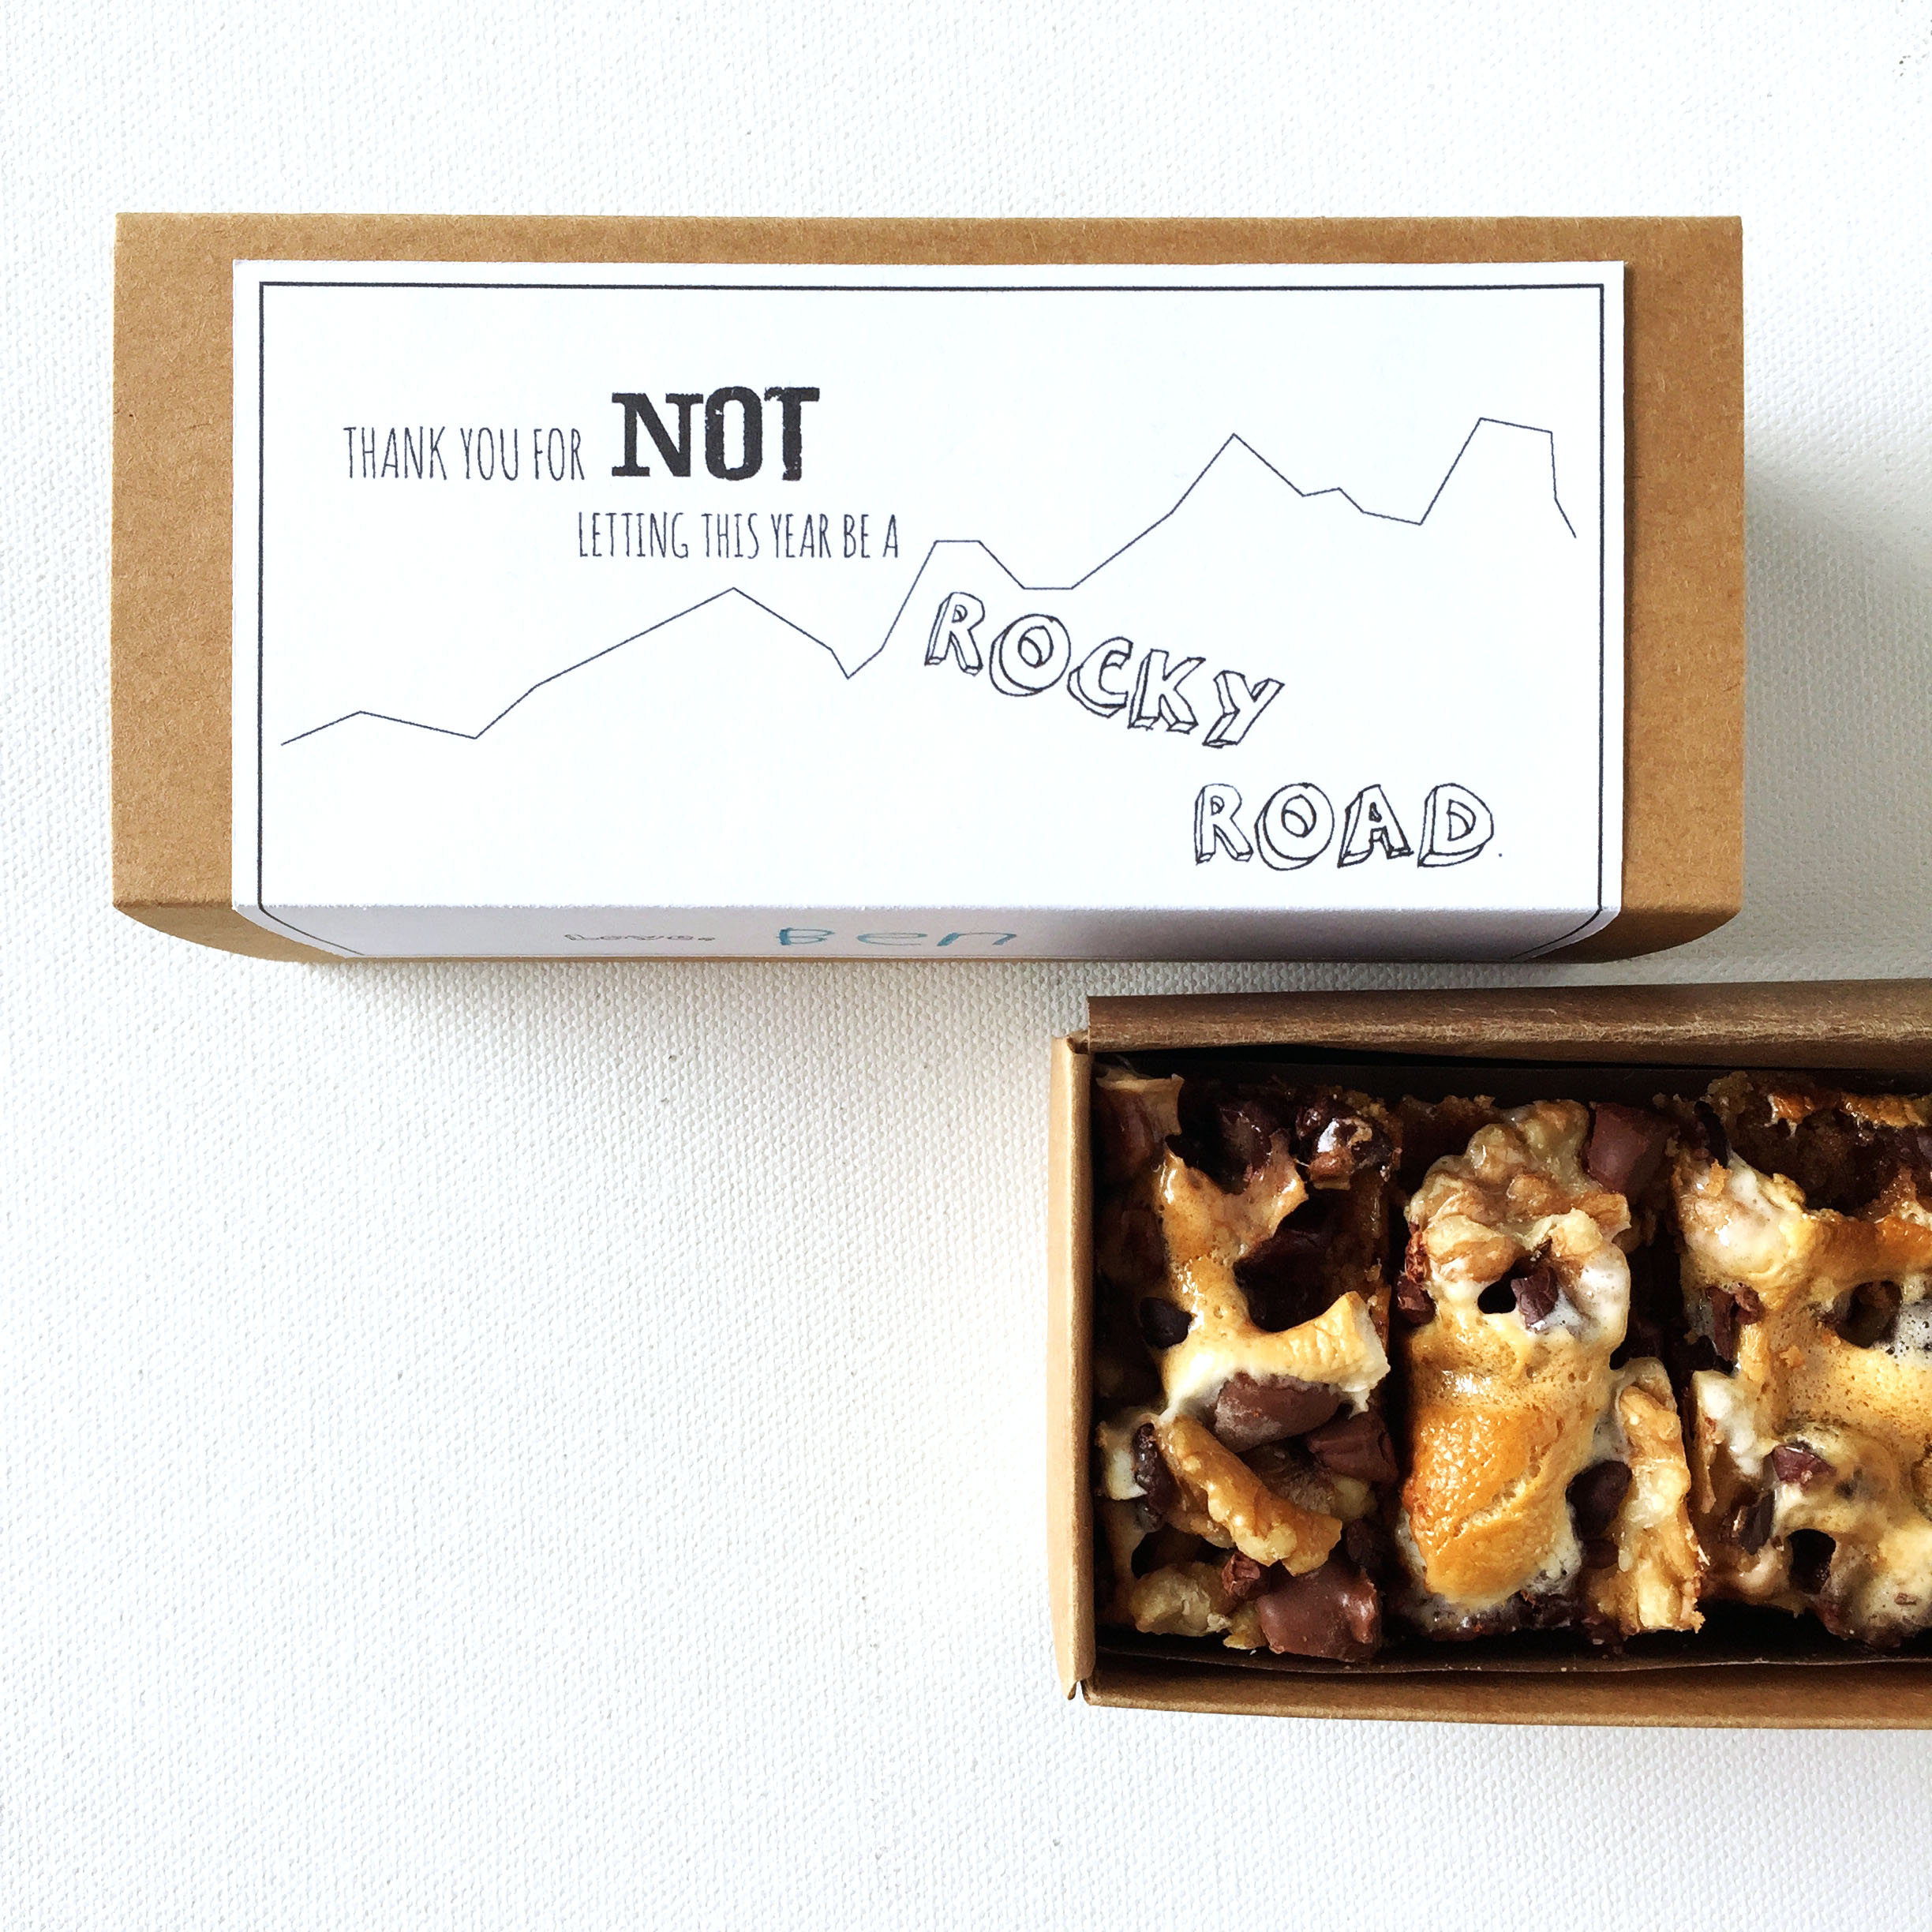
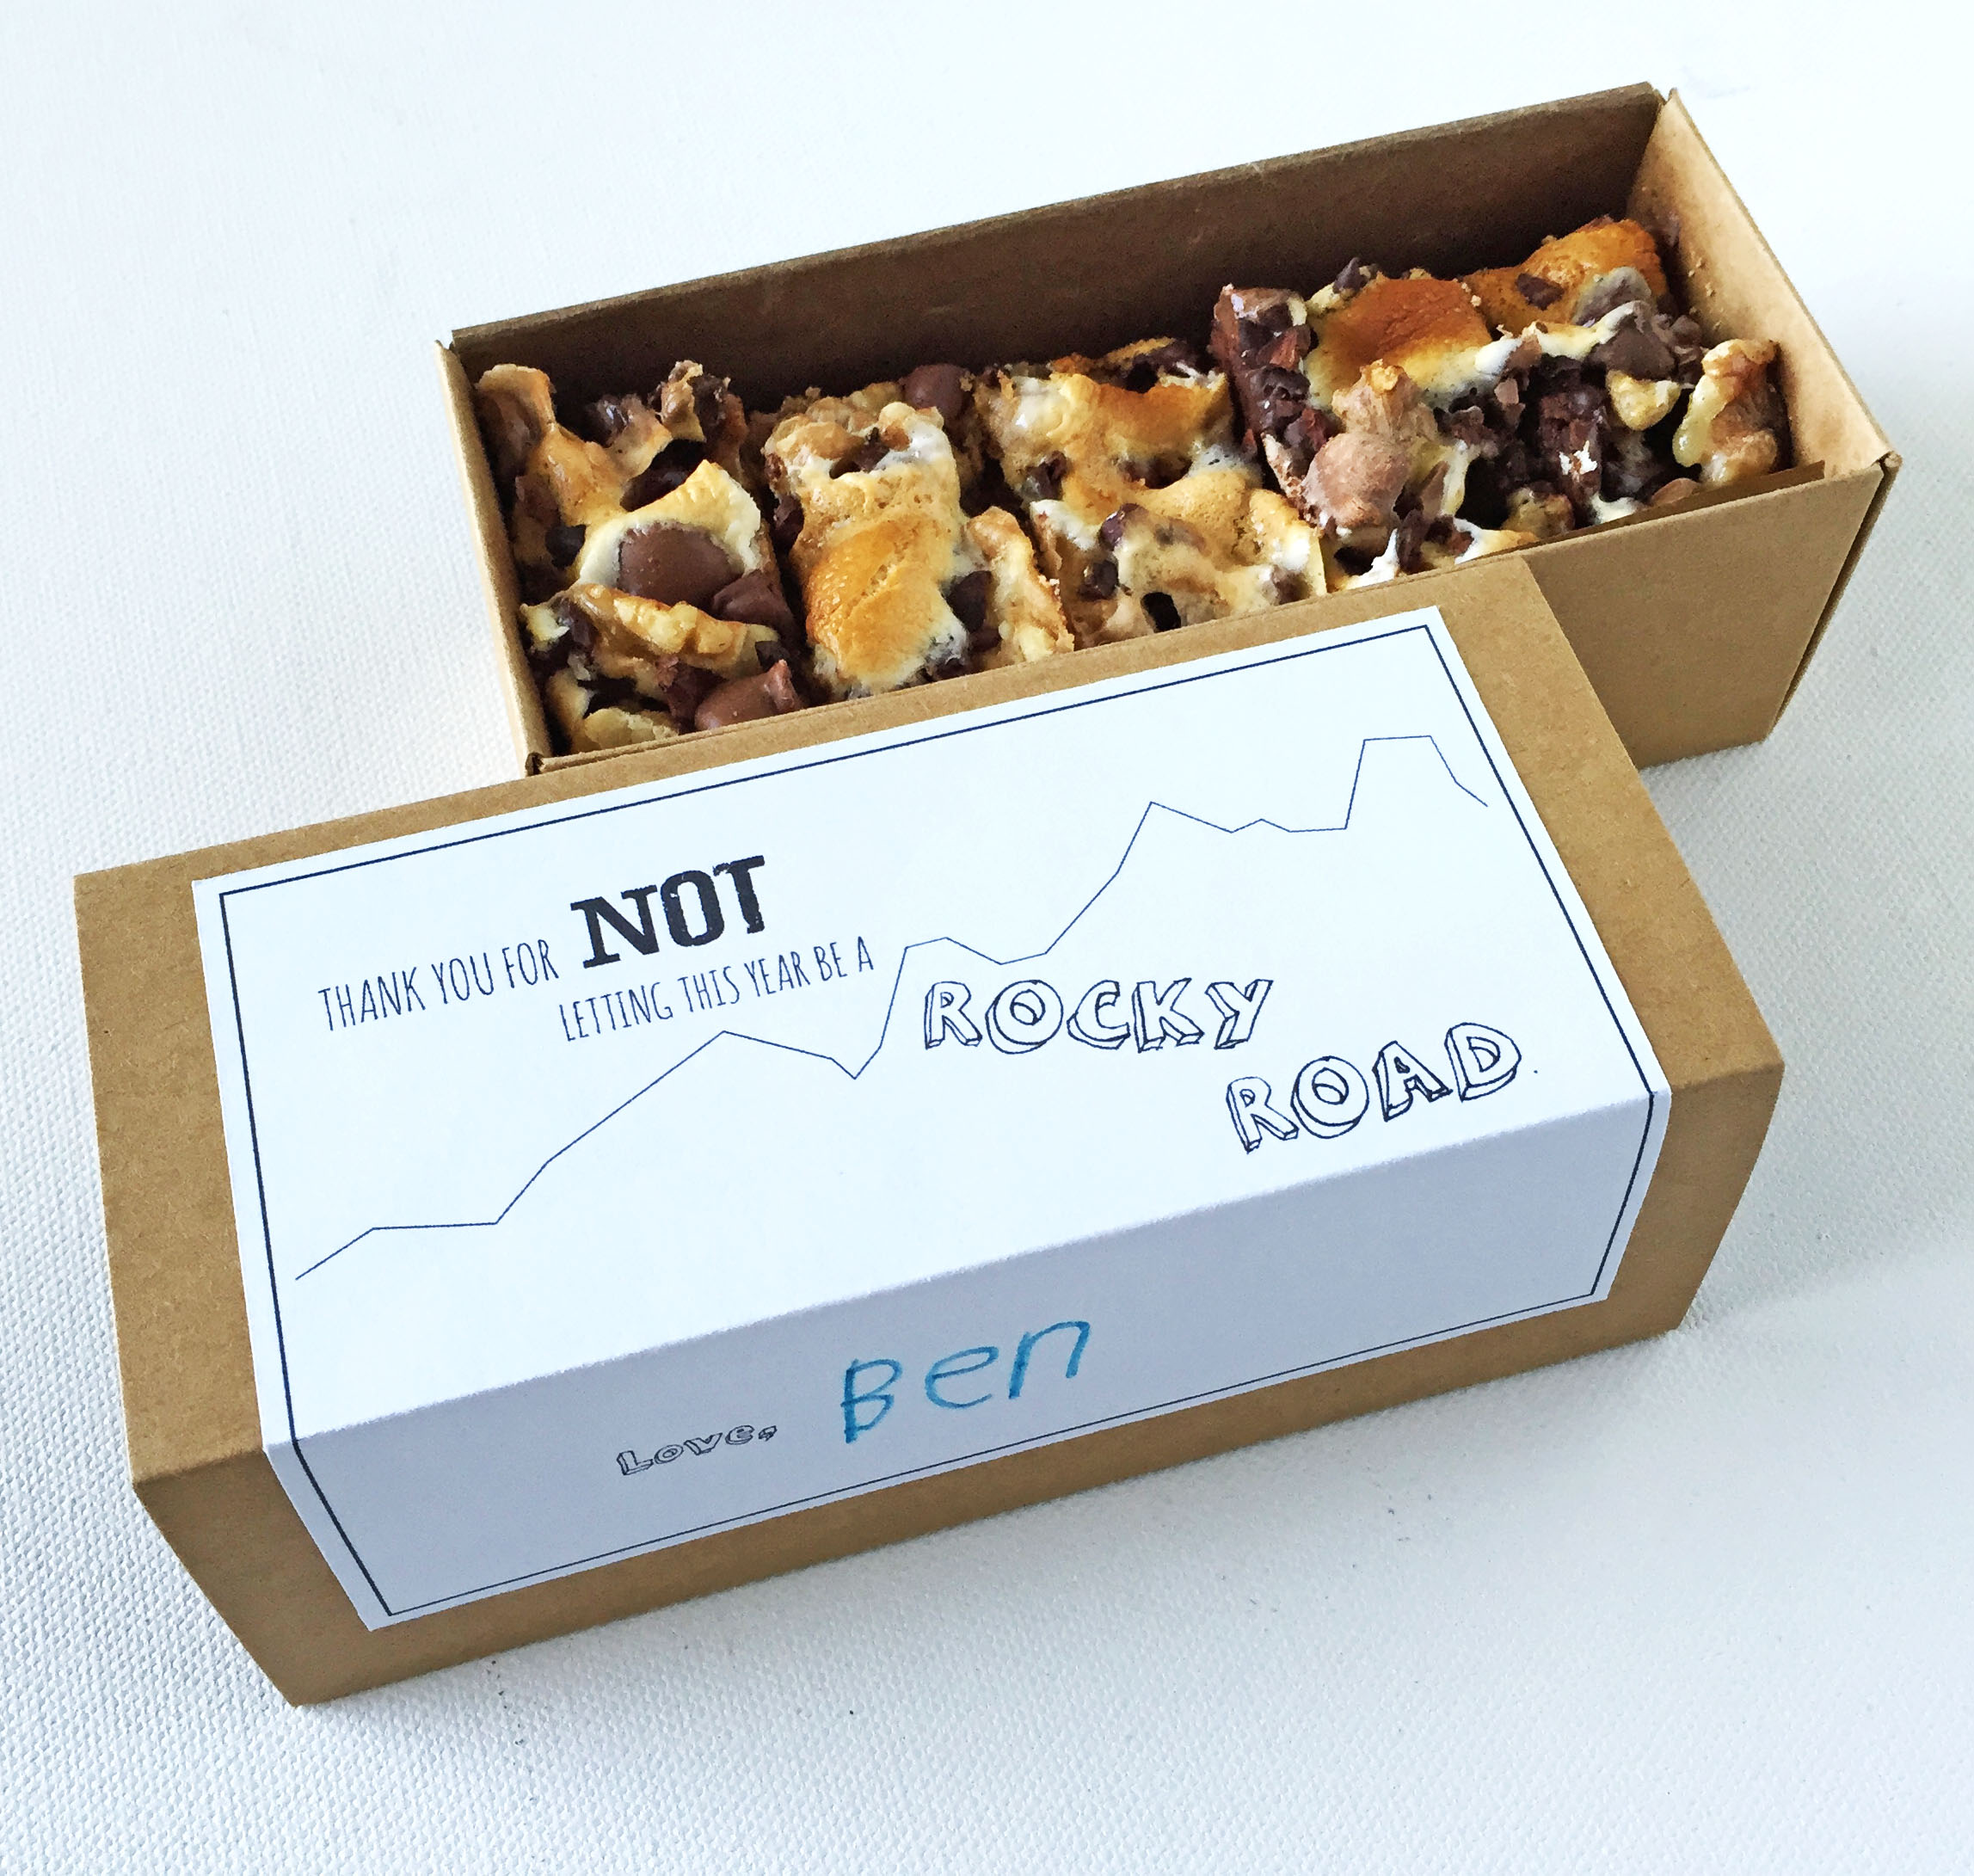
Idea 1:
I got these sliding boxes from Paper Mart. (You can get these in bulk for lower pricing). I like to have some kind of treat bags and boxes on hand at all times. You never know when you’ll need to make a quick gift, and they always come in handy during the holidays. You can also get treat boxes from any craft stores like Michaels or Joann. For the first idea, I made a simple label, had my kid write his name on it, and used double stick tape to place directly on the box. Viola! Packaging done!
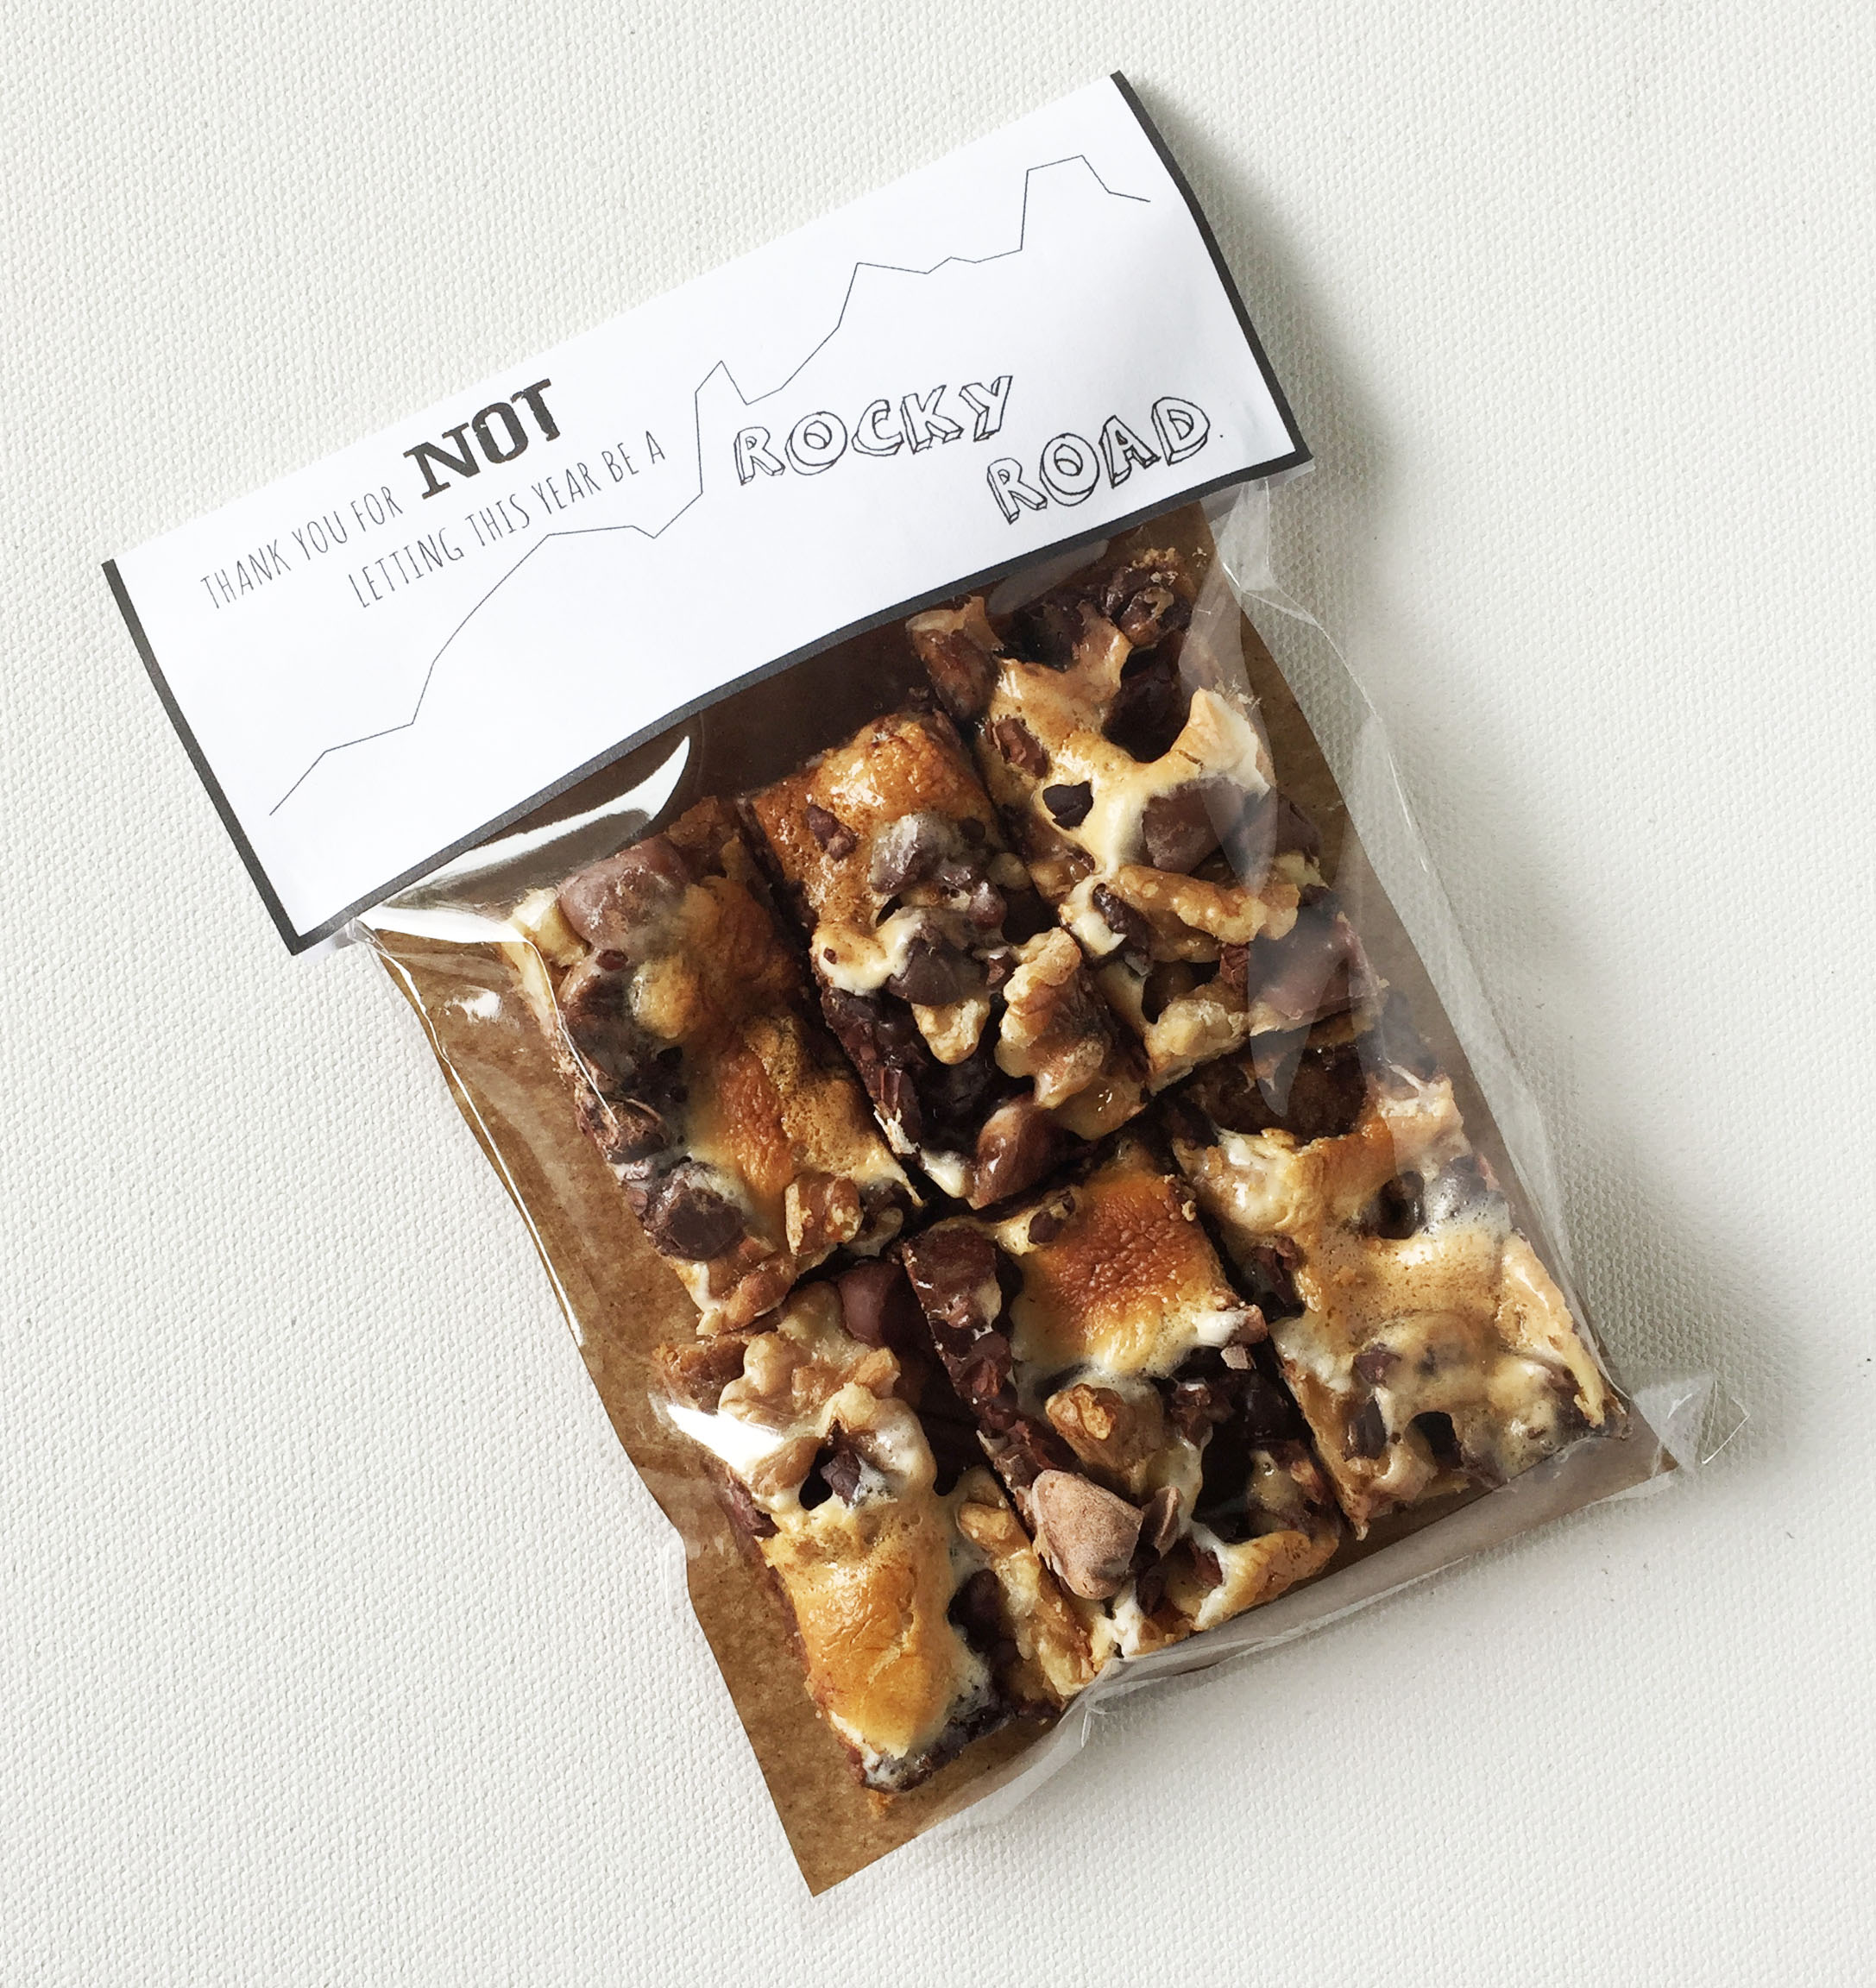
Idea 2:
This is a variation of idea 1. If you don’t have a box or access to one, you can always go with the trusty good old bag (cellophane to paper). You can get these bags at Paper Mart and craft stores. Line the bag with parchment and fill with the bars. Close the bag. Make a label, and tape or staple onto the bag. Here is a free printable Rocky Road Label. Super inexpensive and easy. You don’t need any special tools, not even a color printer.
Idea 3:
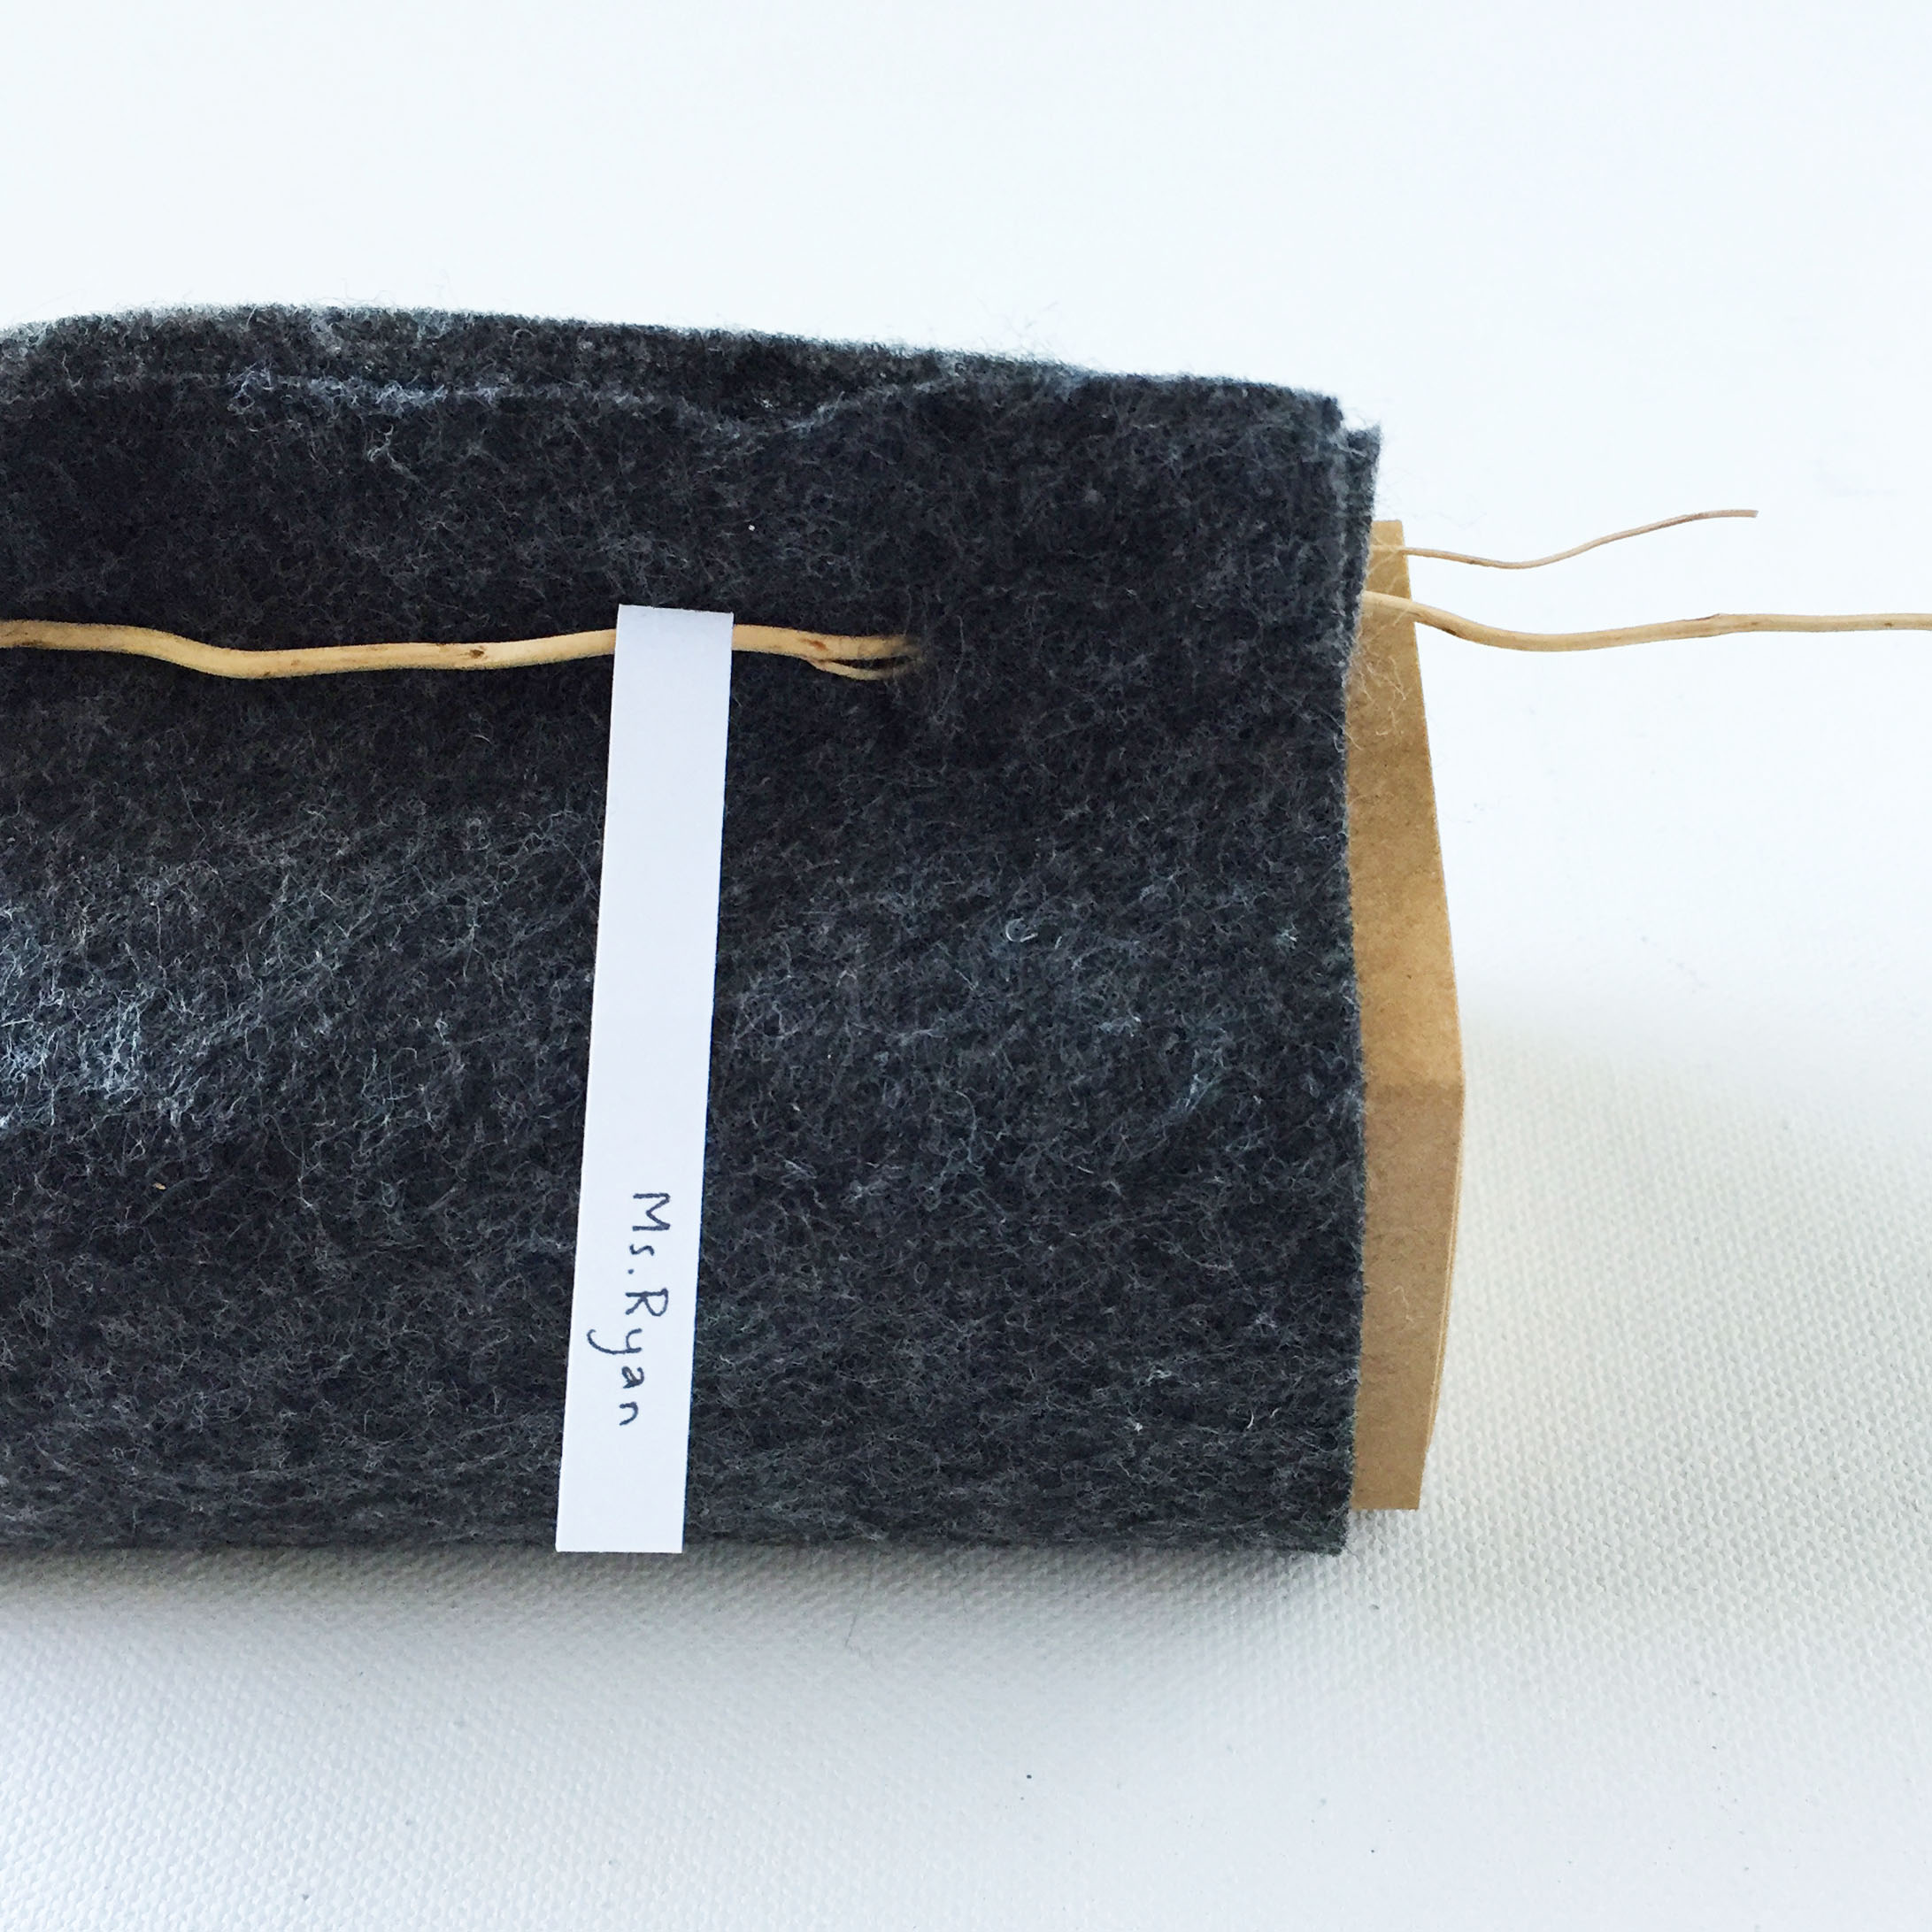
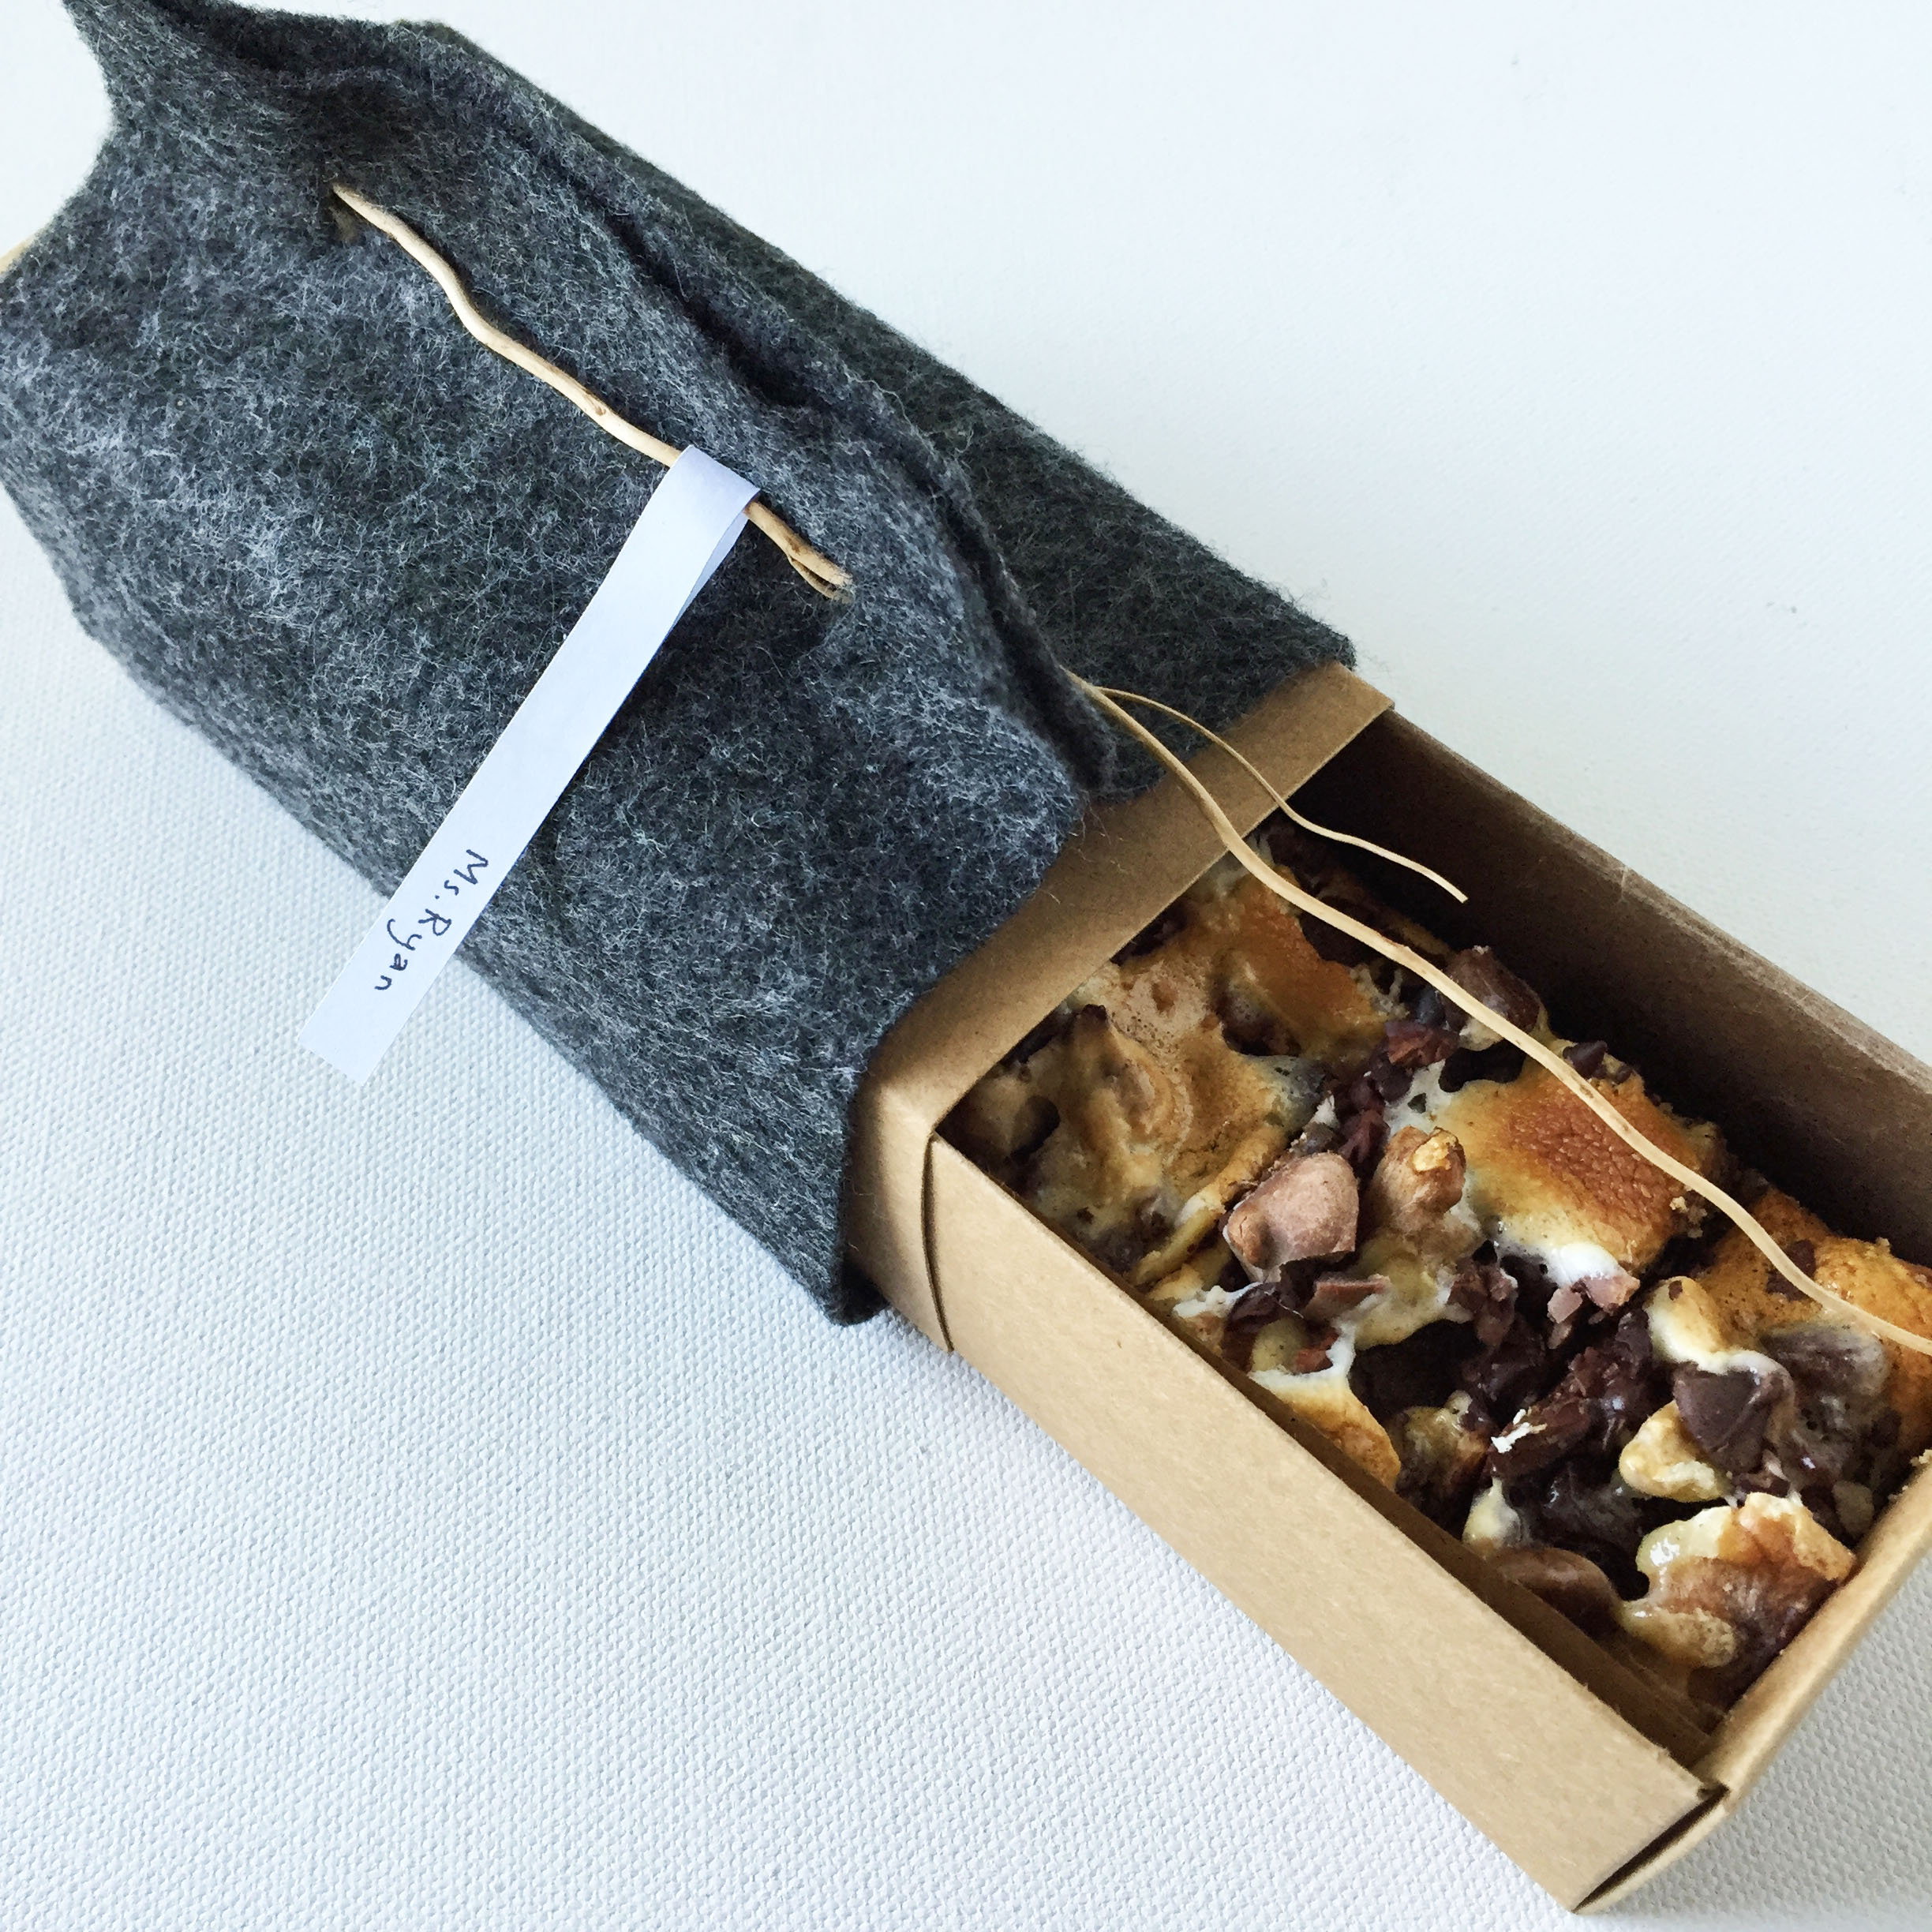
I love this wrapping technique. It’s a little bit more involved than the previous two ideas but it’s still easy (and cheap) and well worth it! I have used it many times for small to big gifts. Remember, you’re just learning the method so please don’t feel like you have to have this particular box in order to do this project.
For this wrapping, you need:
treat box
felt
xacto knife
twig (go outside and find one!)
label
This uses the same sliding box as Idea 1 but I use felt to wrap around the box. Remember, you can use any size box. You can purchase really inexpensive 9″ x 12″ felt sheets in fabric and craft stores. Sometimes they’re as low as $0.29 per sheet! You can use any fabric but I like felt since the ends don’t fray. No need to sew. Just cut and go! Cut the fabric to the corresponding size of your box. Holding the top portion of the fabric, use xacto knife to make small slits. Make sure the knife went through the second layer of felt. Insert a twig through the holes to keep the felt together. Make a label (handwritten totally works!) and wrap around the twig and tape or glue. All done!

 I hope this tutorial shows that it doesn’t take a lot, time or money, to put together a great looking gift. Let’s make sure to thank our teachers! And if you’re a teacher, thank you so much for all the hard work you put into teaching our kids. We appreciate you!