Fabric Gift Wrapping Tutorial #2
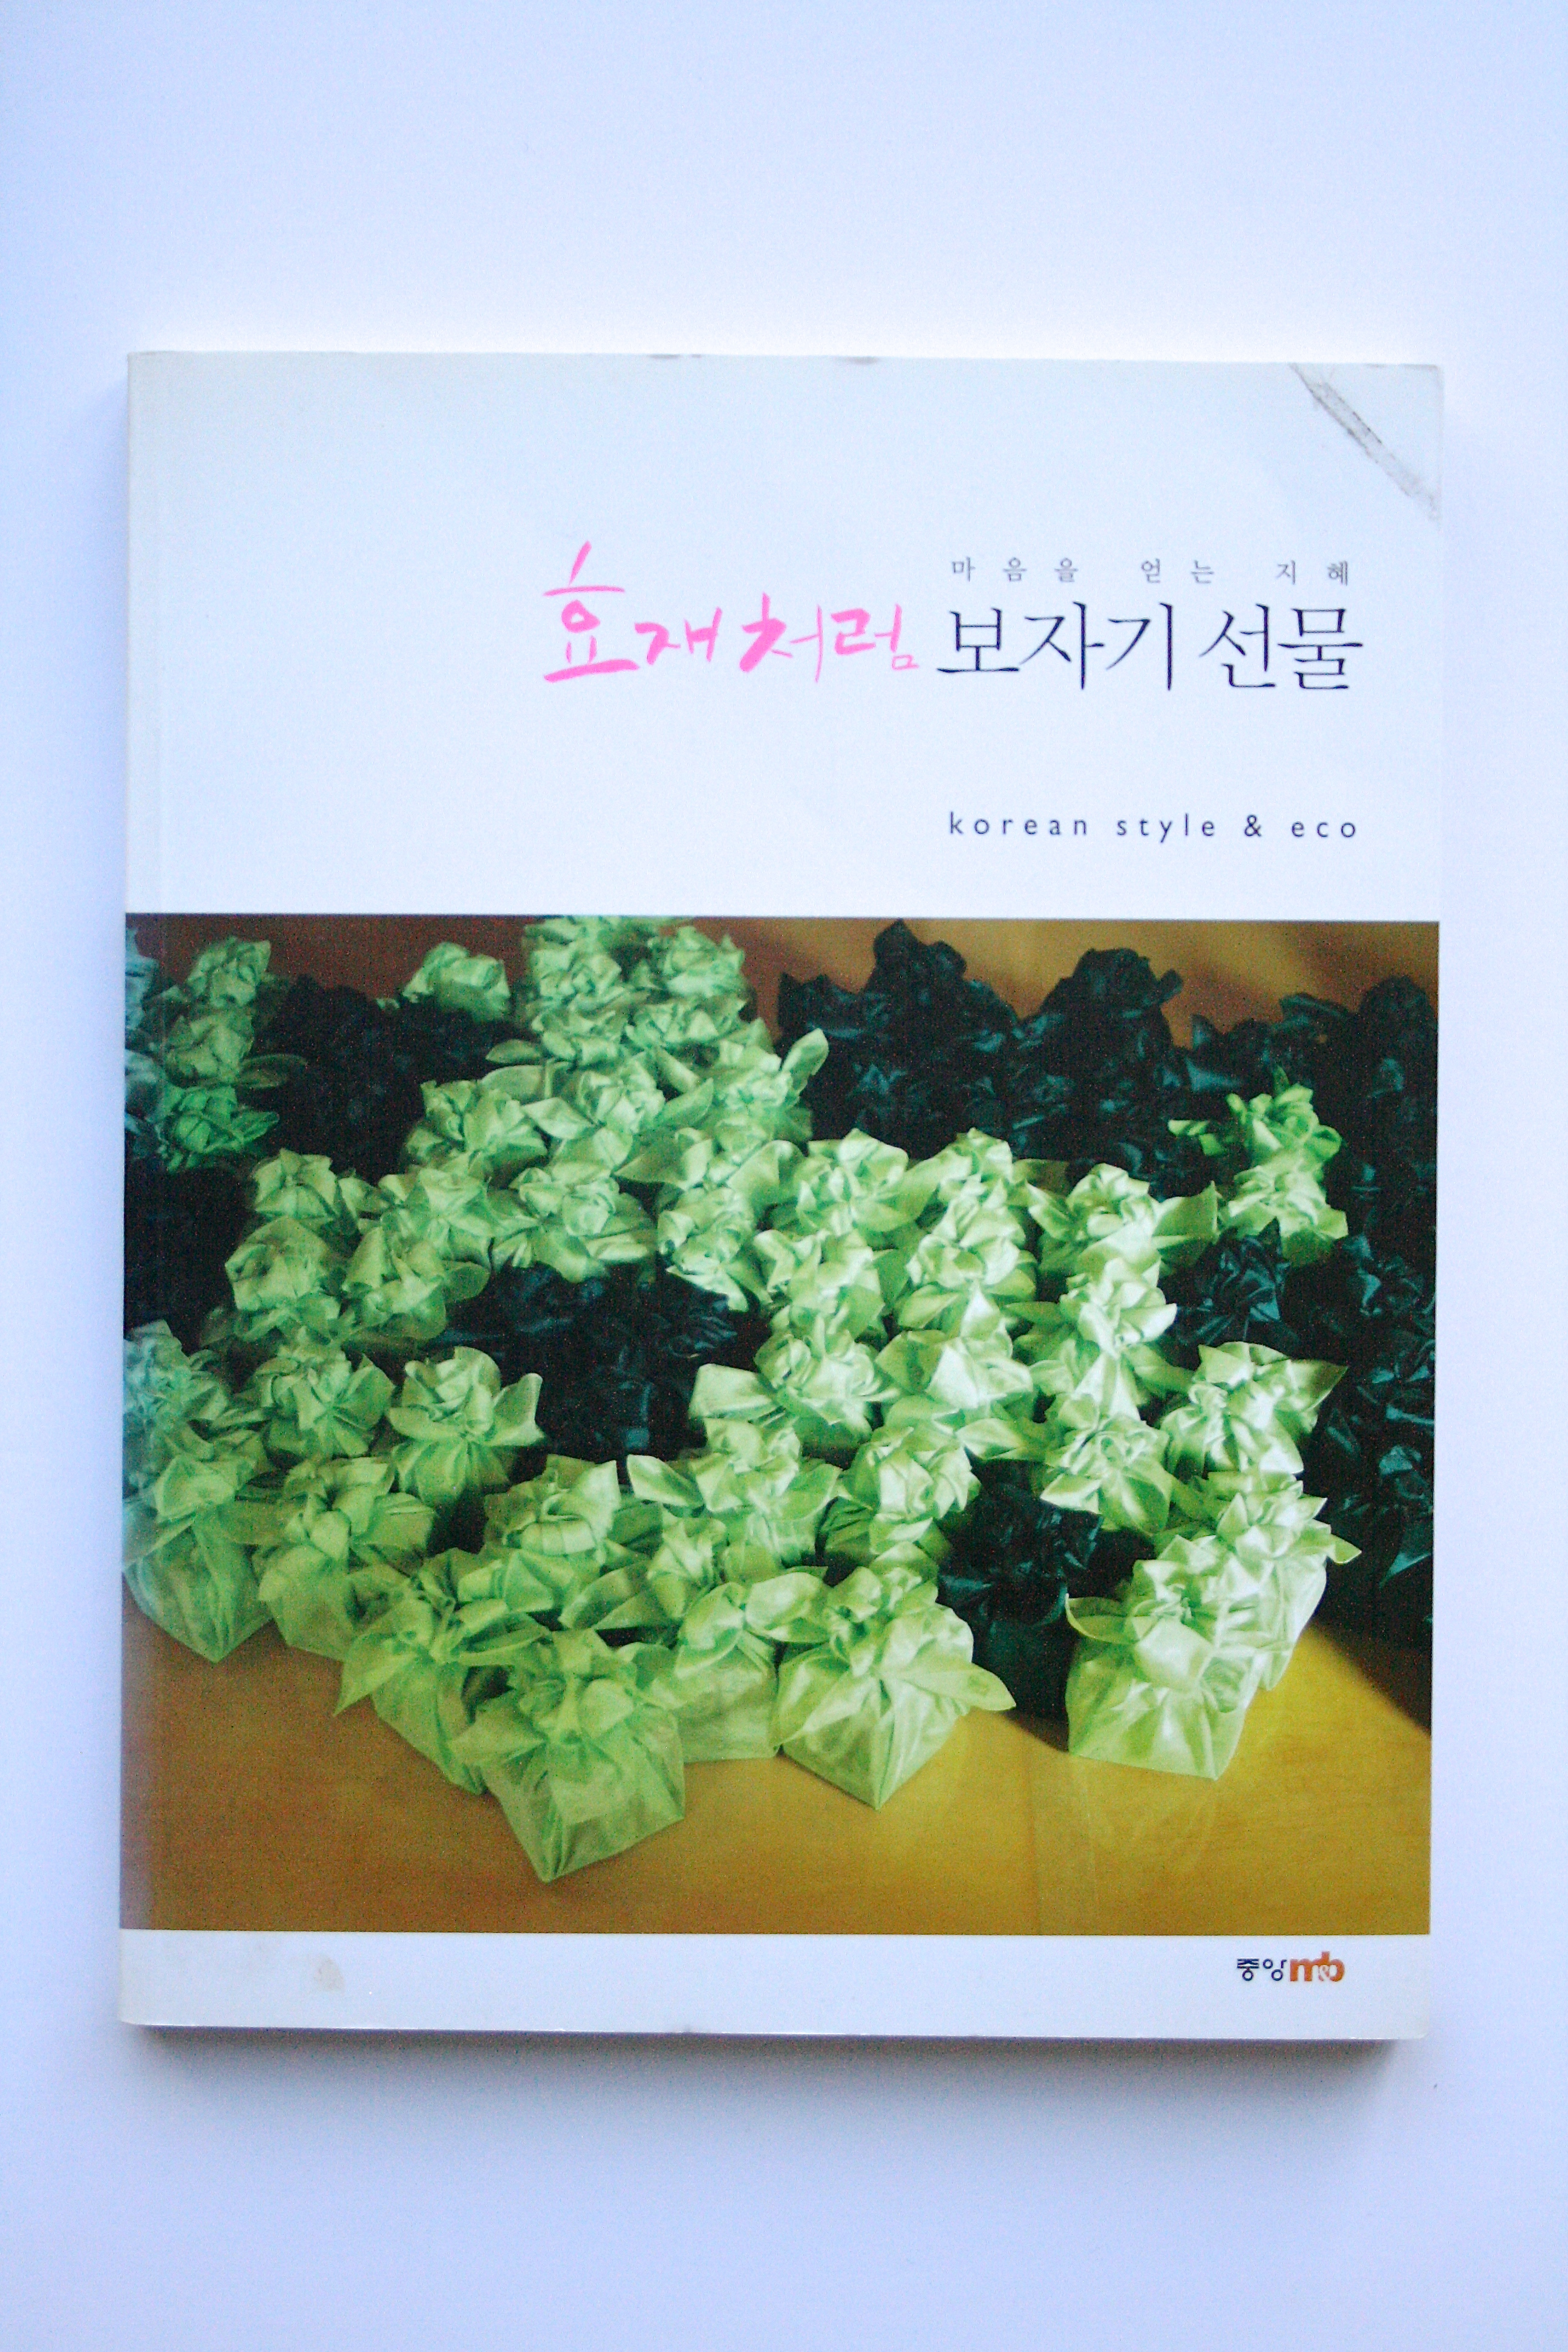
I got this book from my mom awhile ago. I have always wanted to learn the art of fabric wrapping, also known as furoshiki, in Japanese. This book is a Korean book. Although my Korean skills are not bad, it would take me days to read ONE of these pages in the book. I carry this book with me a lot when I have some “me” time at coffee shops (hence the little wear and tear on the book). There are so many ideas I want to try.
Here is the first of many gift wrapping tutorials I’m hoping to give on my blog. This is a versatile wrapping technique. The only catch is that you need to stack two of something relatively flat. I used card boxes available from my etsy shop. But this idea will work great with books, candy boxes, t-shirt boxes, etc. It might look a little intimidating but I guarantee you that it’s not! It took me only a couple of practices to get it down.
1. You need:
(2) Flat gifts/products
*(1) Rectangular piece of thin fabric. I used a thin piece of denim fabric. Thin is the key word here. Thick fabric will not work when fabric wrapping.
Scoring knife or something of similar shape like envelope opener.
(1) pin
*The size of my card boxes are 6″ x 4.5″. I cut my fabric to be 11″ x 15″, if you want a reference point.

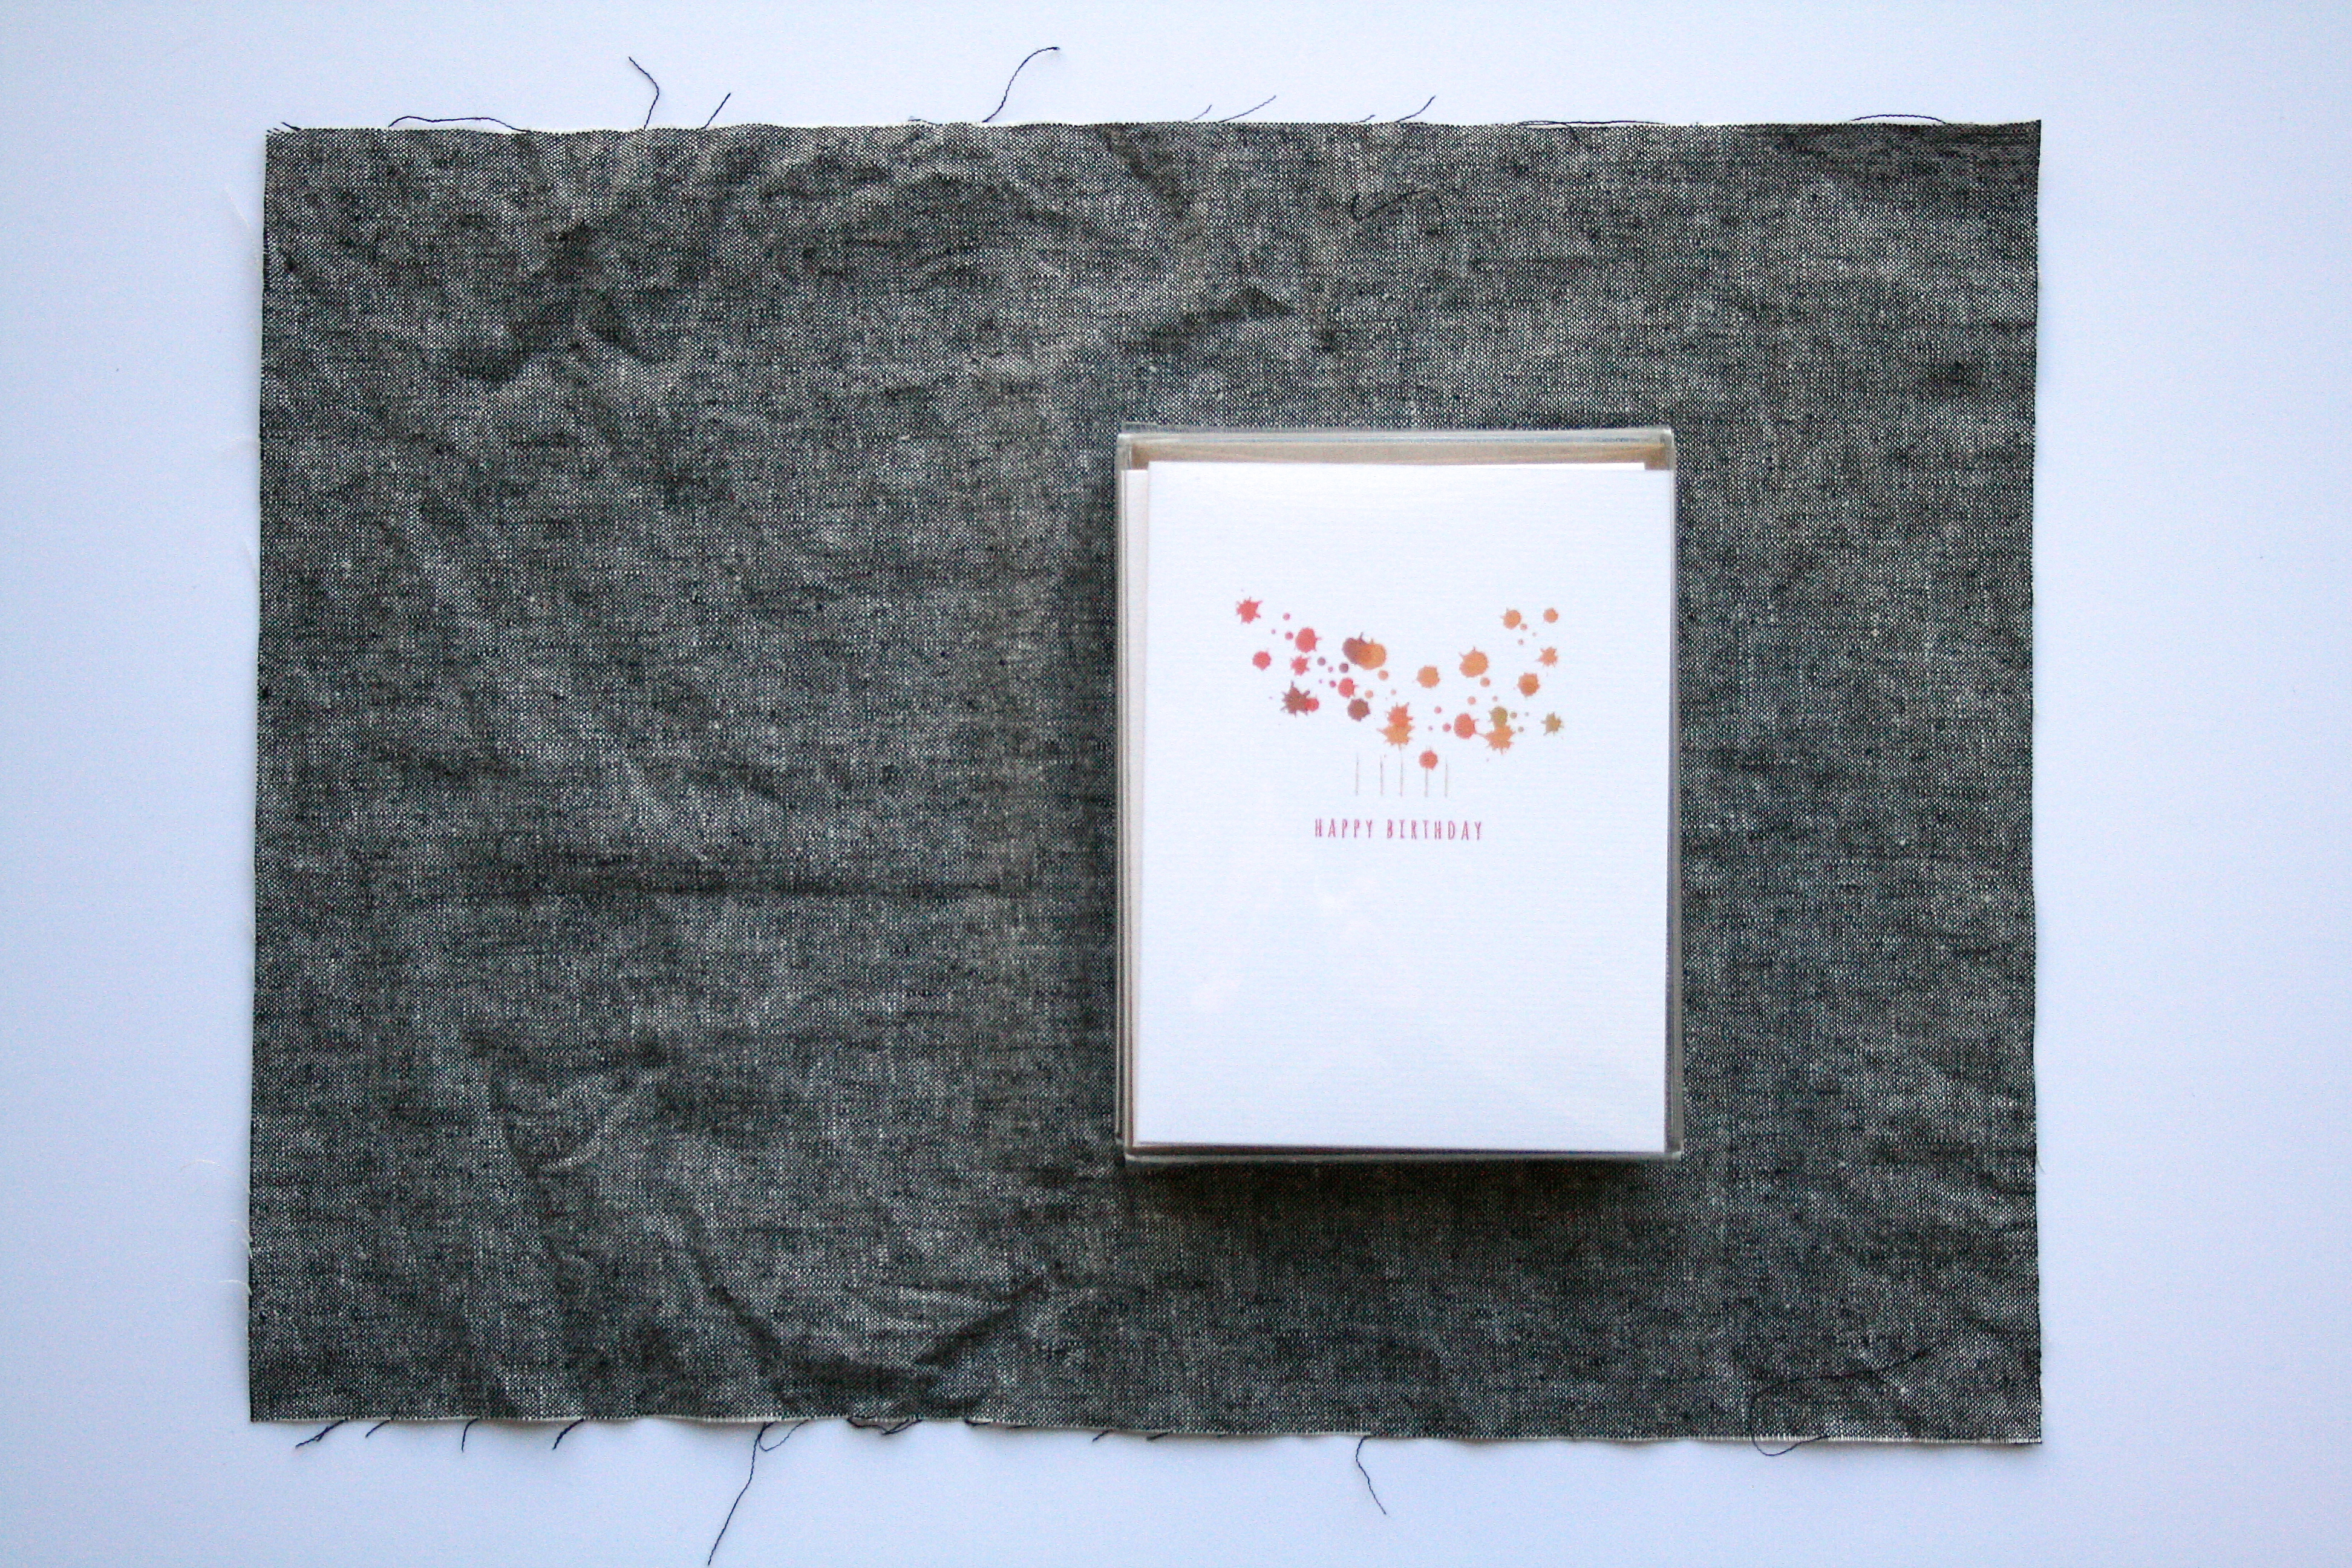 2. Place your stacked product off center.
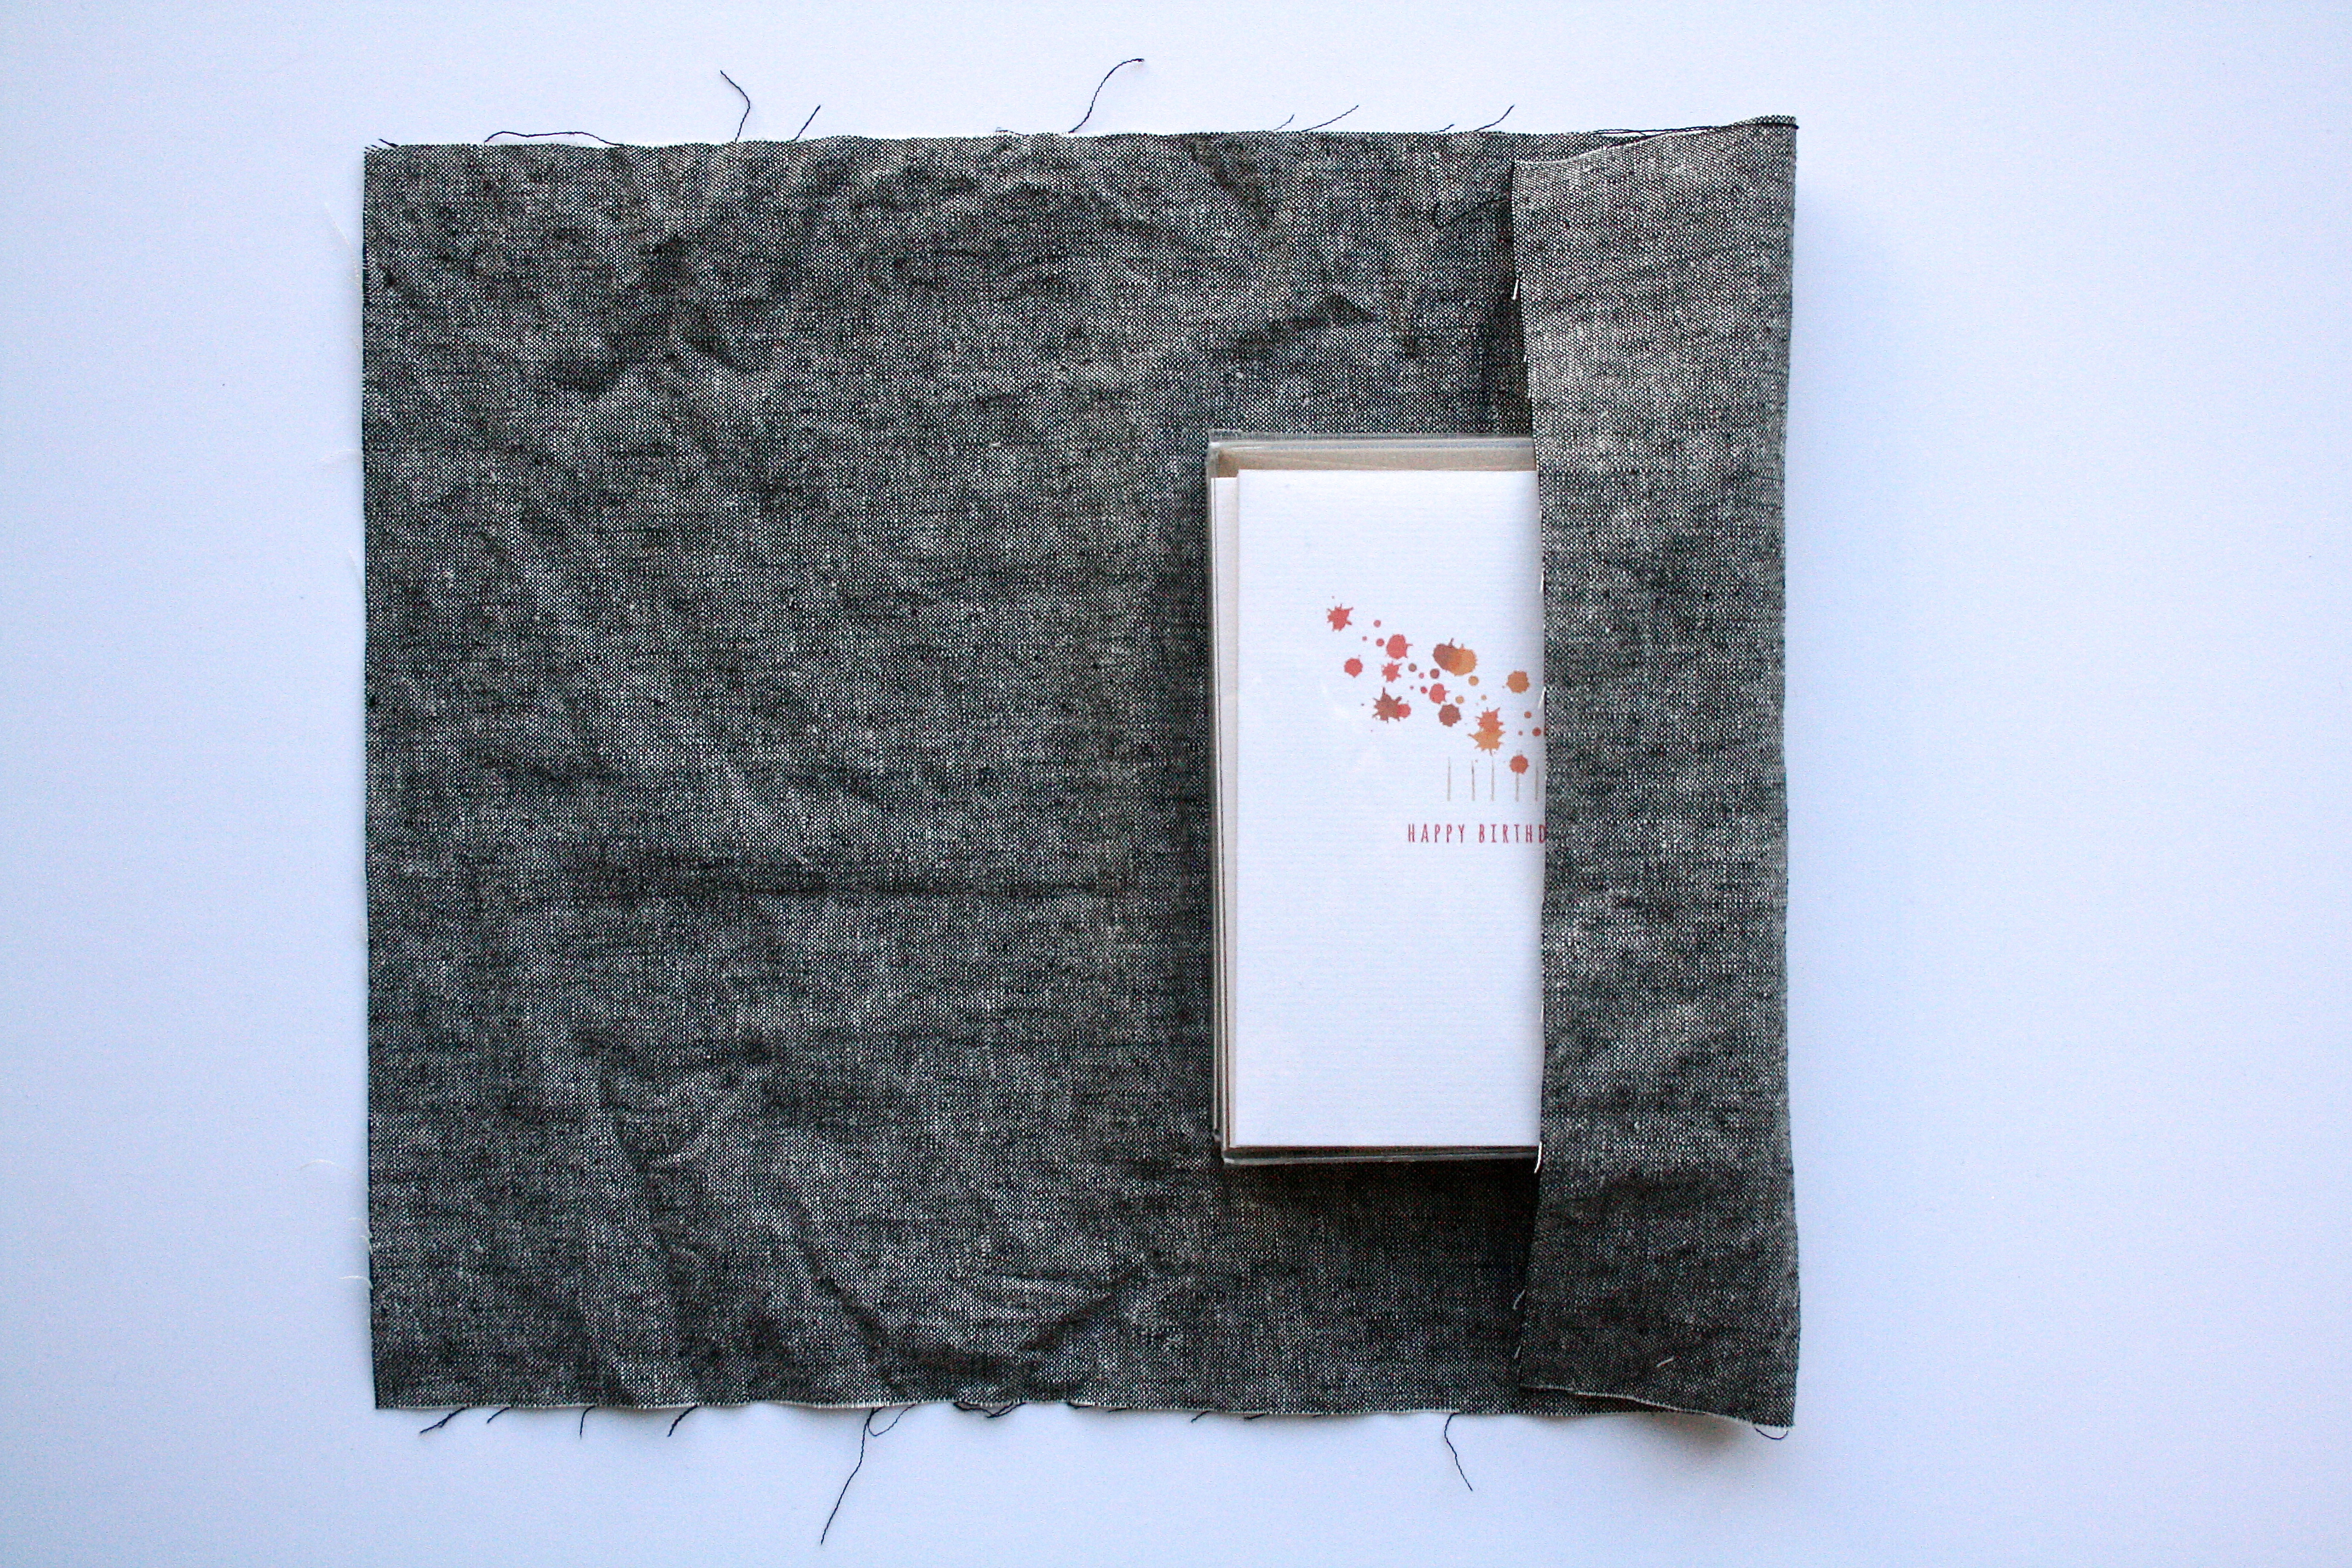 3. Fold fabric over from the right to cover approximately 1/3 of the product.
 4. Fold in the edge on the left side of the fabric.
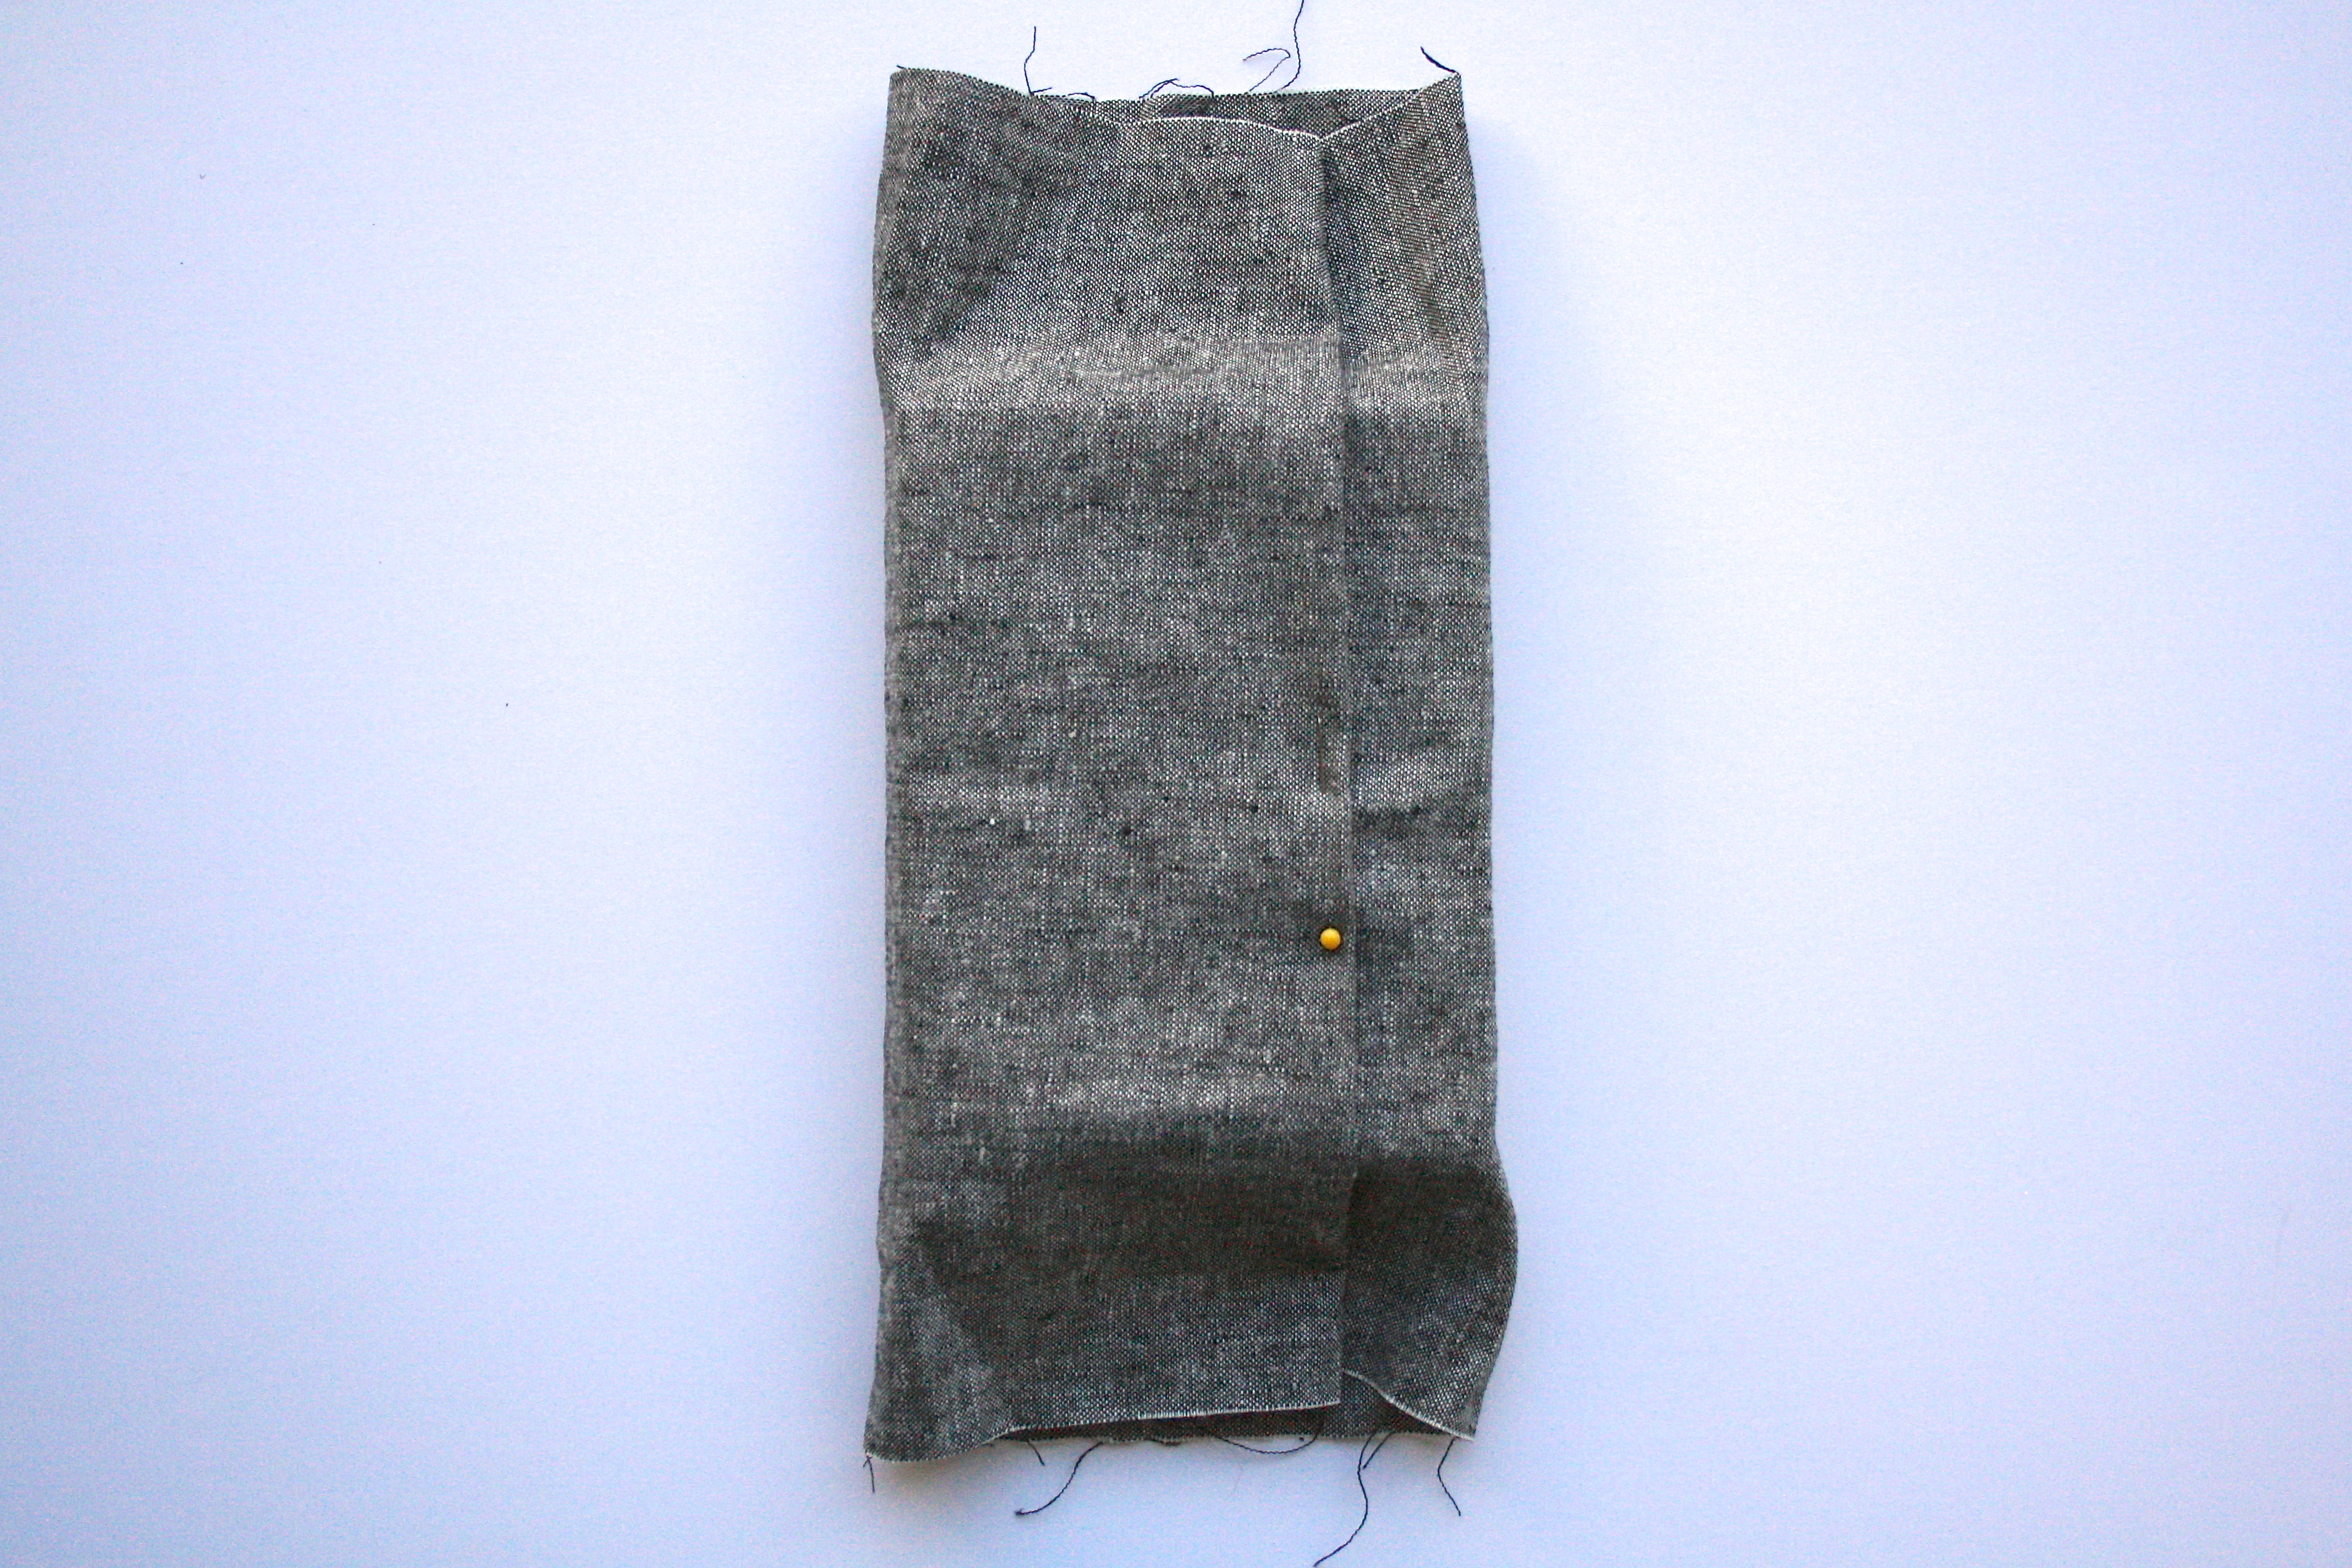
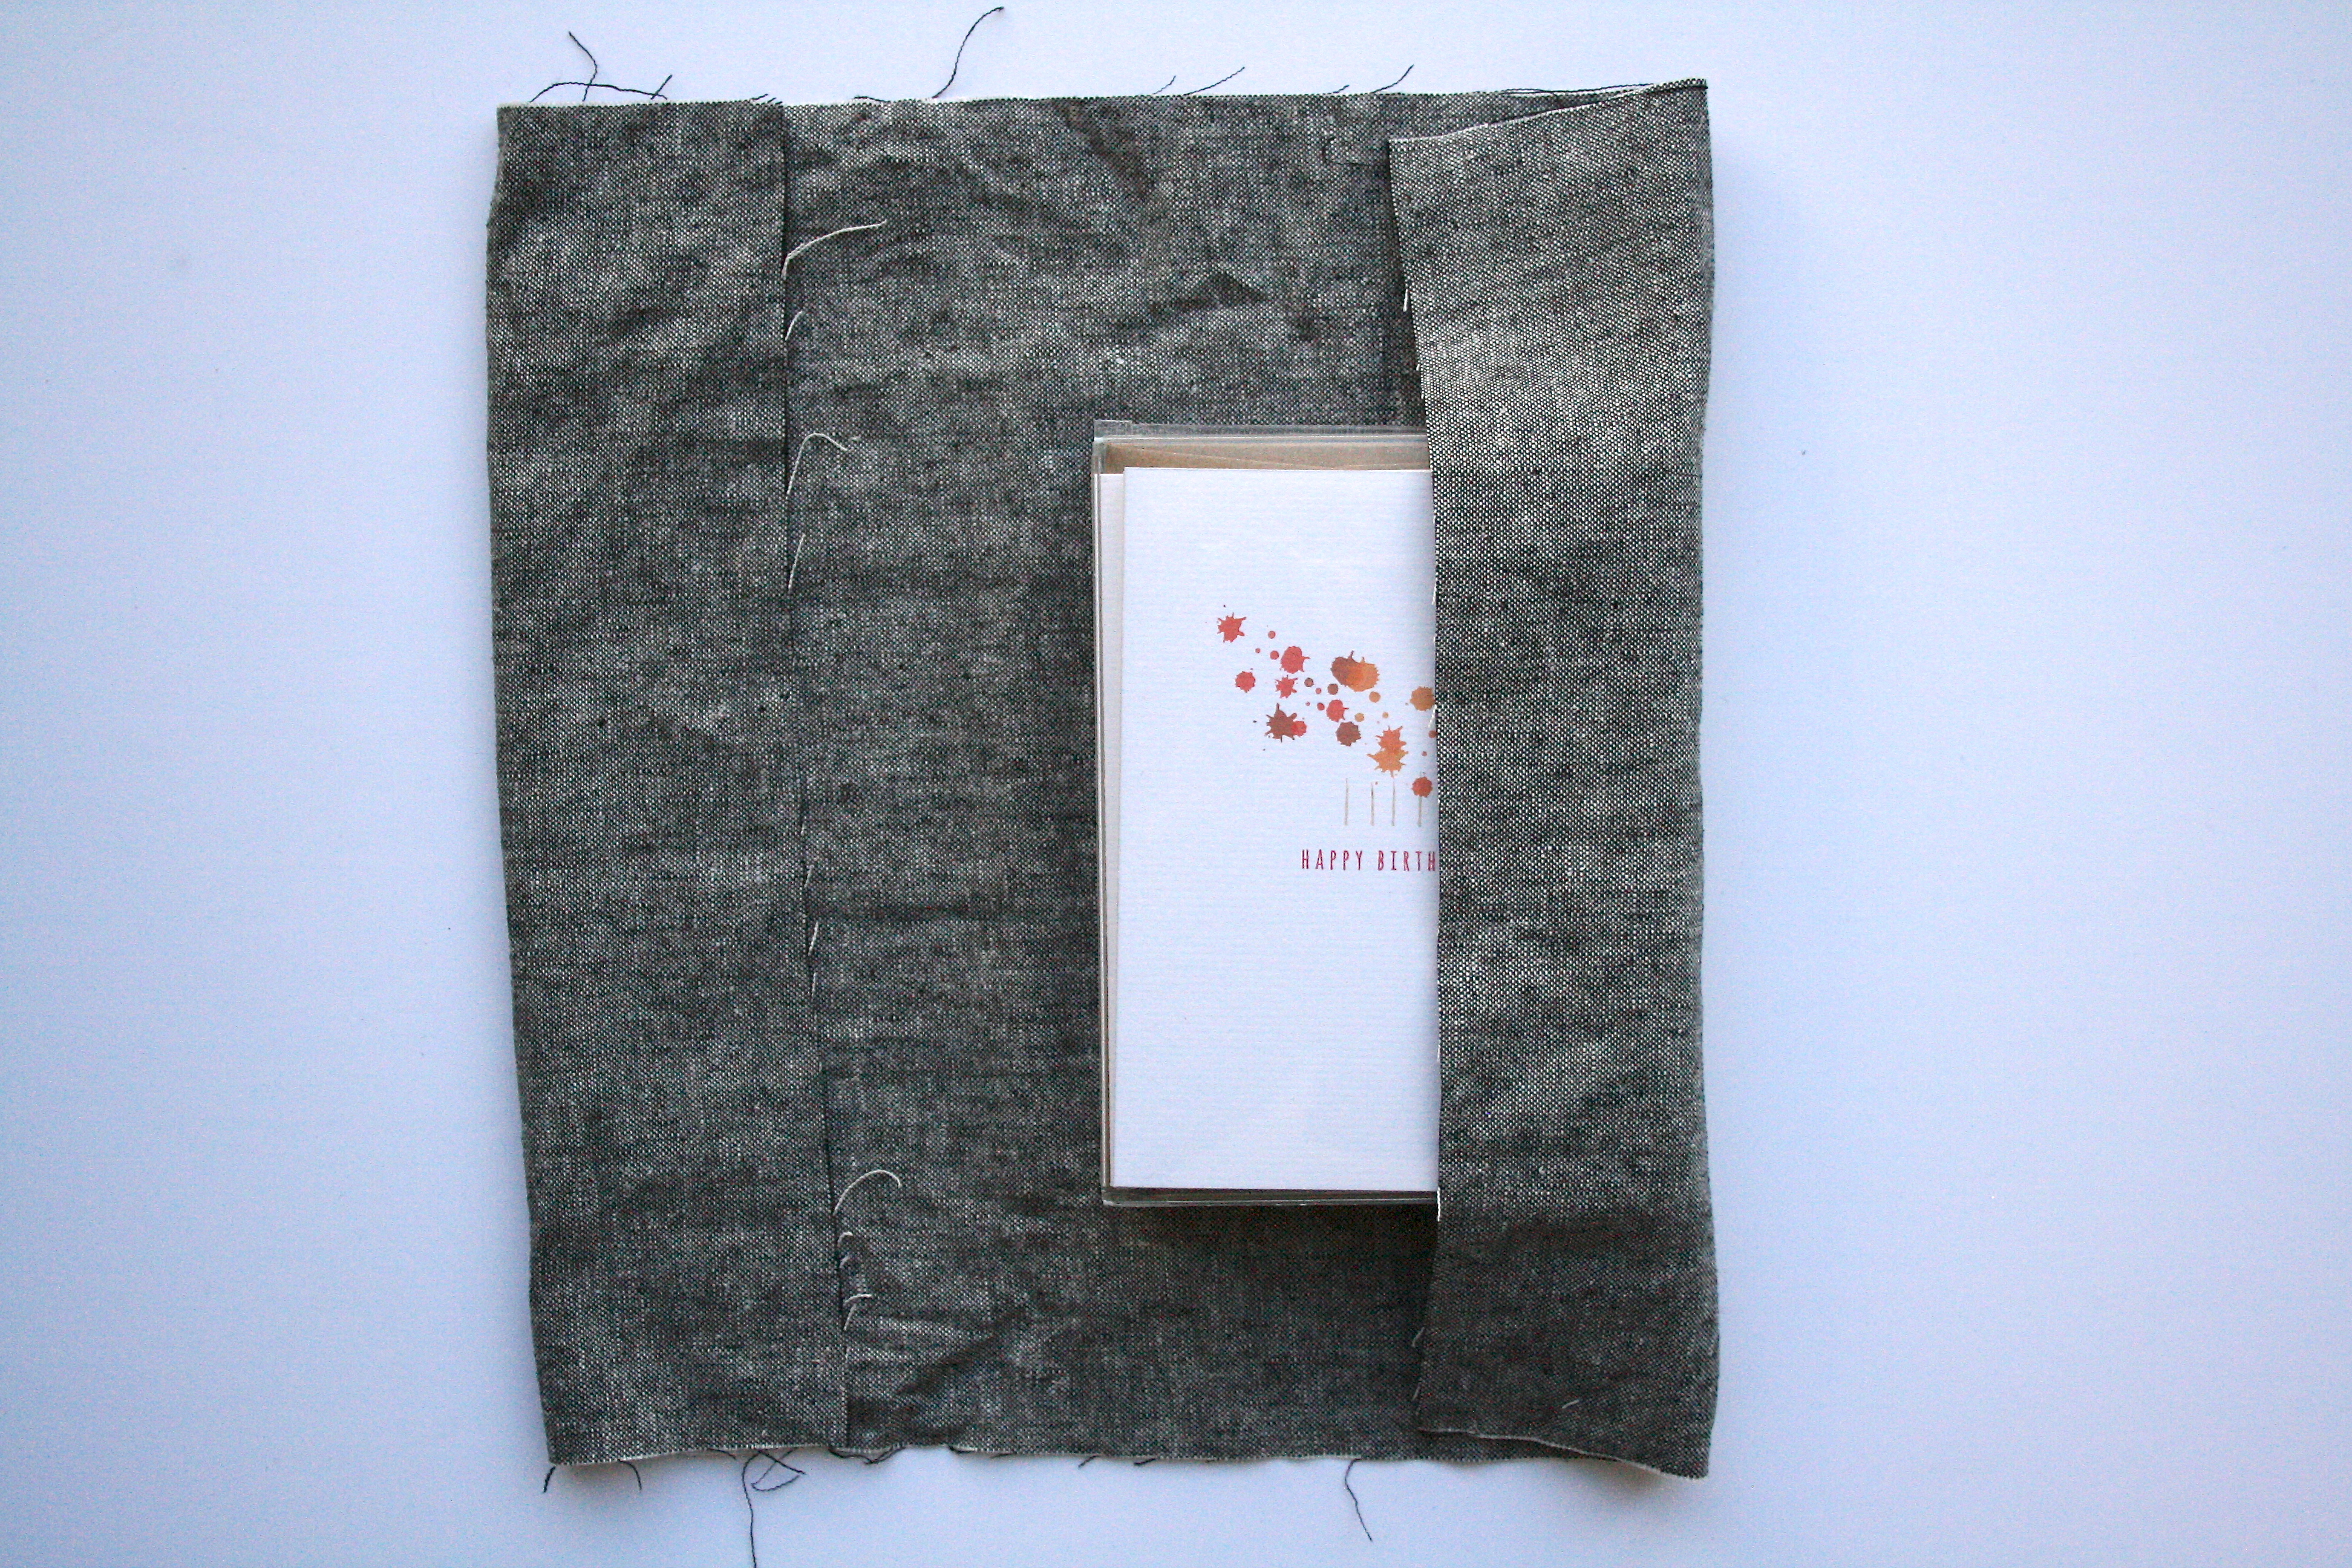
5. Fold over the left side so that the folded edge covers 2/3 of the product. Pull tight so you have clean edges. Pin it. Not Pinterest “pin it” but with an actual pin.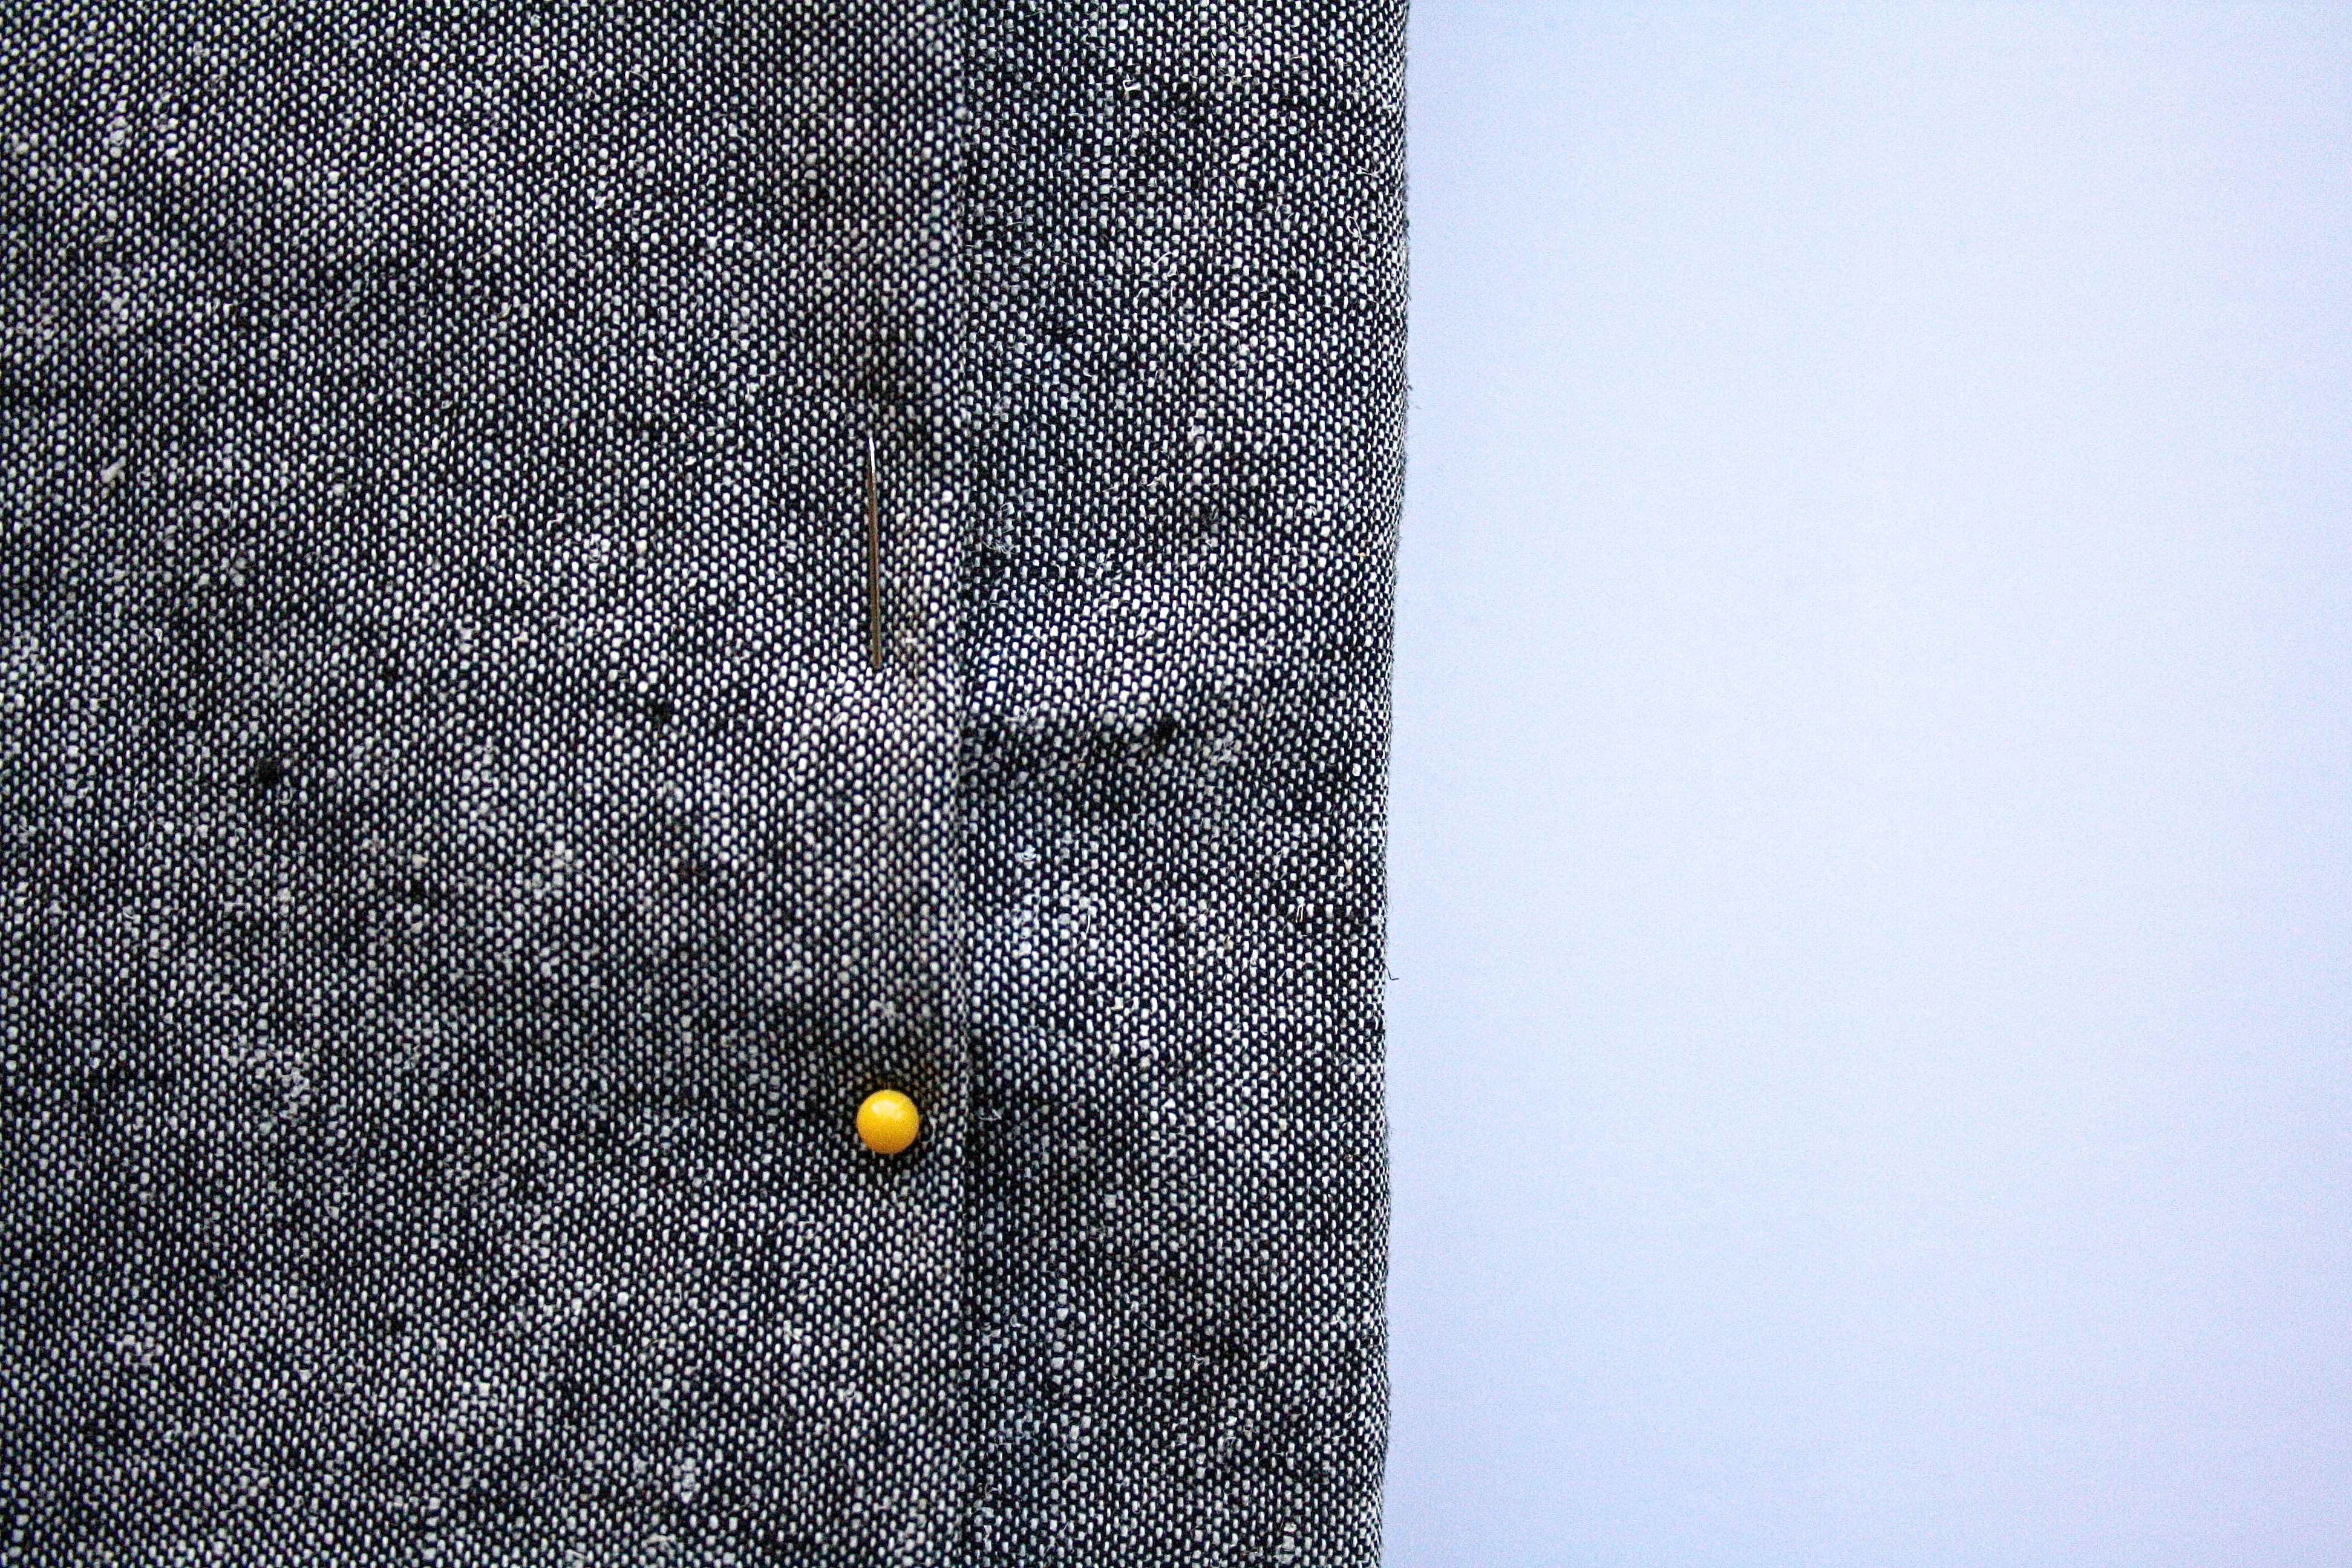
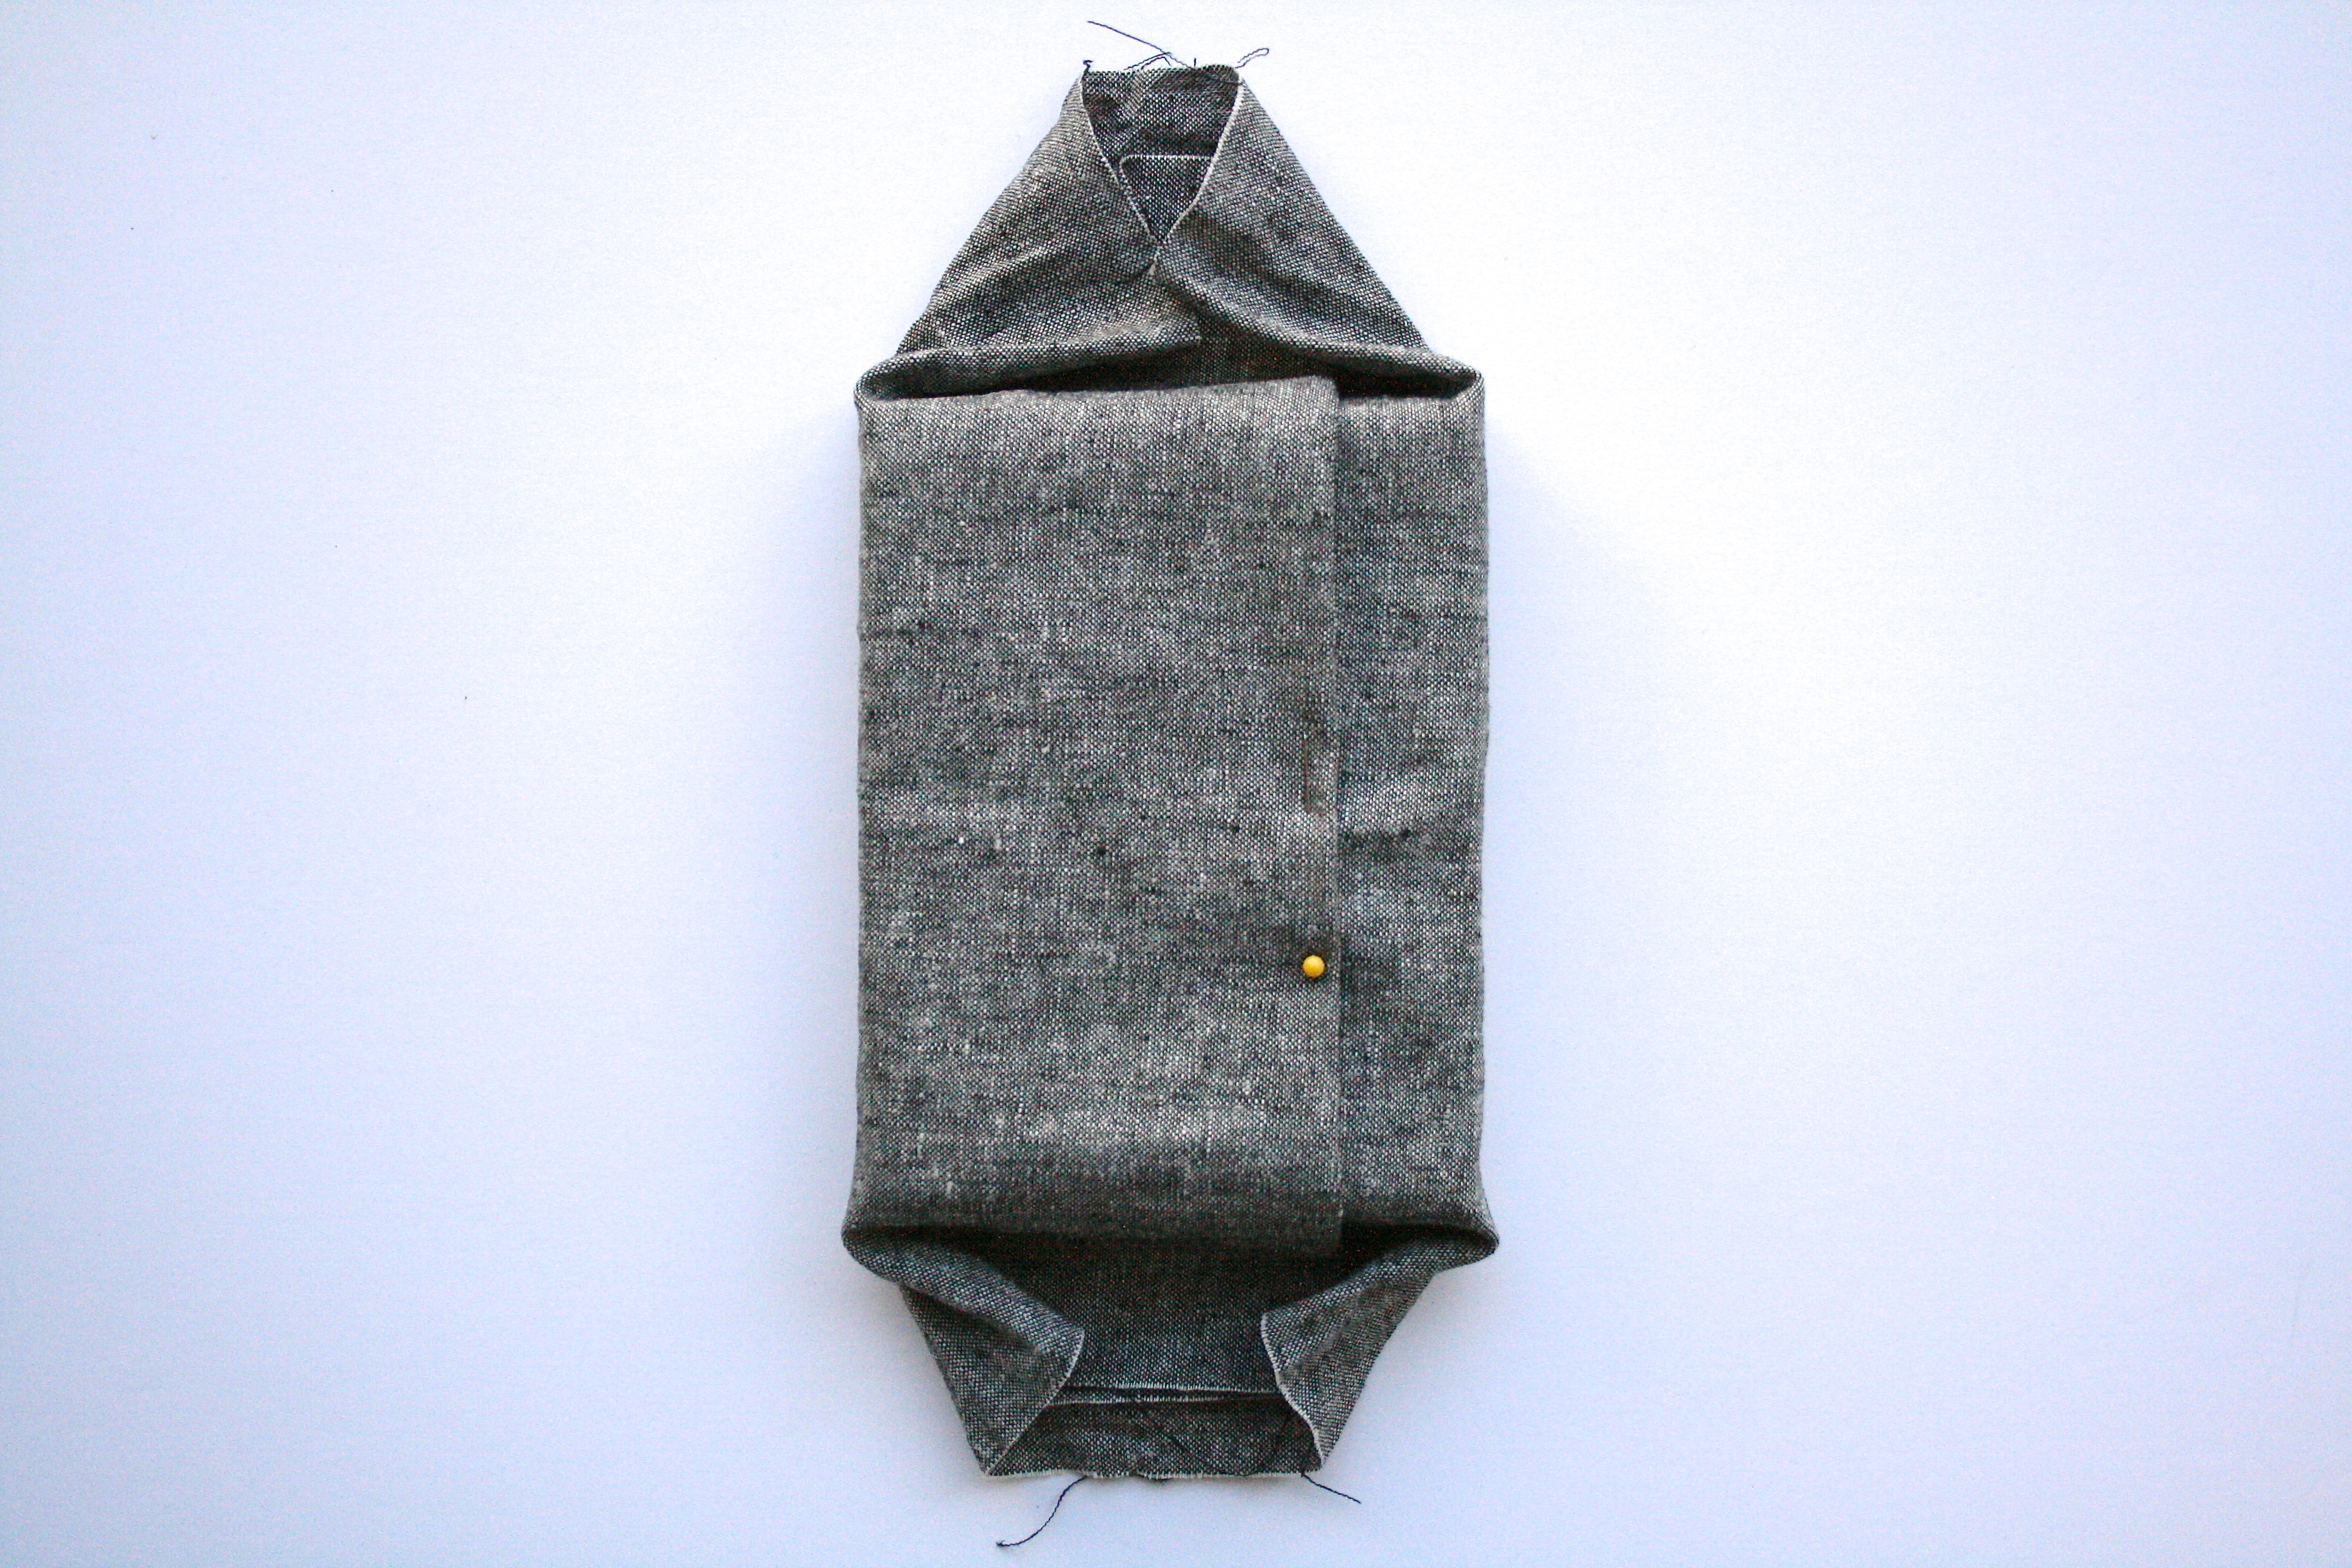 6. Dog-ear the edges of all the corners. Woof.
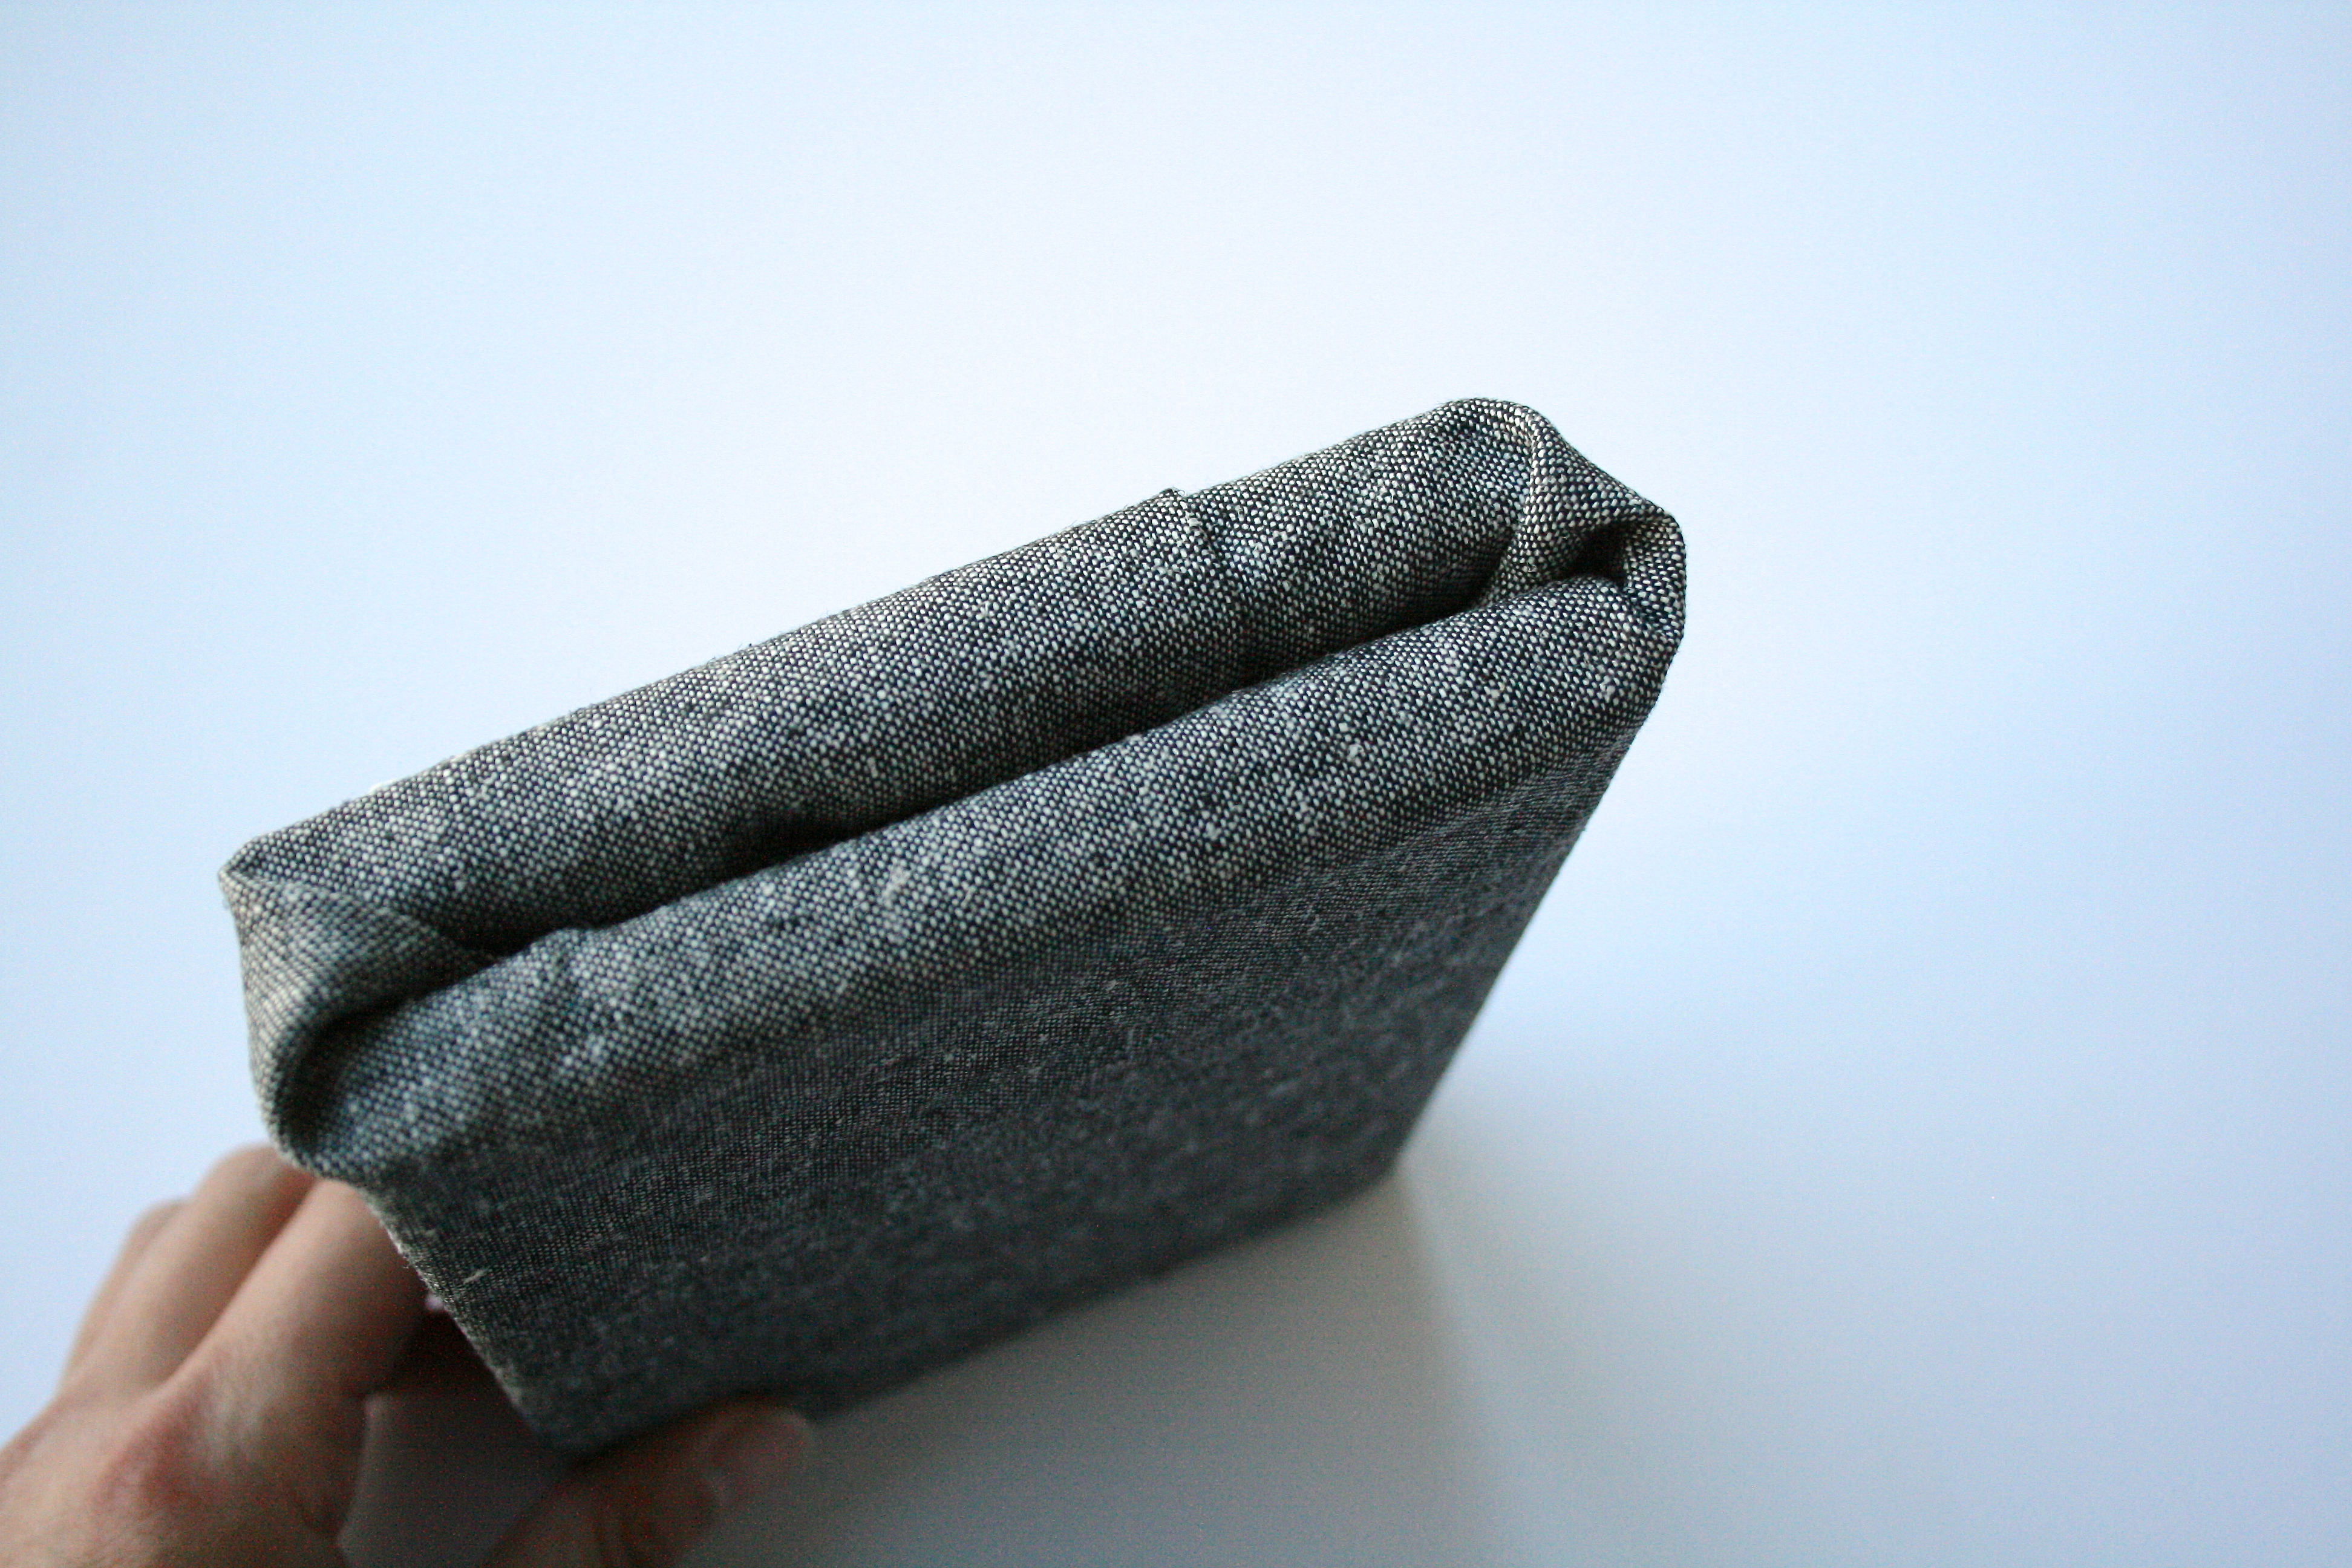
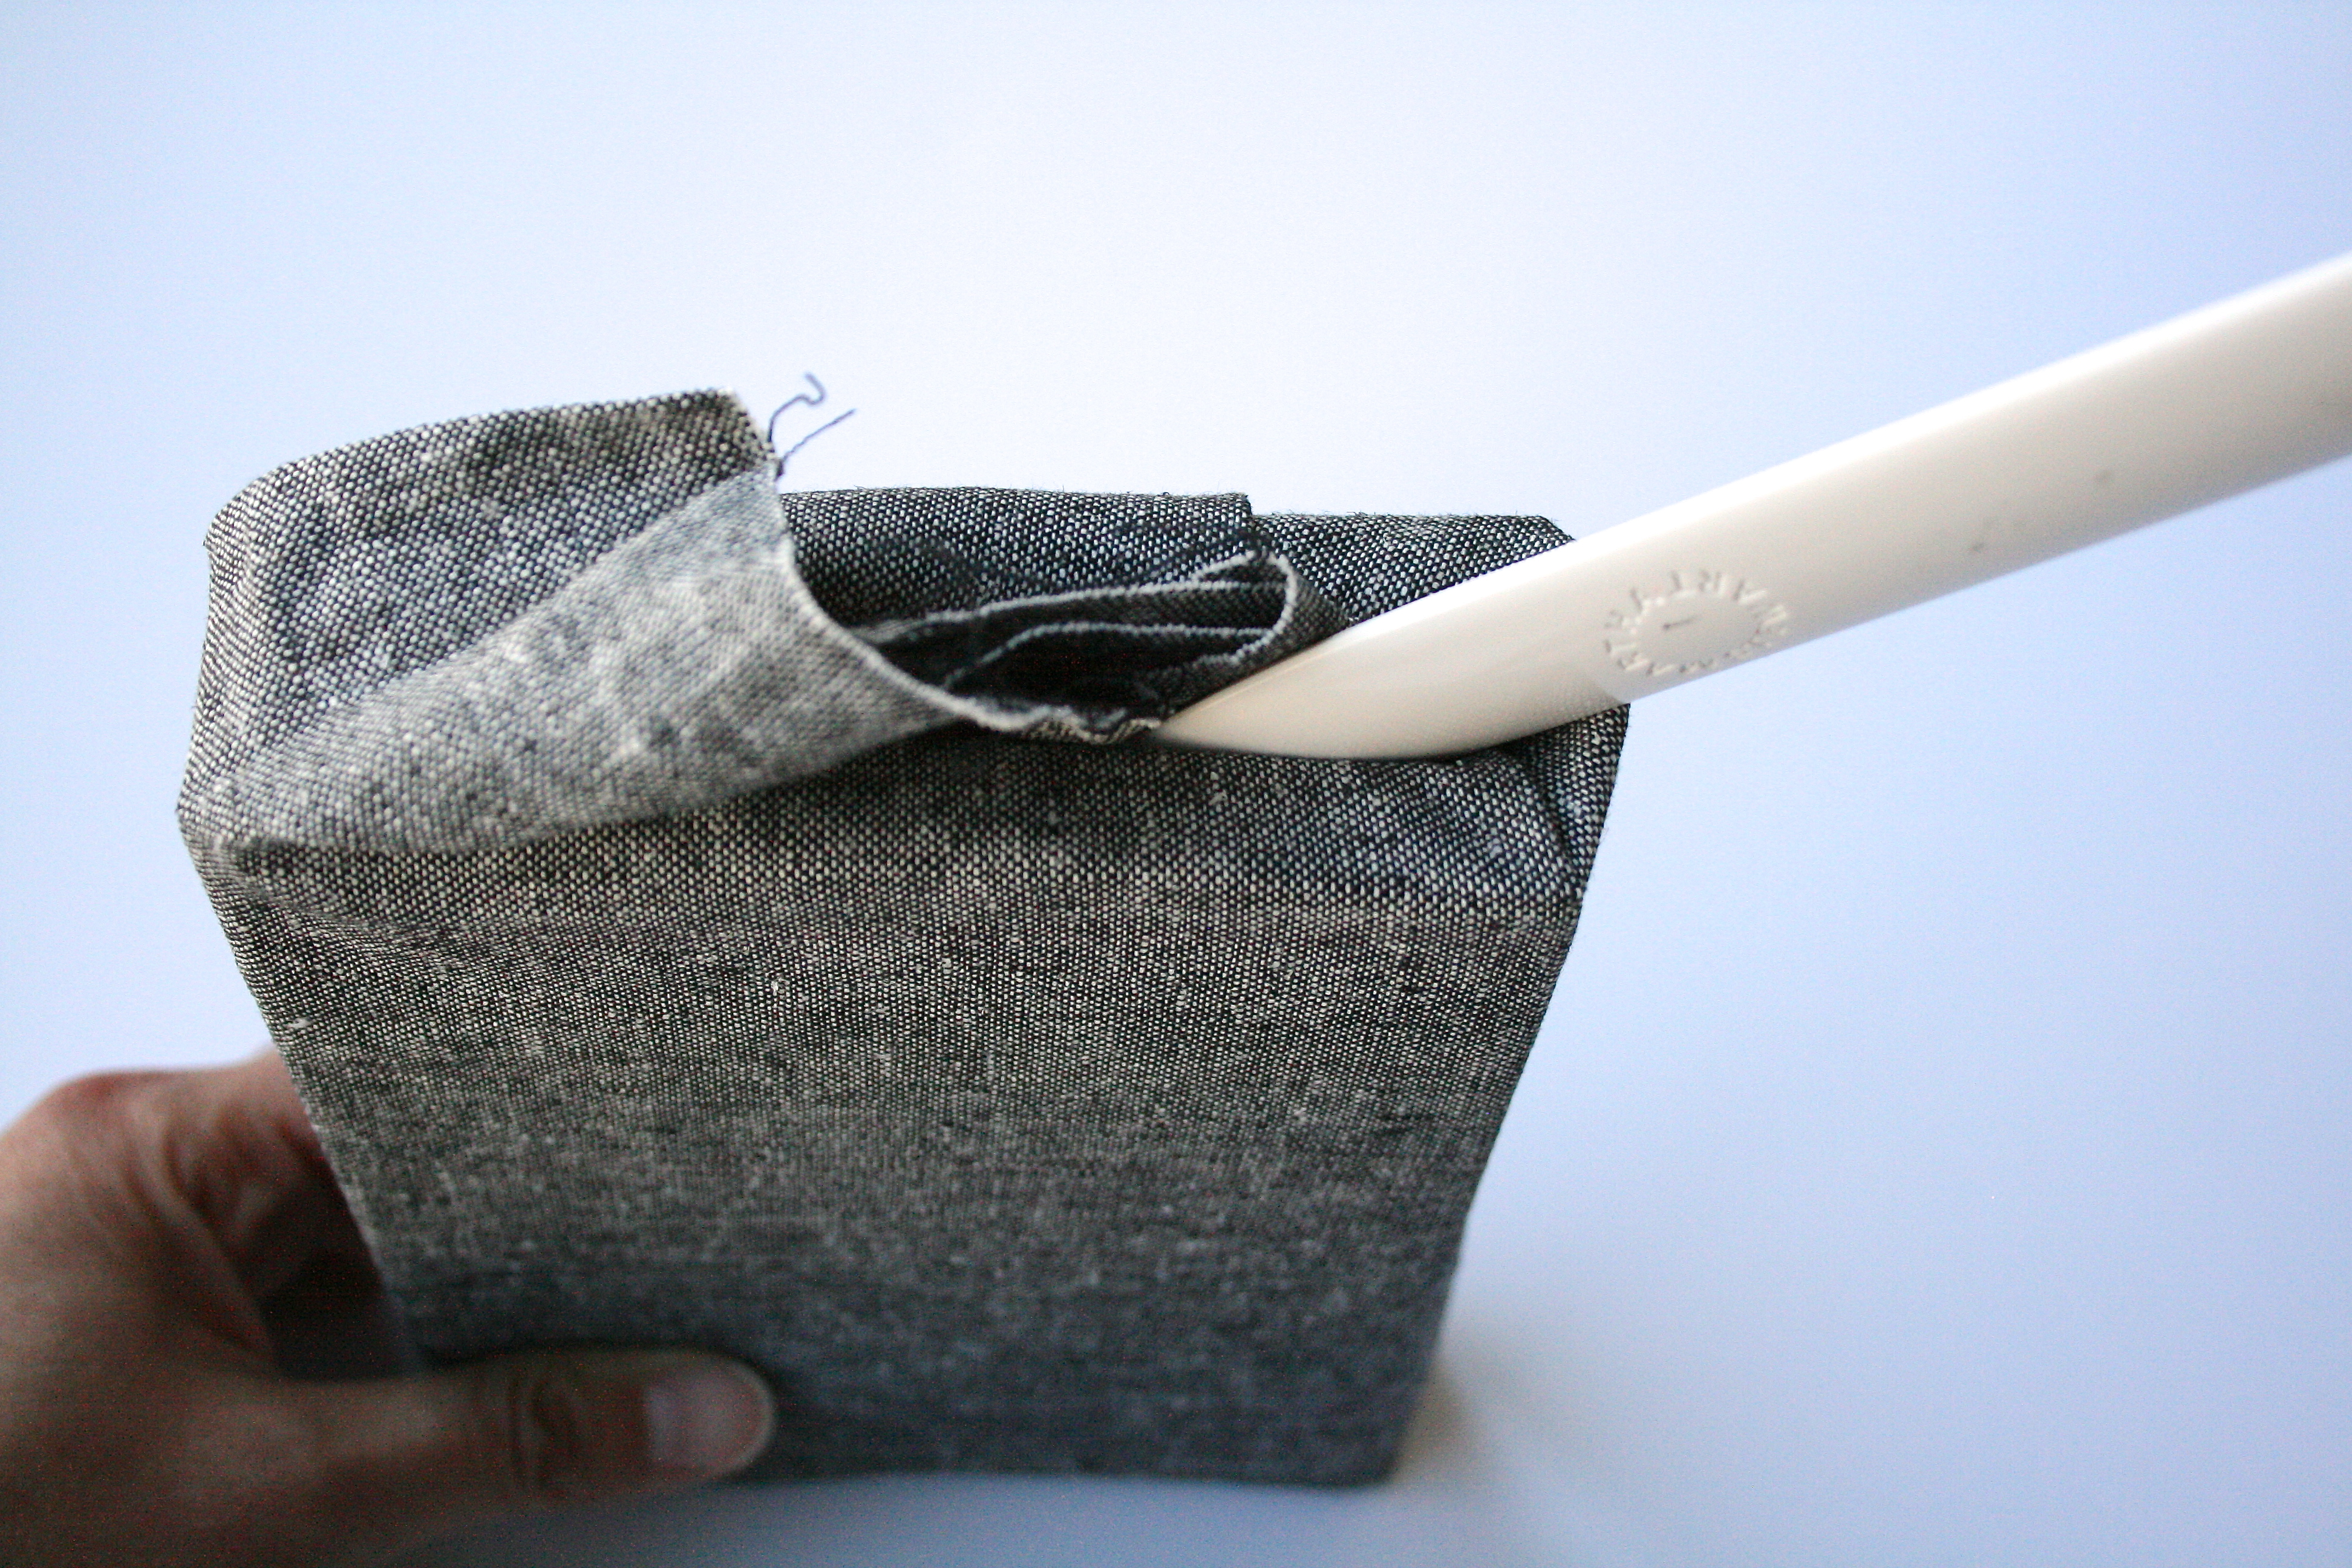 7. Stand it on one edge, and use your scoring knife to push in the fabric in between the two boxes. I found it easier if you start at one end. Just make sure you push it in all the way so you have a clean edge and fold. Repeat on the other side.
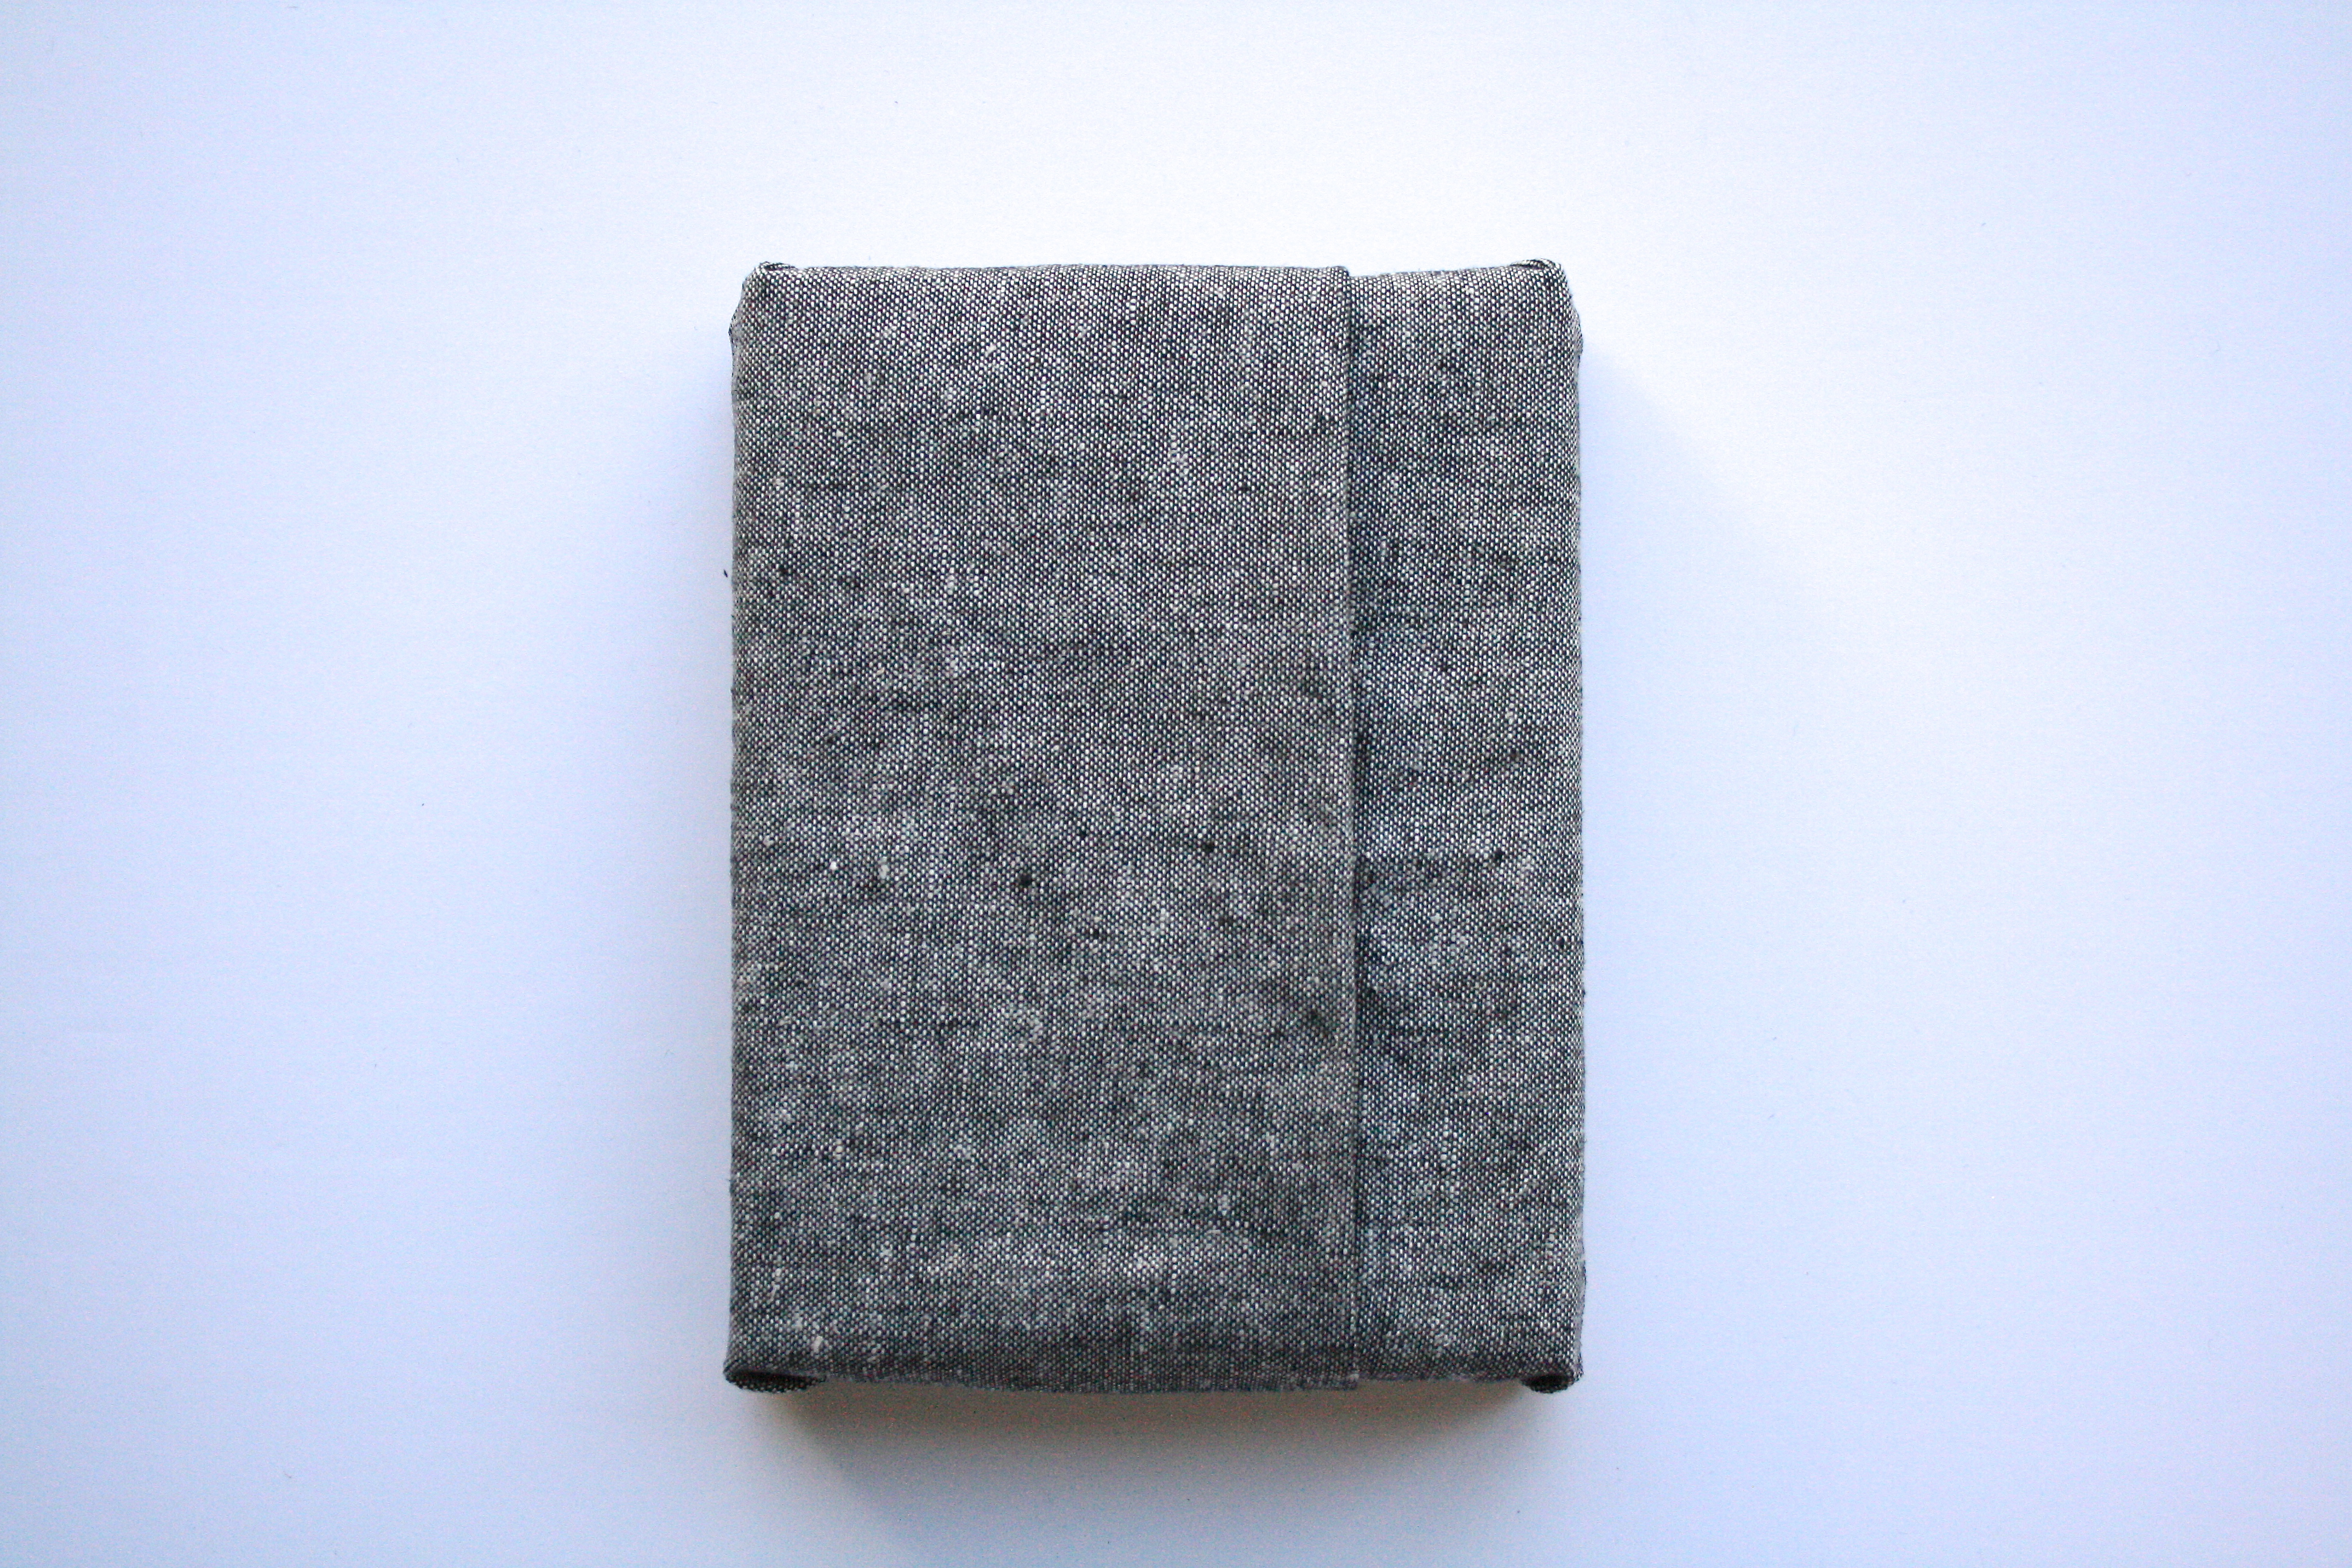 8. Take the pin out. You are done! Now you can Pinterest “pin it”!

I told you it was easy!
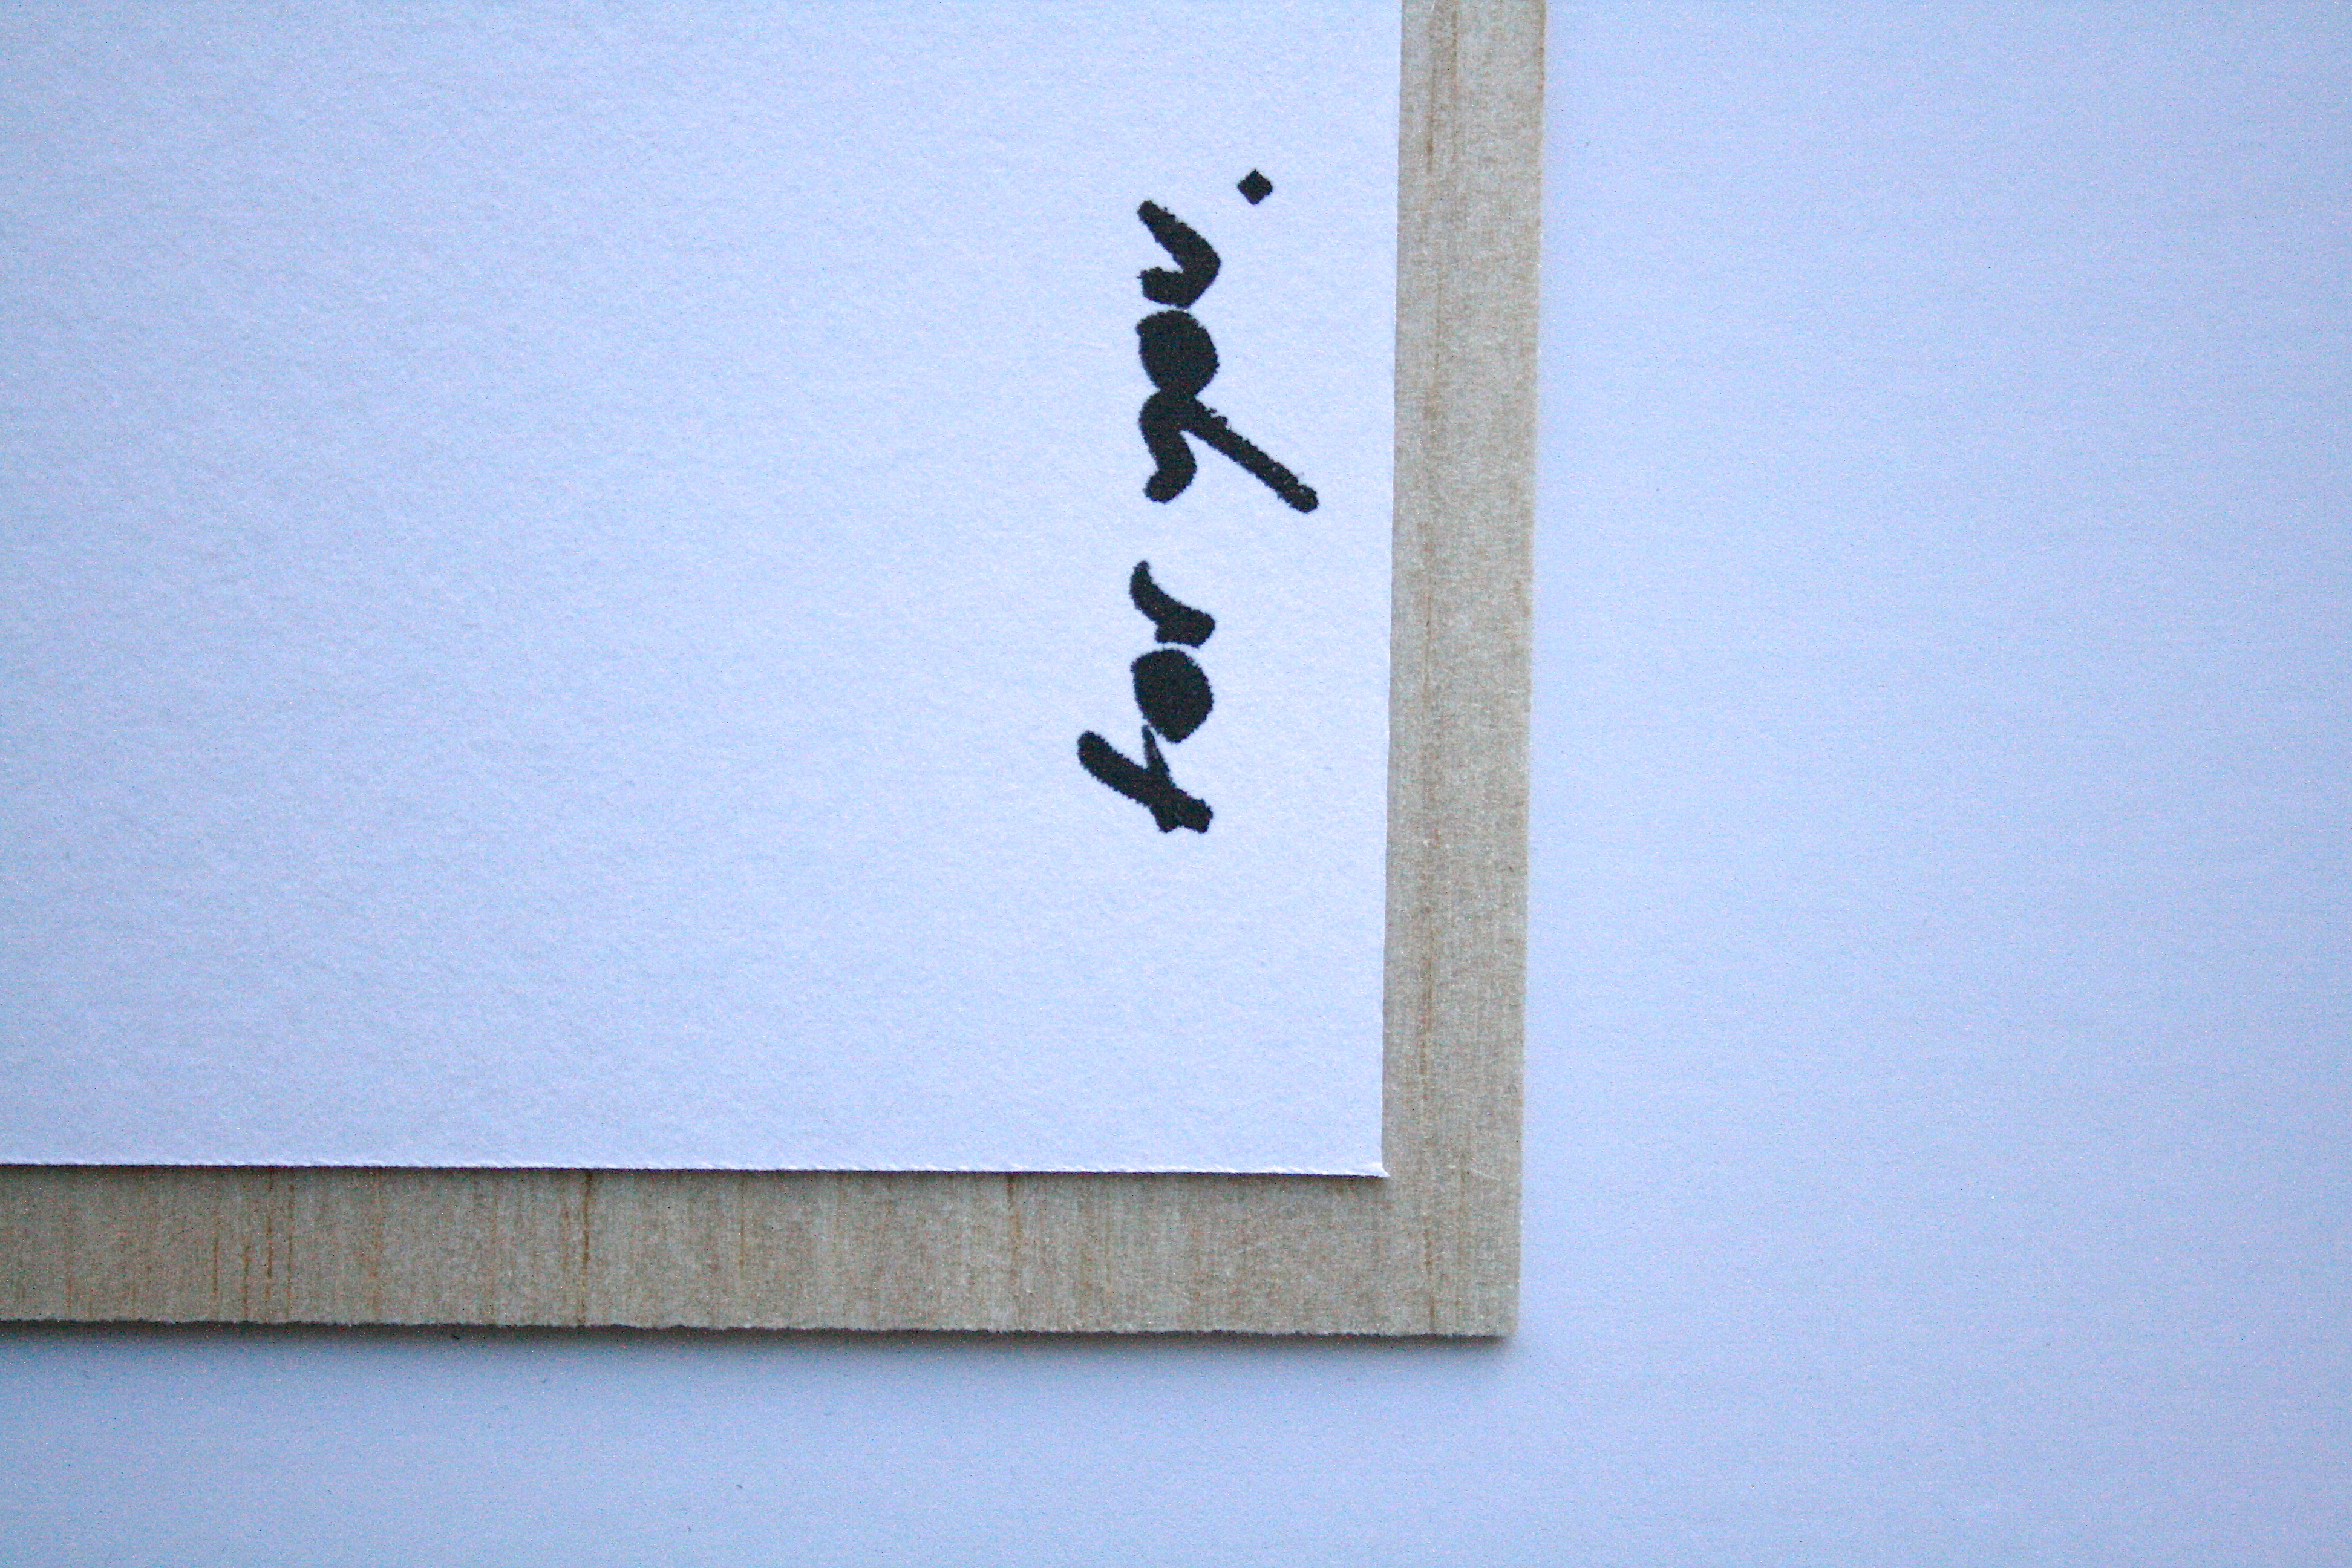
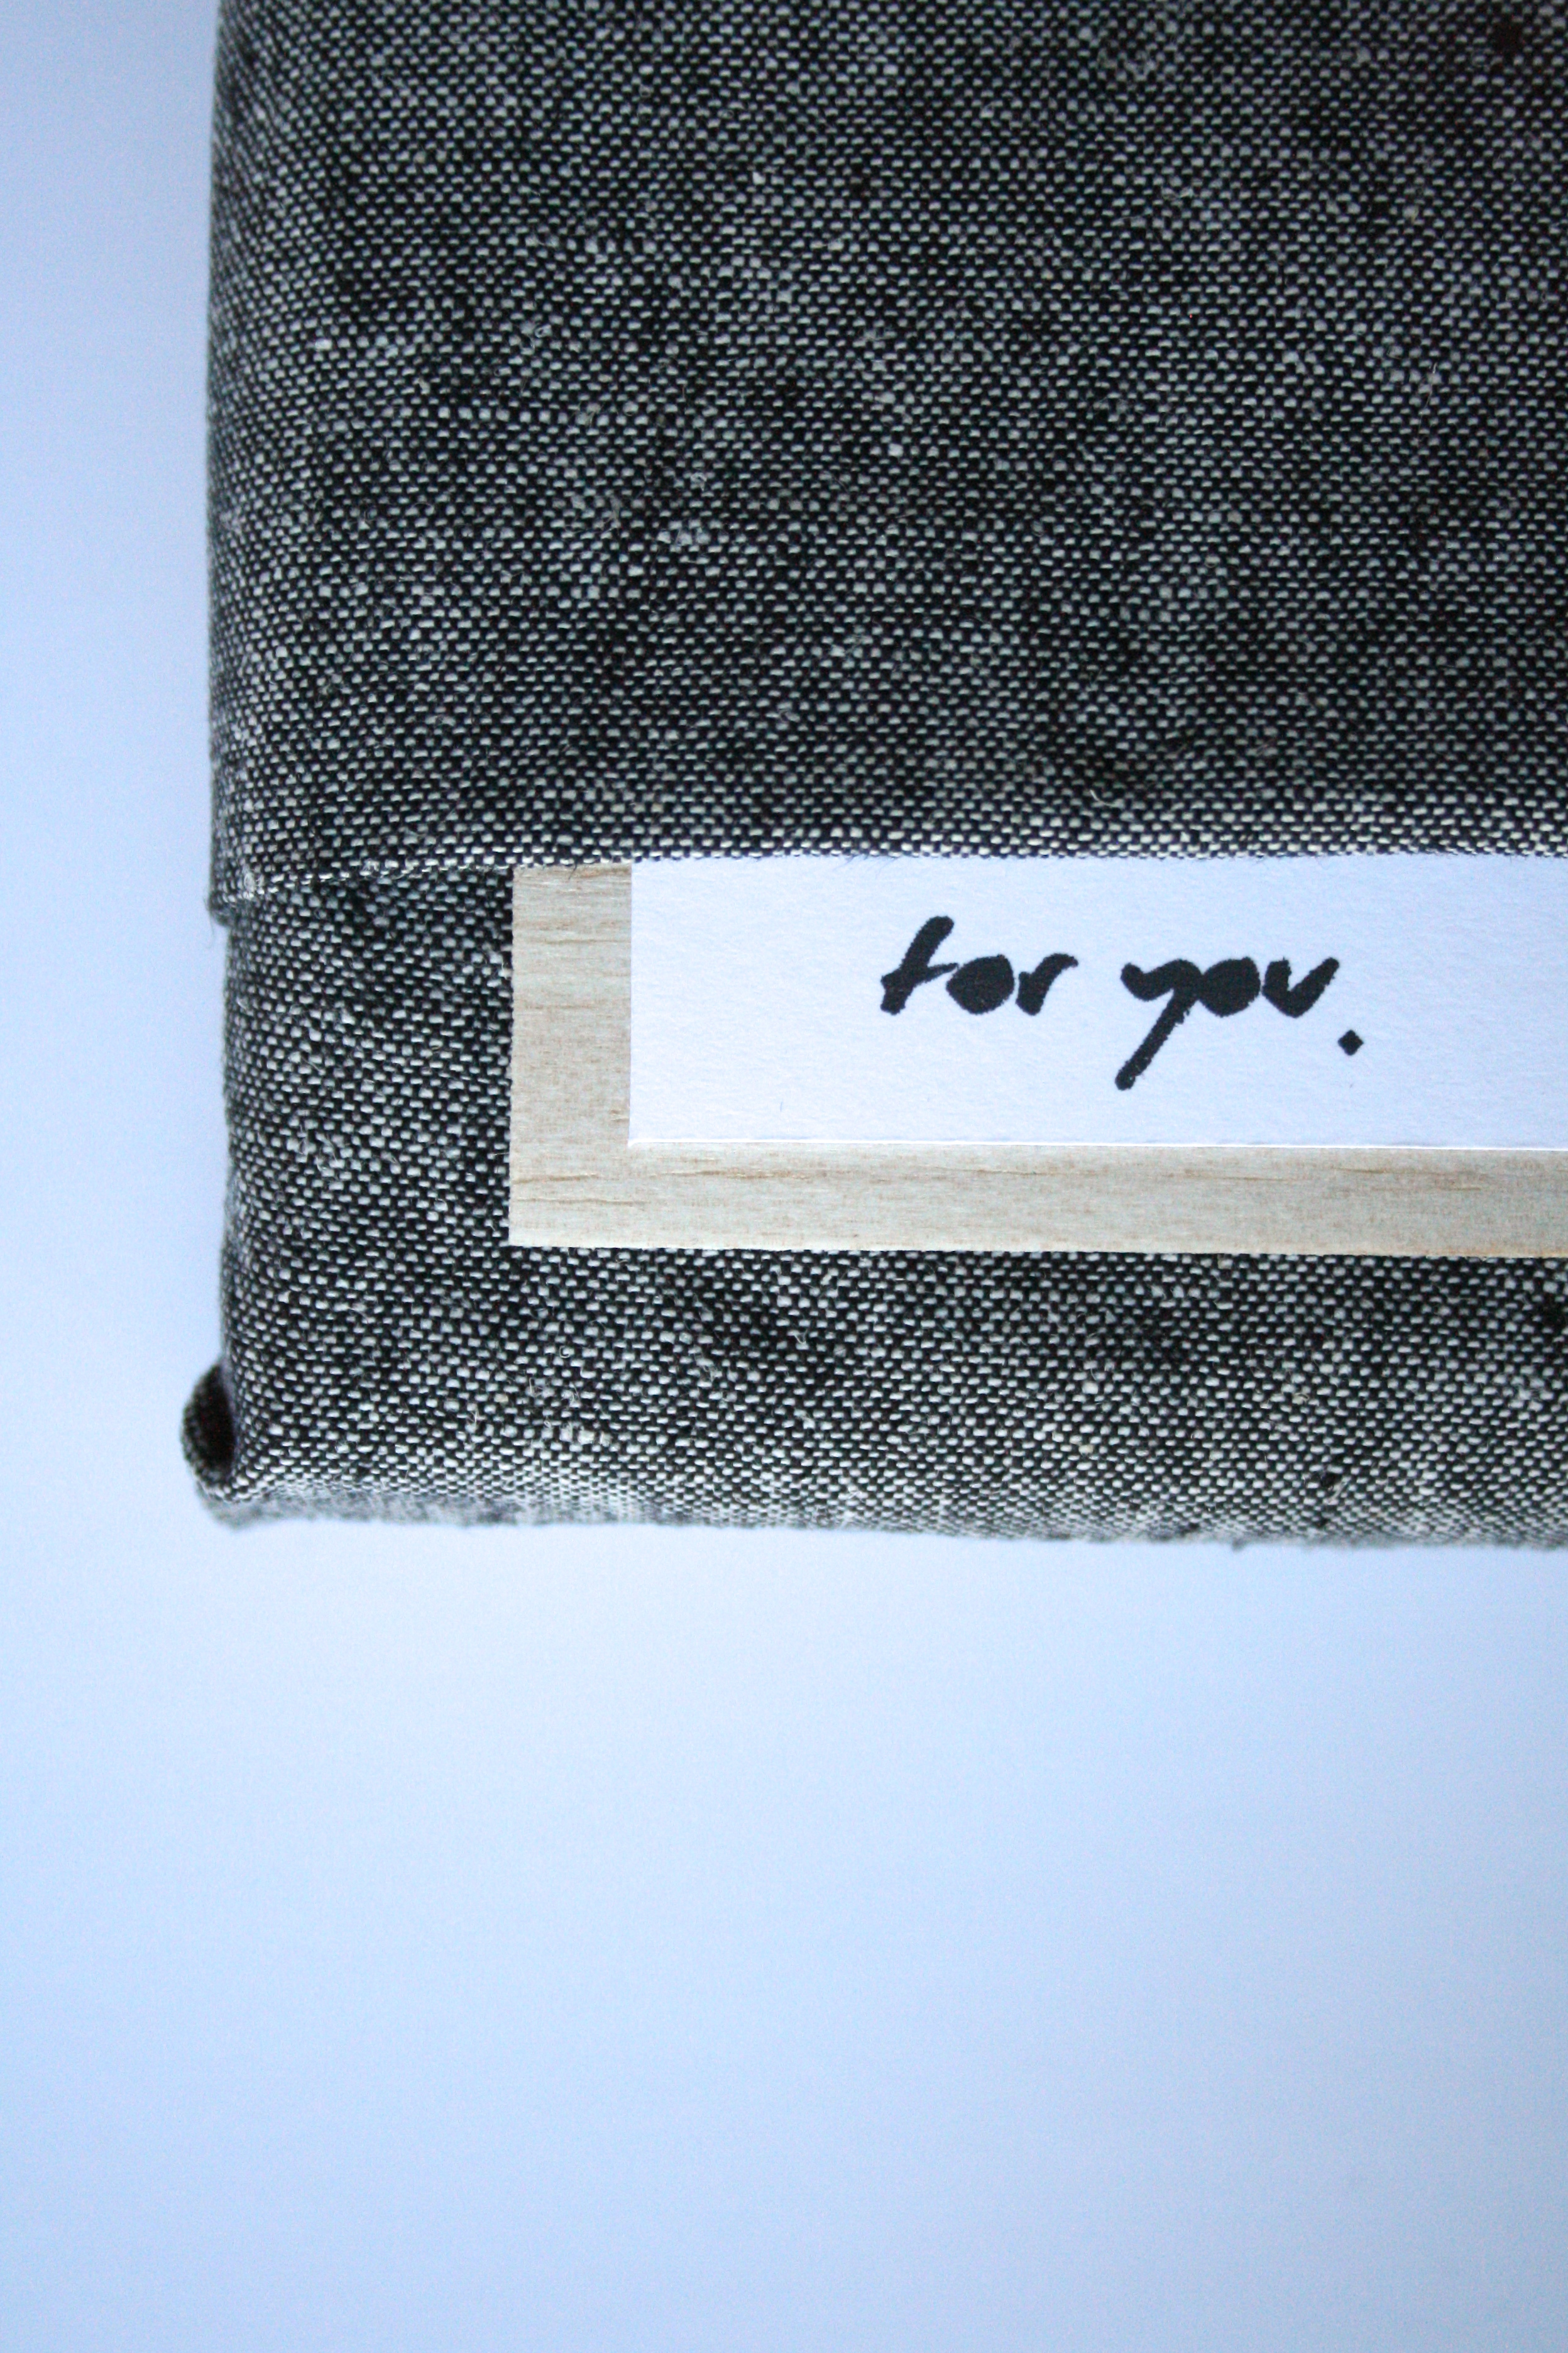
 Okay, you’re done…unless you want to go a step further, like I did here. I had some balsa wood scraps leftover from another project. So I printed a “for you” tag and used double stick tape to tape it onto the balsa wood.
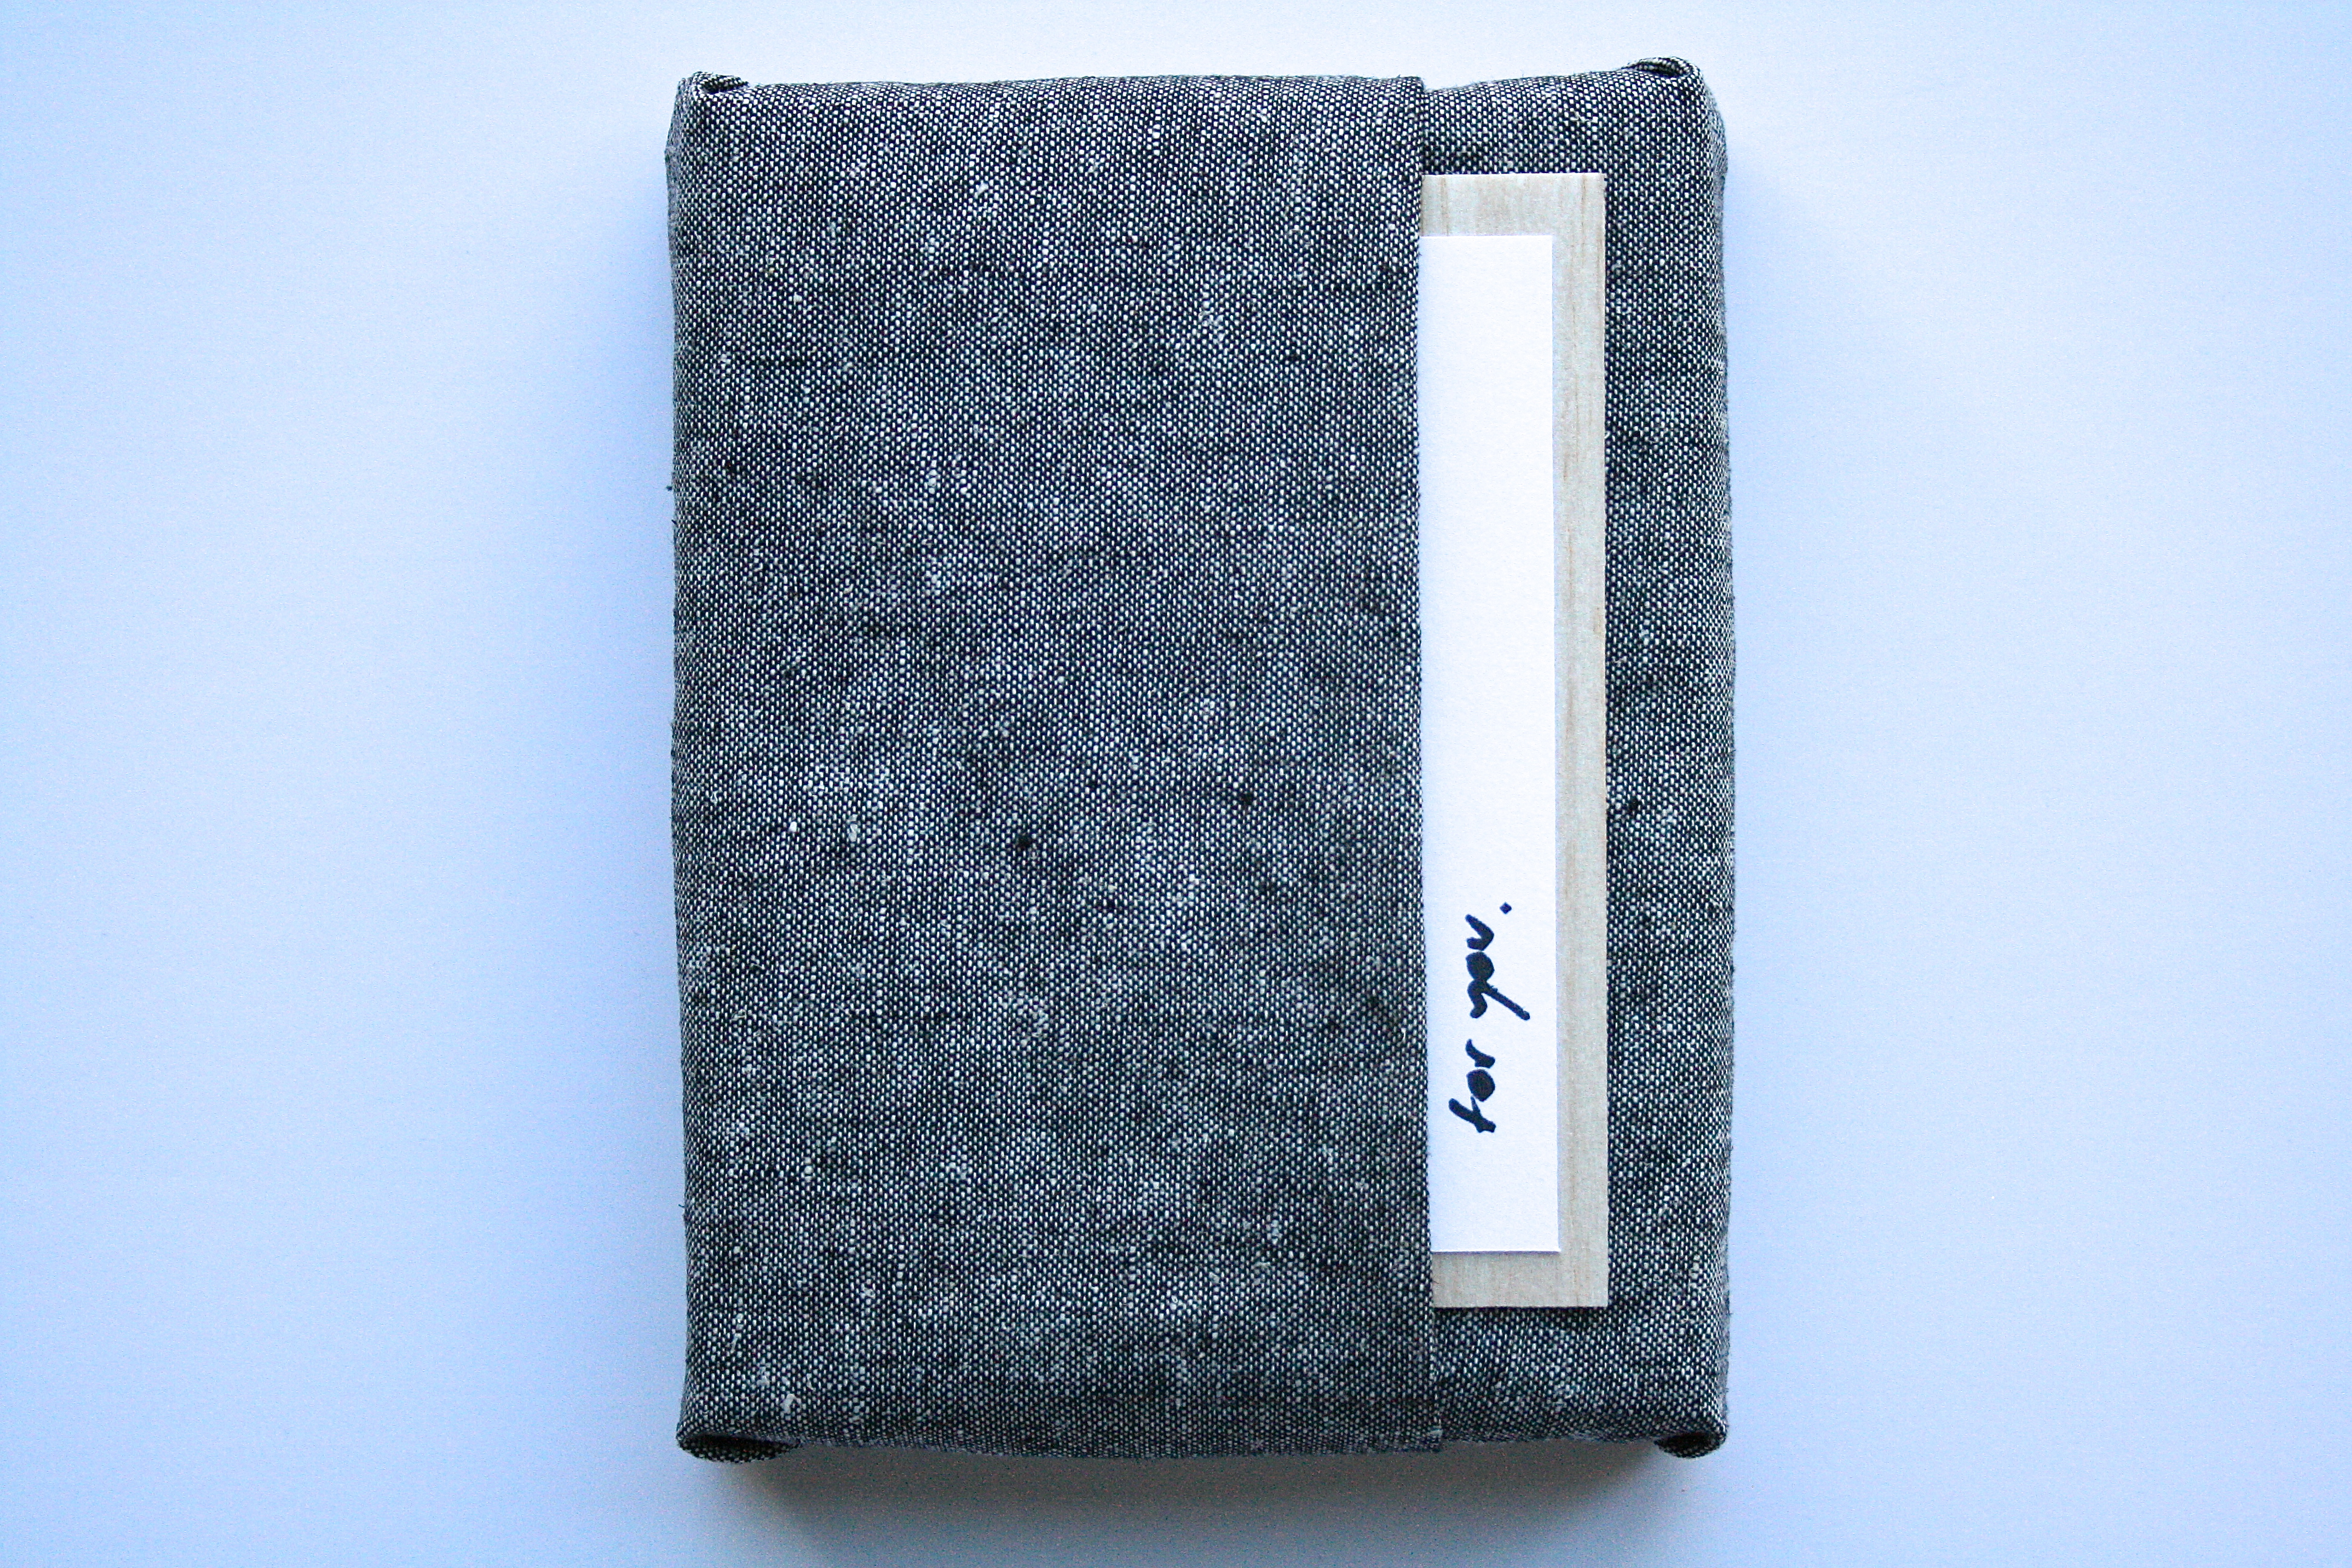
Slip the tag into the crease.
 And now you are really done.
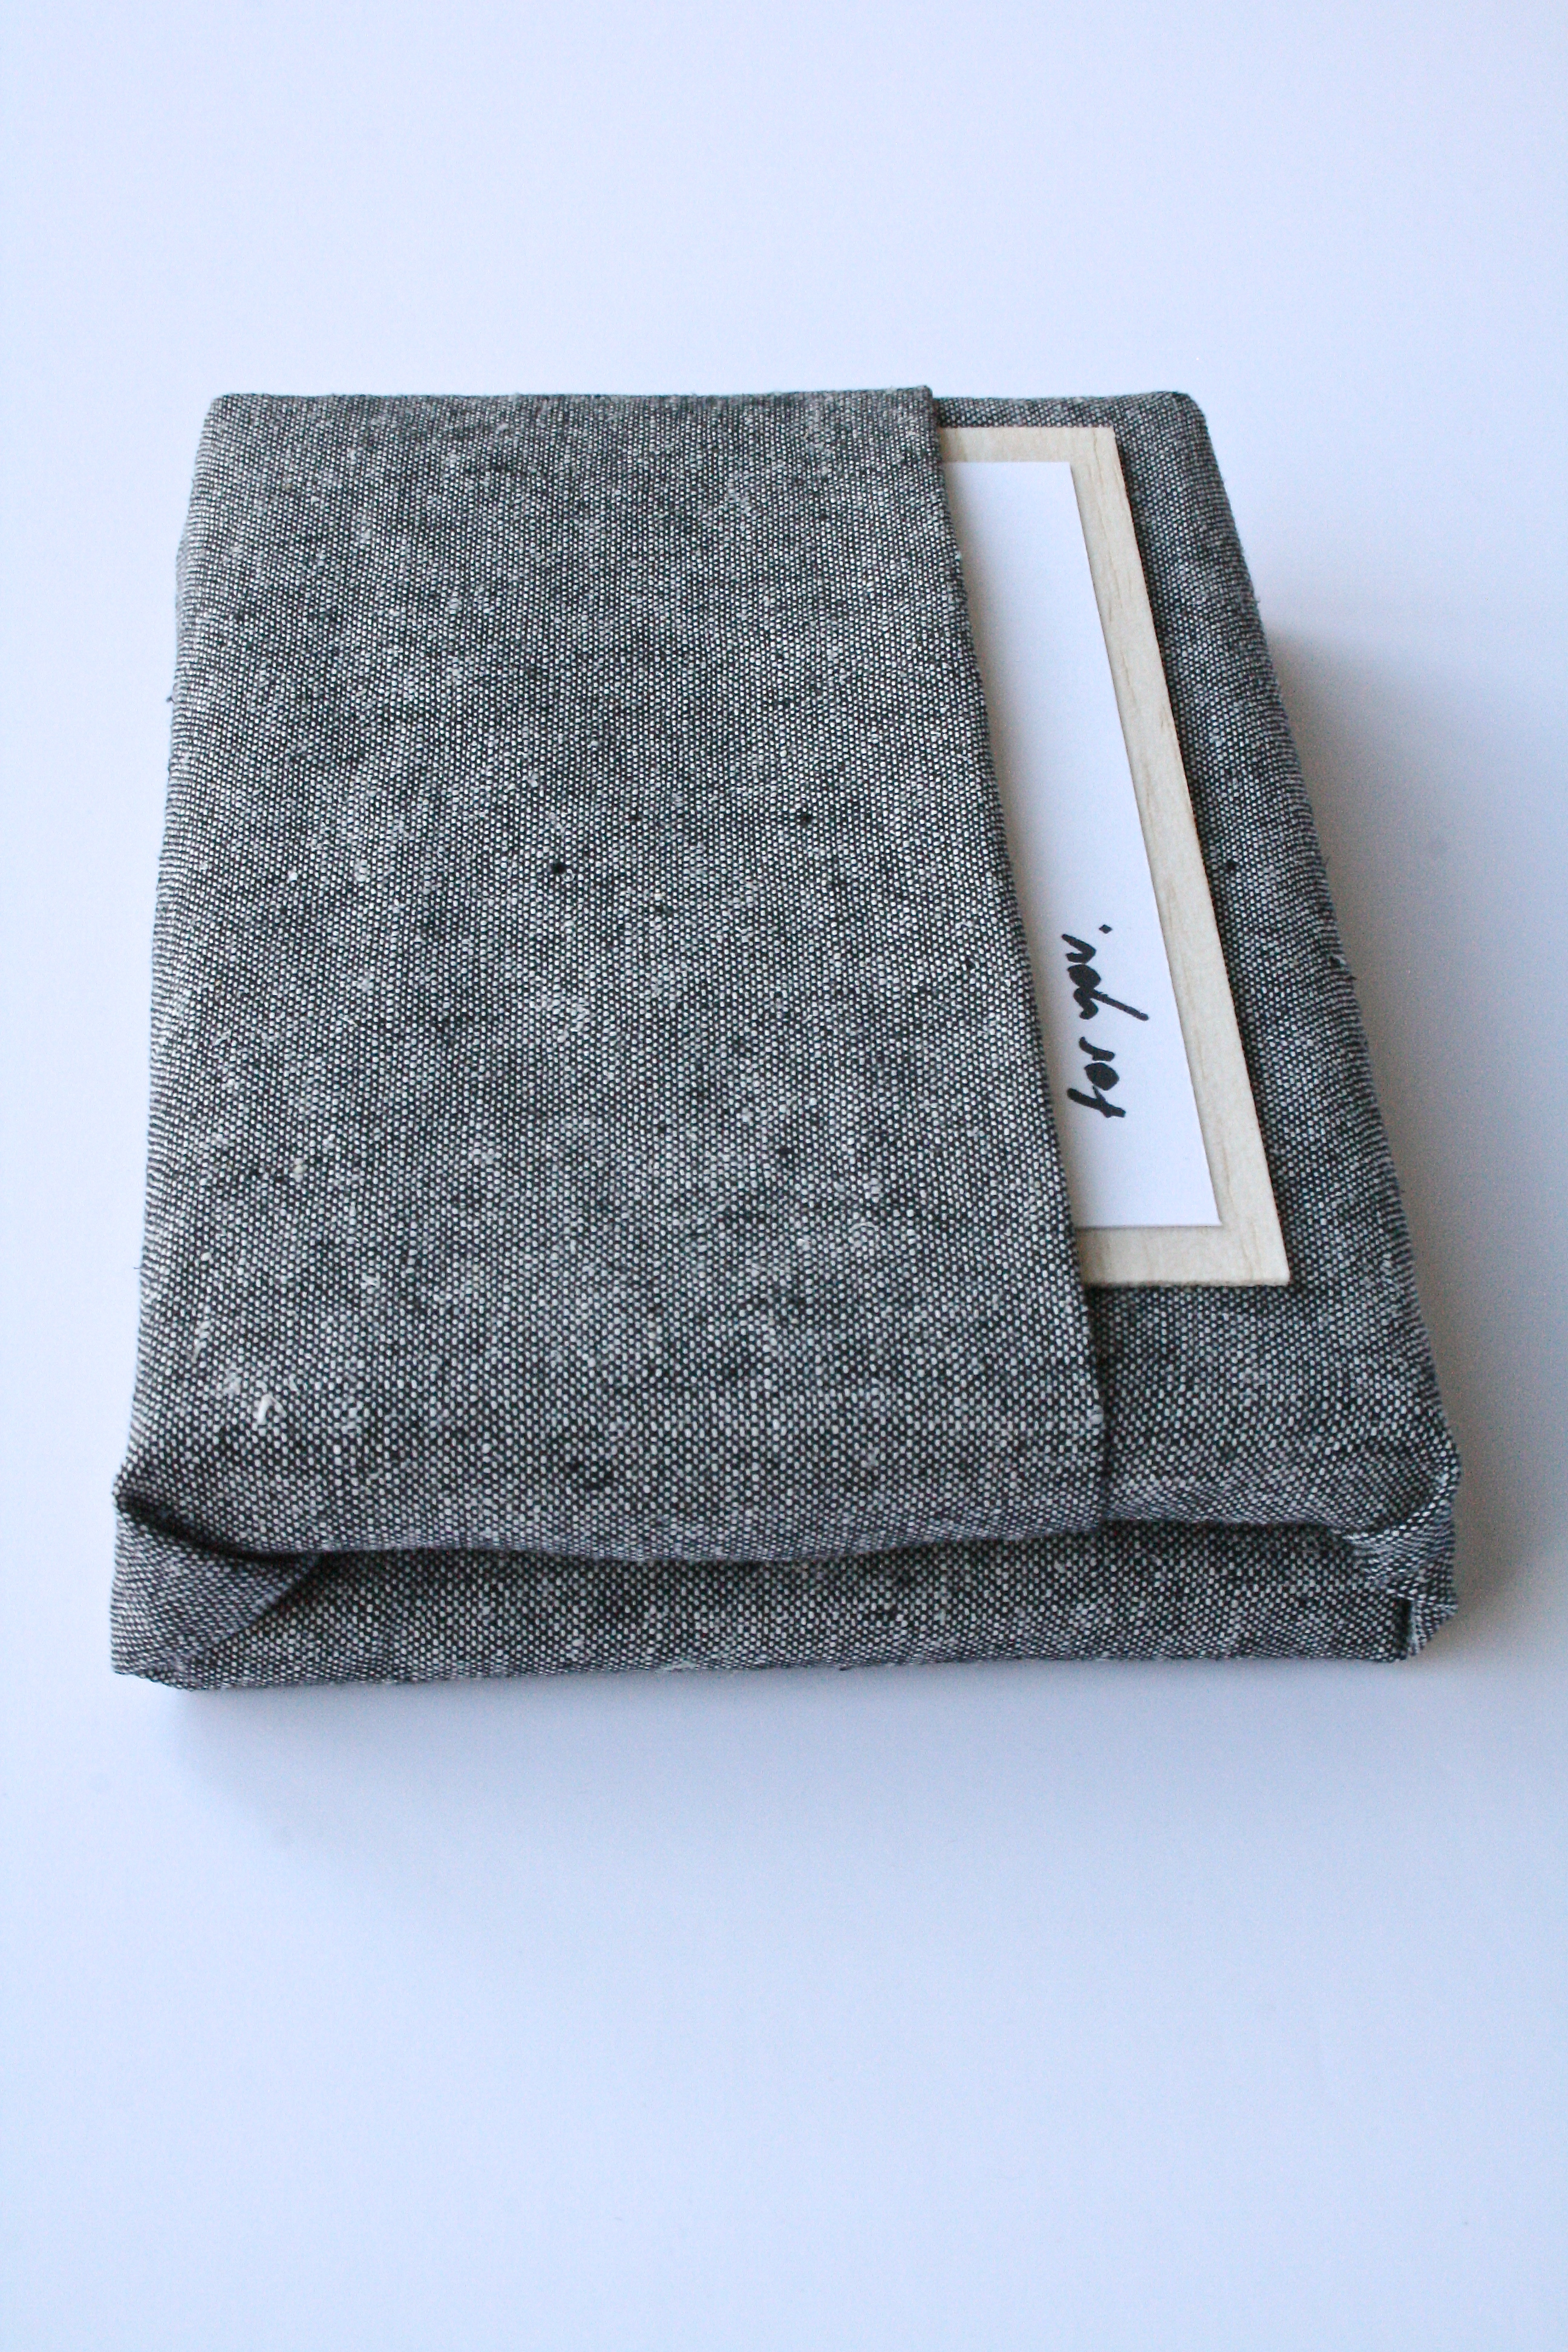 So simple. So pretty. So, please try it. You can do it!