fabric wrapping tutorial #5
 To continue my fabric wrapping tutorial, also known as furoshiki, I decided to go with a simple wrap for a box.
My son was invited to a birthday this past weekend at a fire station. It was so fun! They got to tour the fire station, see where the firemen sleep (which was the kids’ favorite part for some reason), eat, hang out and work out. By the way, they sleep in bunk beds 🙂 The firemen were so friendly…and so cute, ahem. They also got to play on the fire trucks which was my son’s favorite part. I got to look at the cute firemen which was my favorite part. What is it with men in uniform? Okay, okay, back to the topic. Where was I? Oh yeah, he got to pretend drive, speak into the walkie-talkie, and pretend to put out fires, of course. It was a blast all around.
So we picked out legos as a gift. It’s a simple rectangular box so I thought a simple wrapping in a cute fabric will work great.
So here we go.

You need:
Box
Fabric, I cut to about 21″ square and did a quick hem
Scorer (optional)
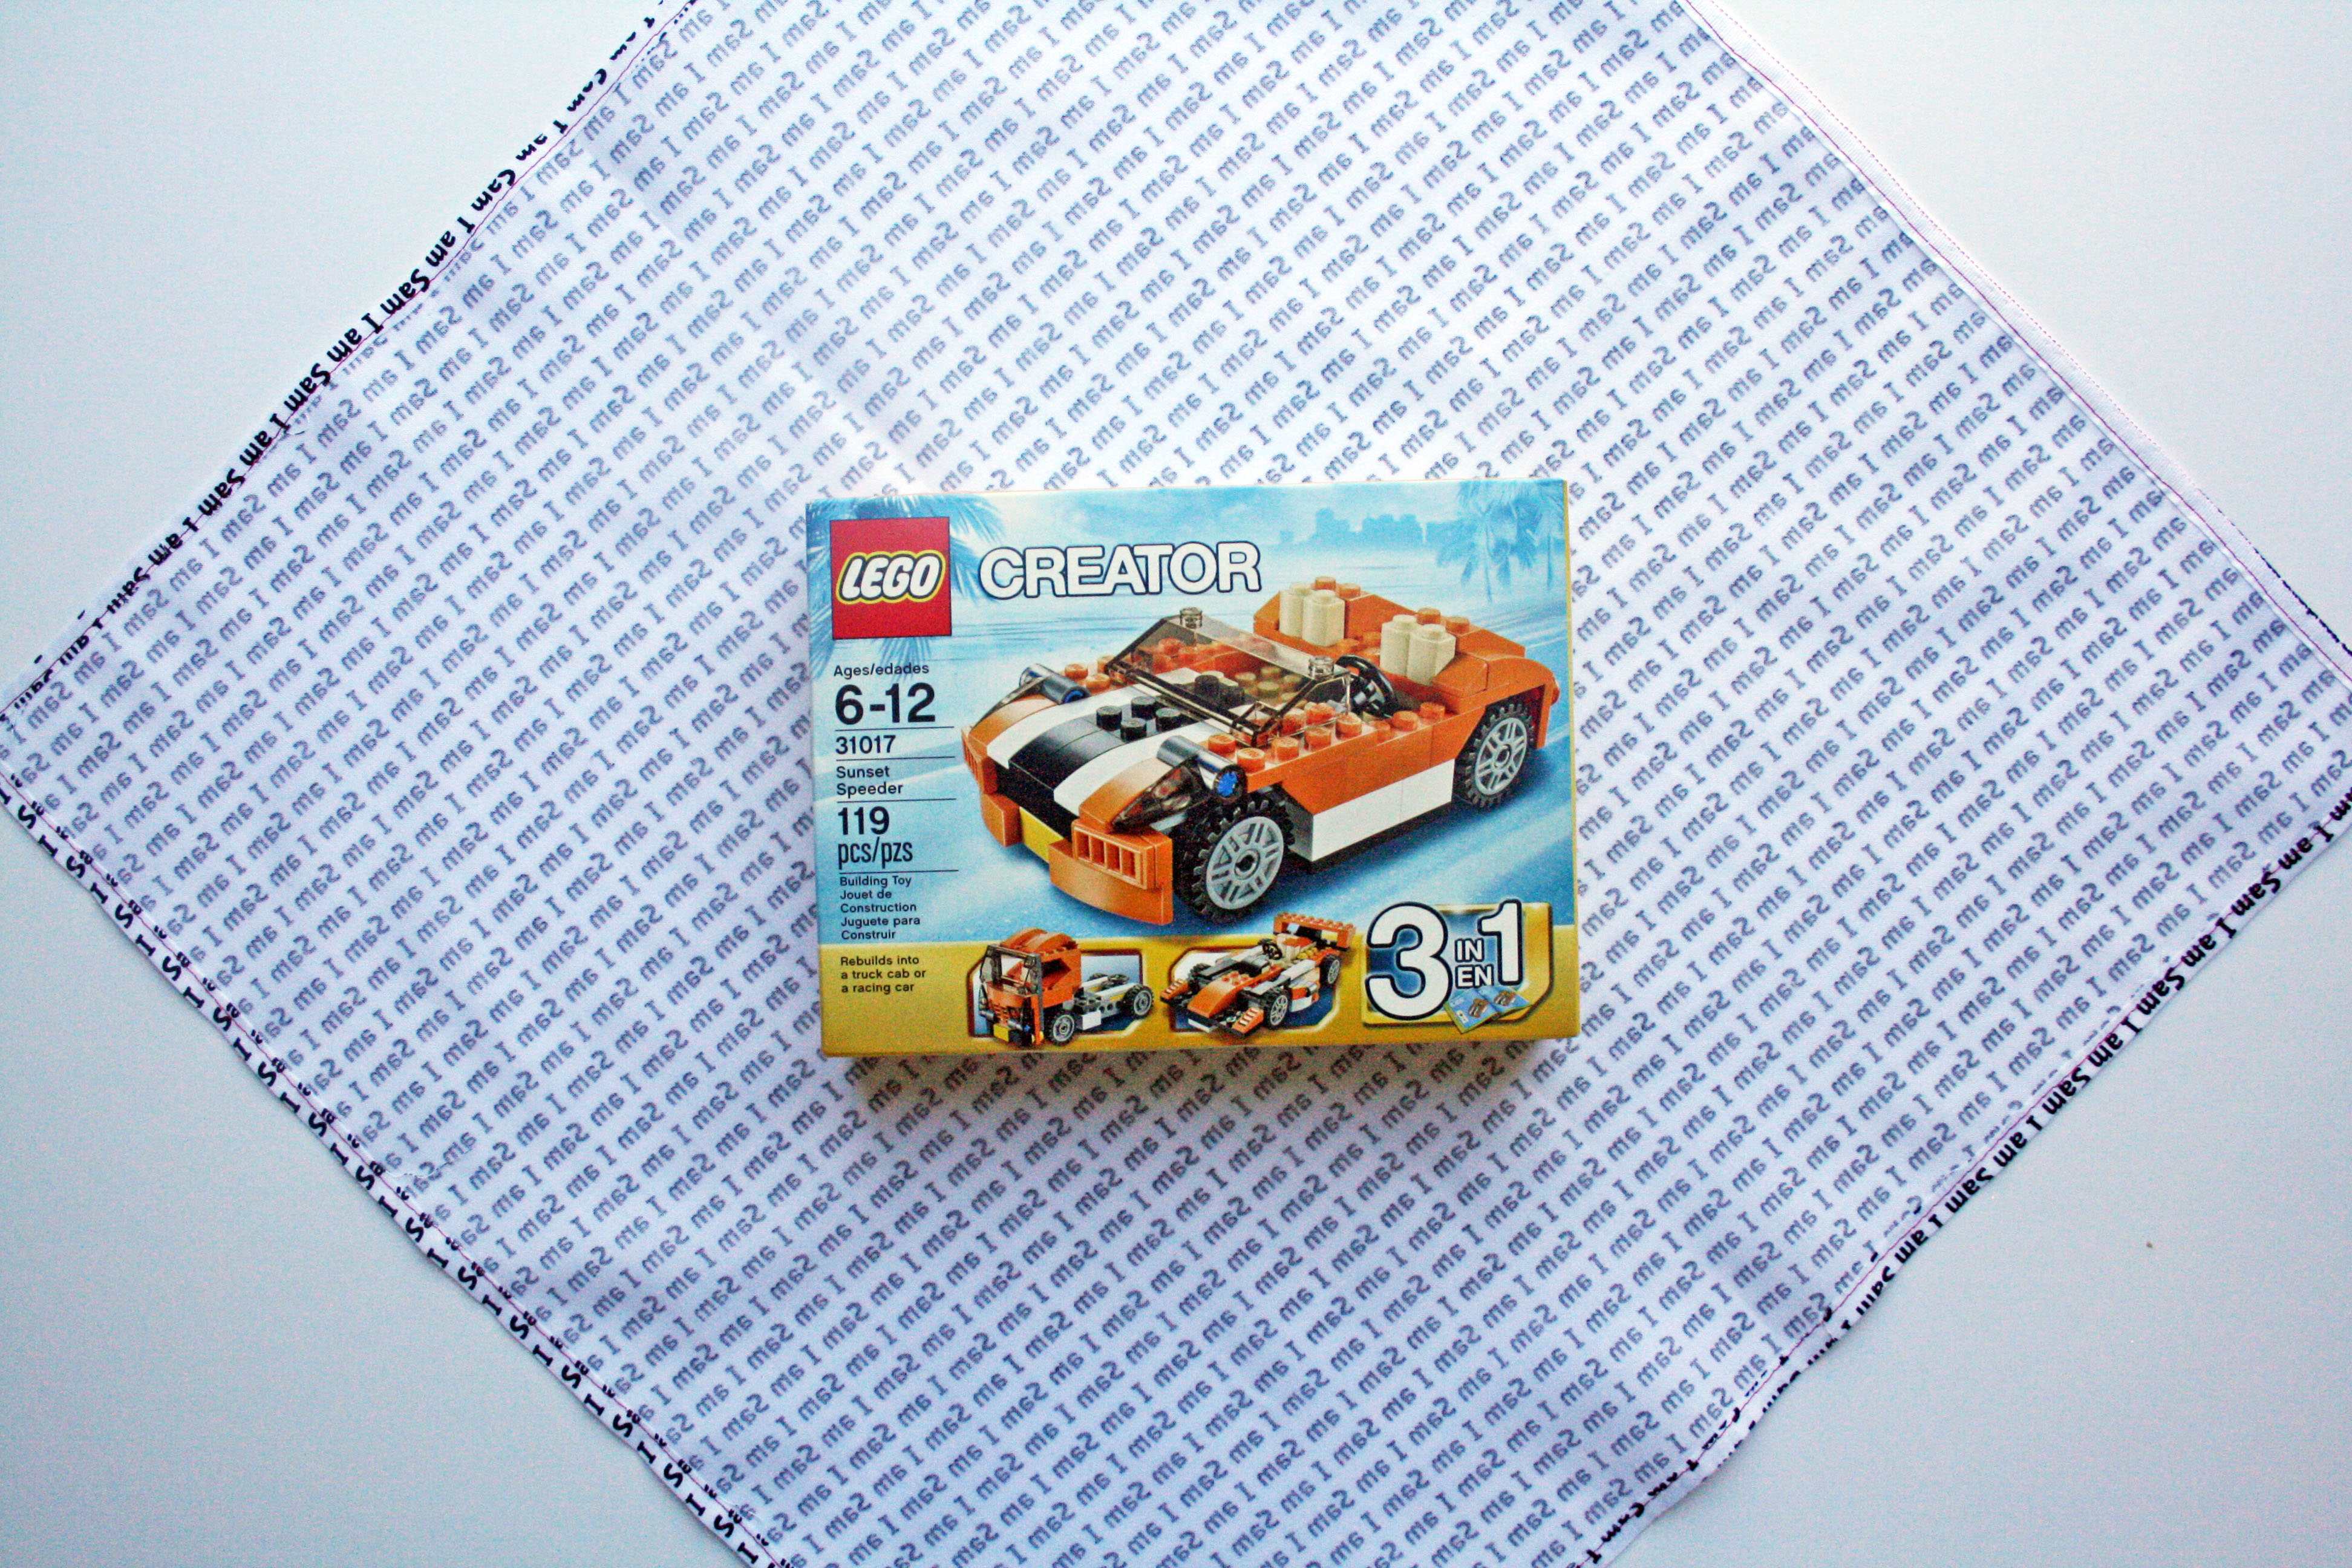
Start with your box placed in the middle of the fabric.

Fold over the bottom corner to the center. Tuck the flap under the box.
Fold over the right corner to the center.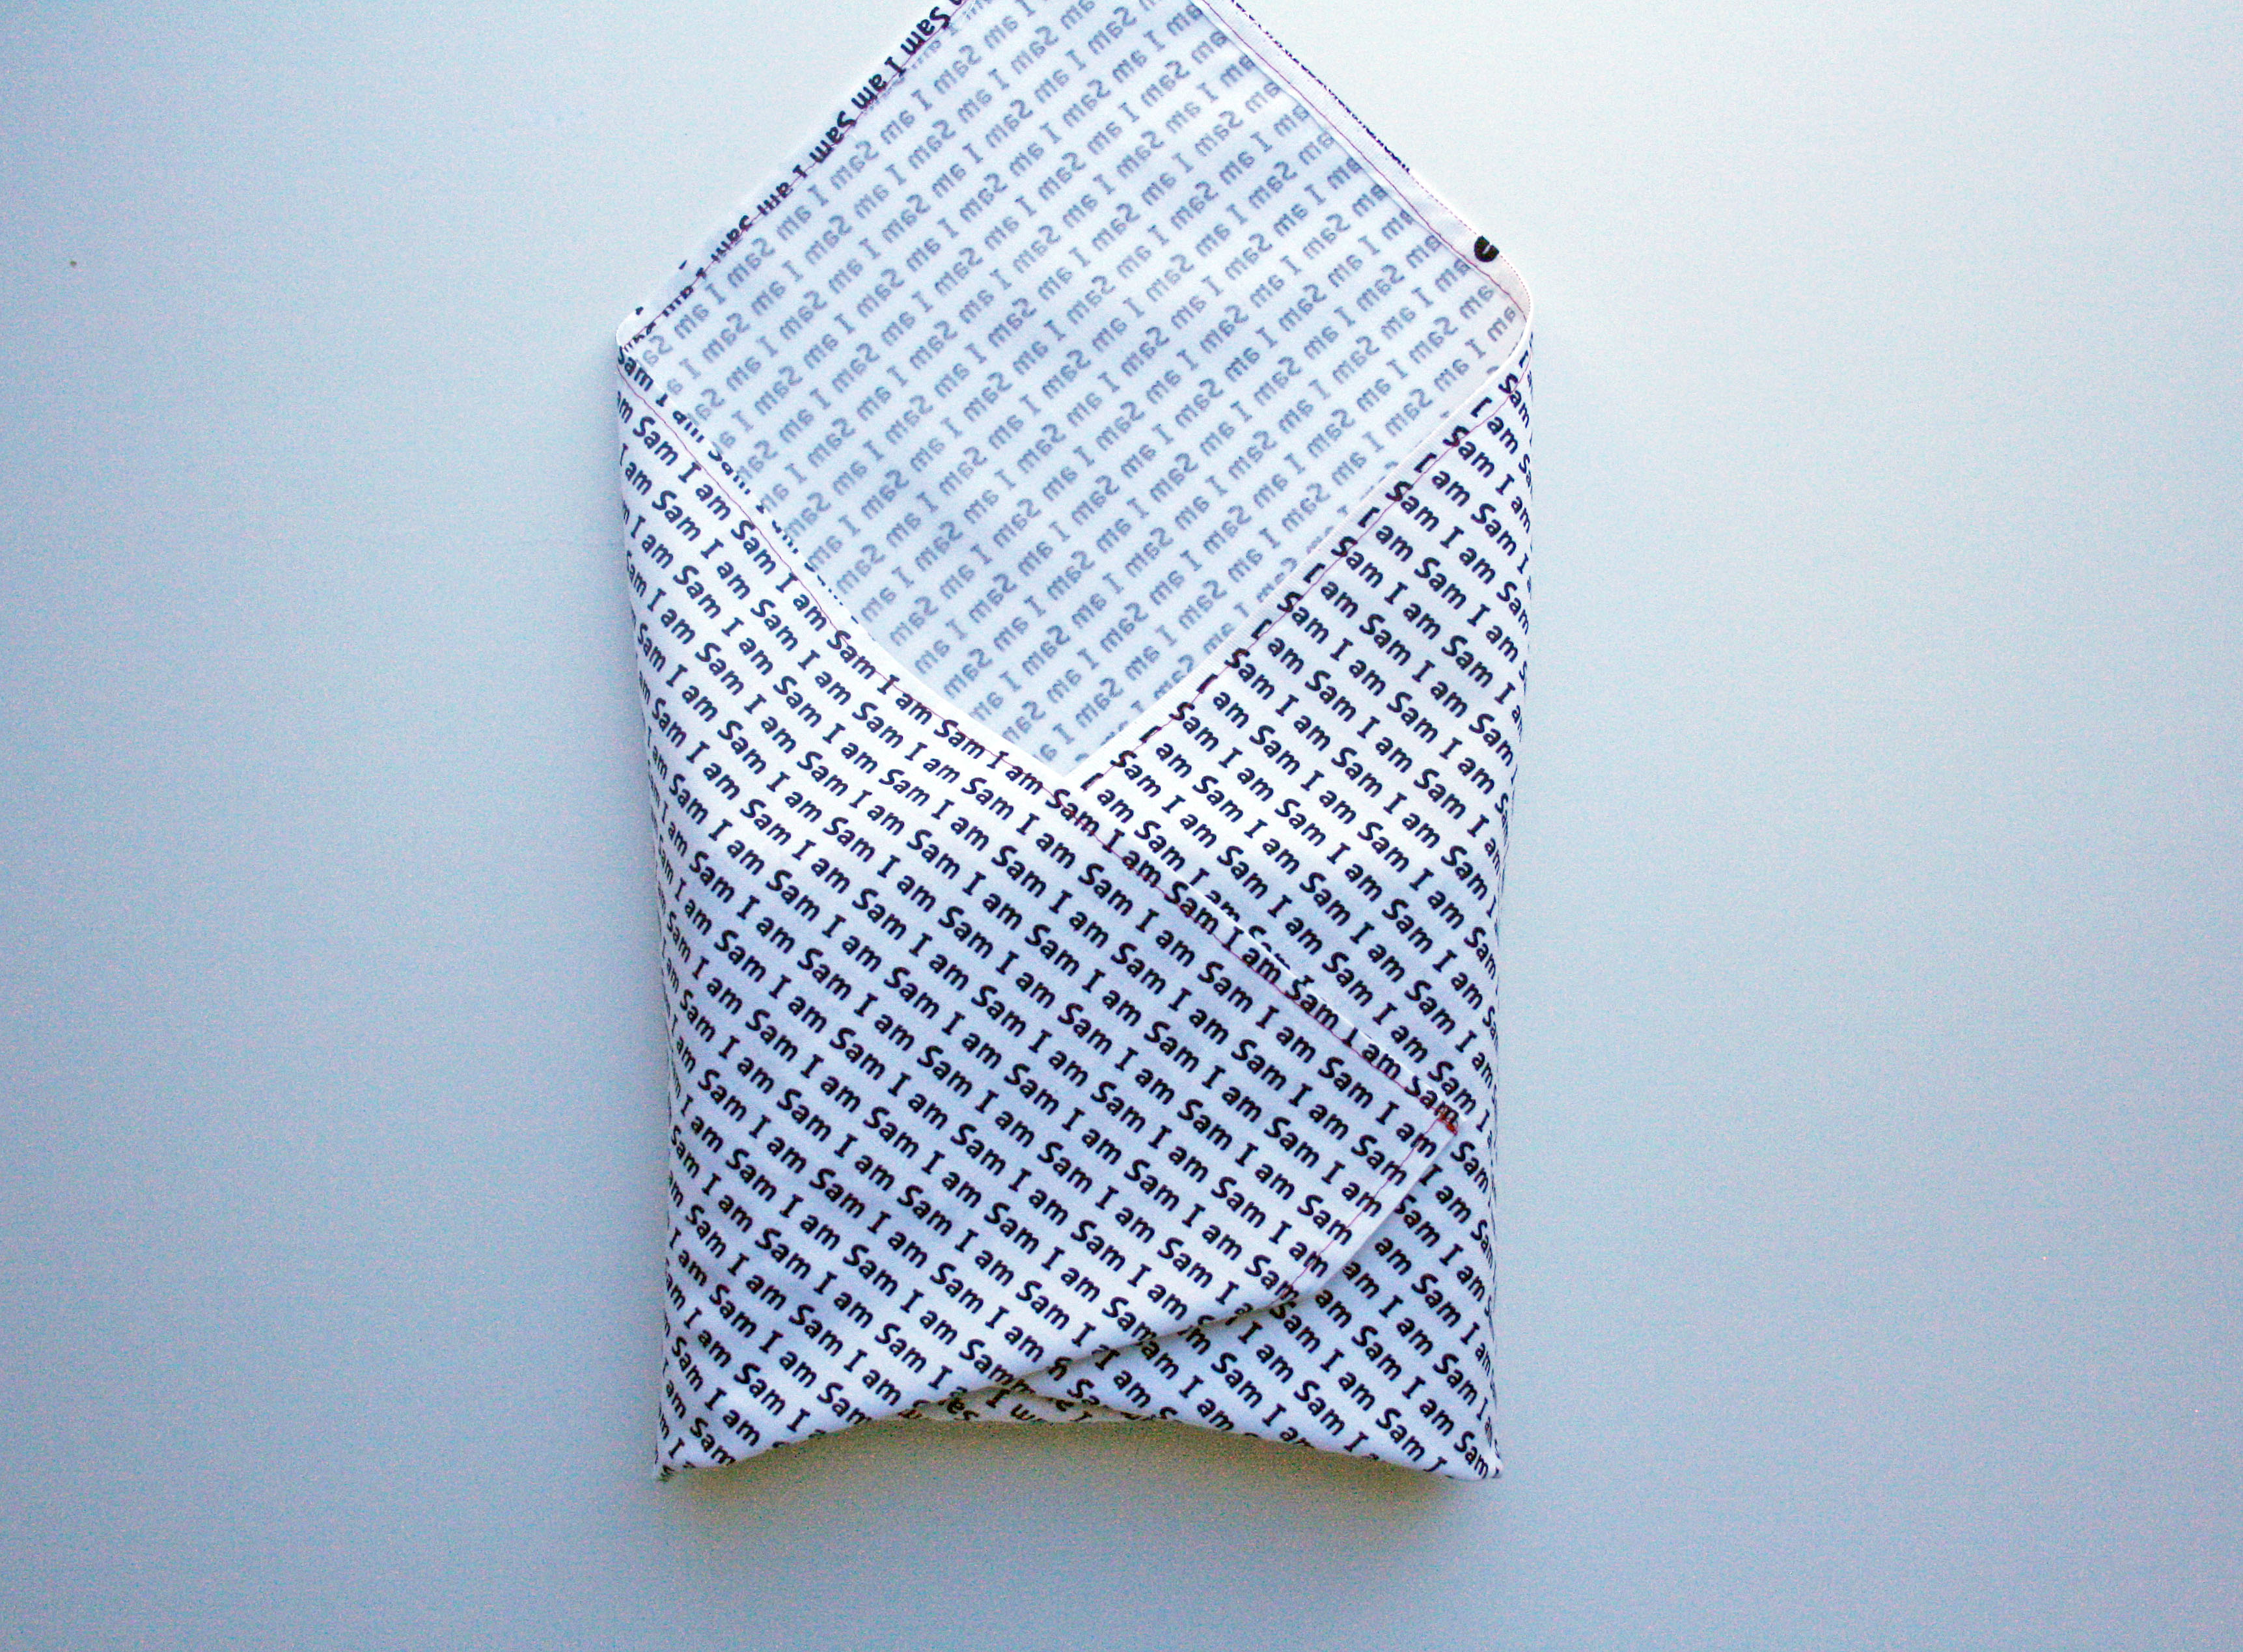 Fold over the left corner to the center.

Fold the top corner down.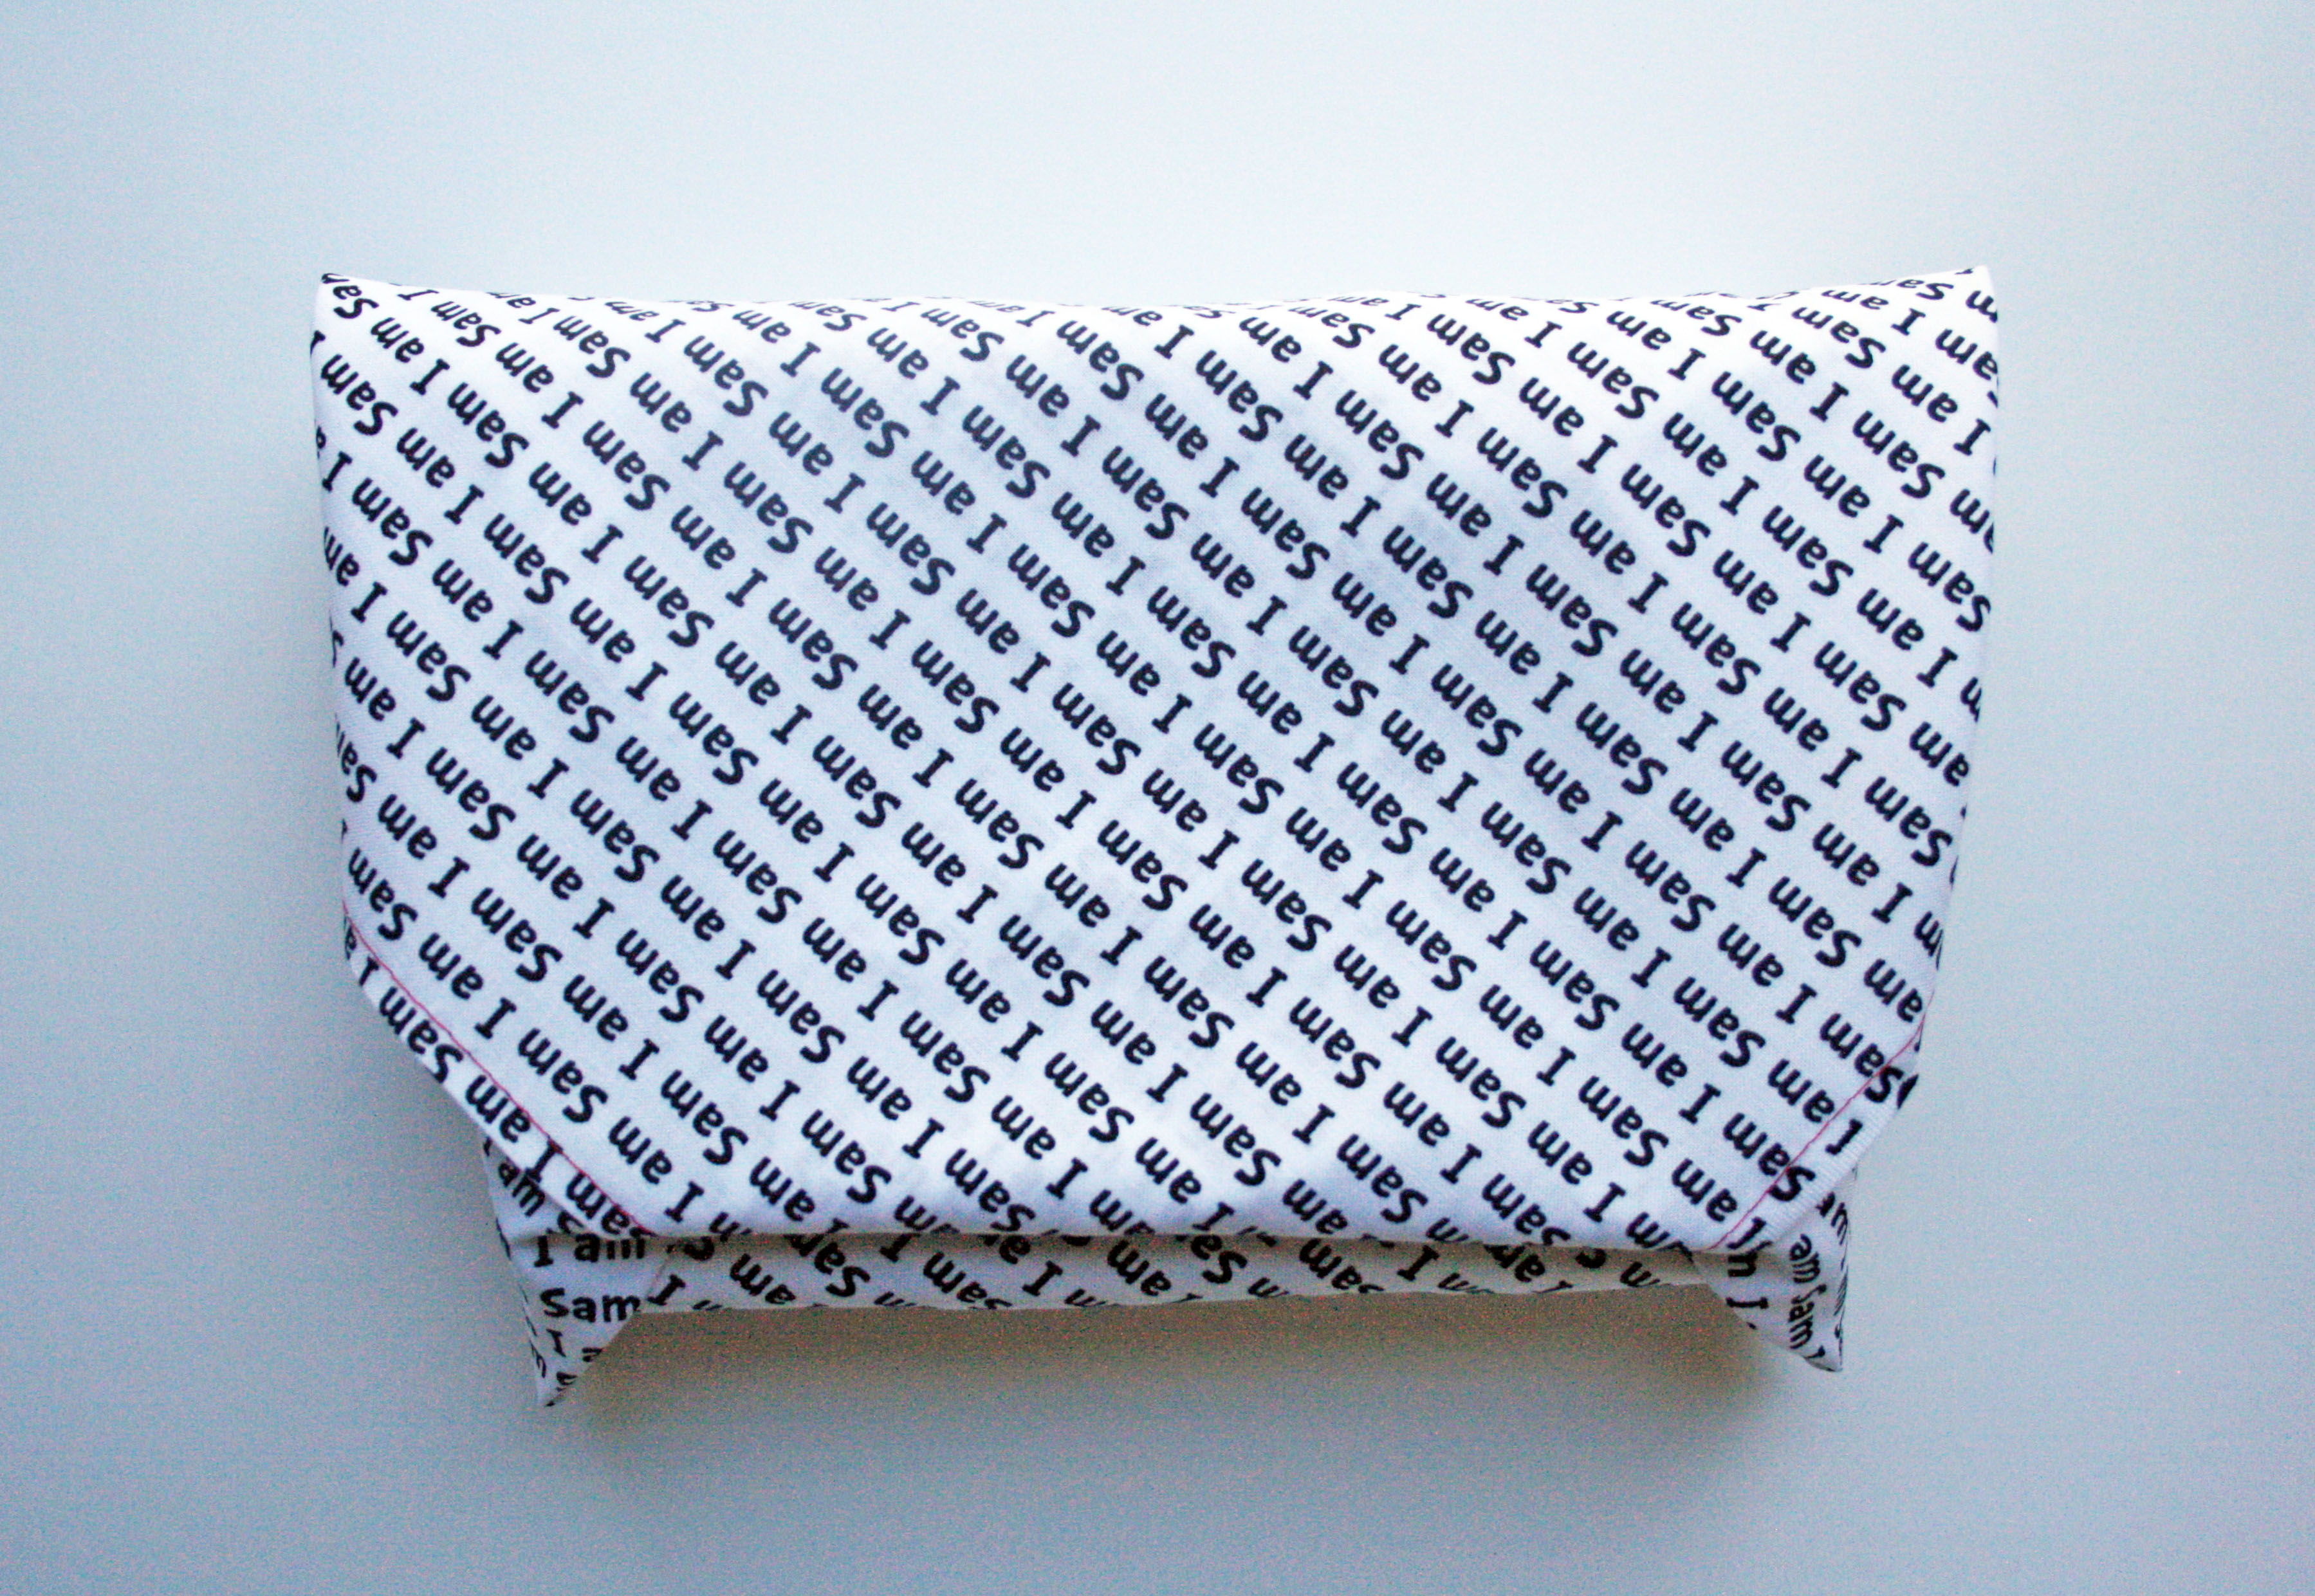 Tuck in the flap that’s hanging into the slit.
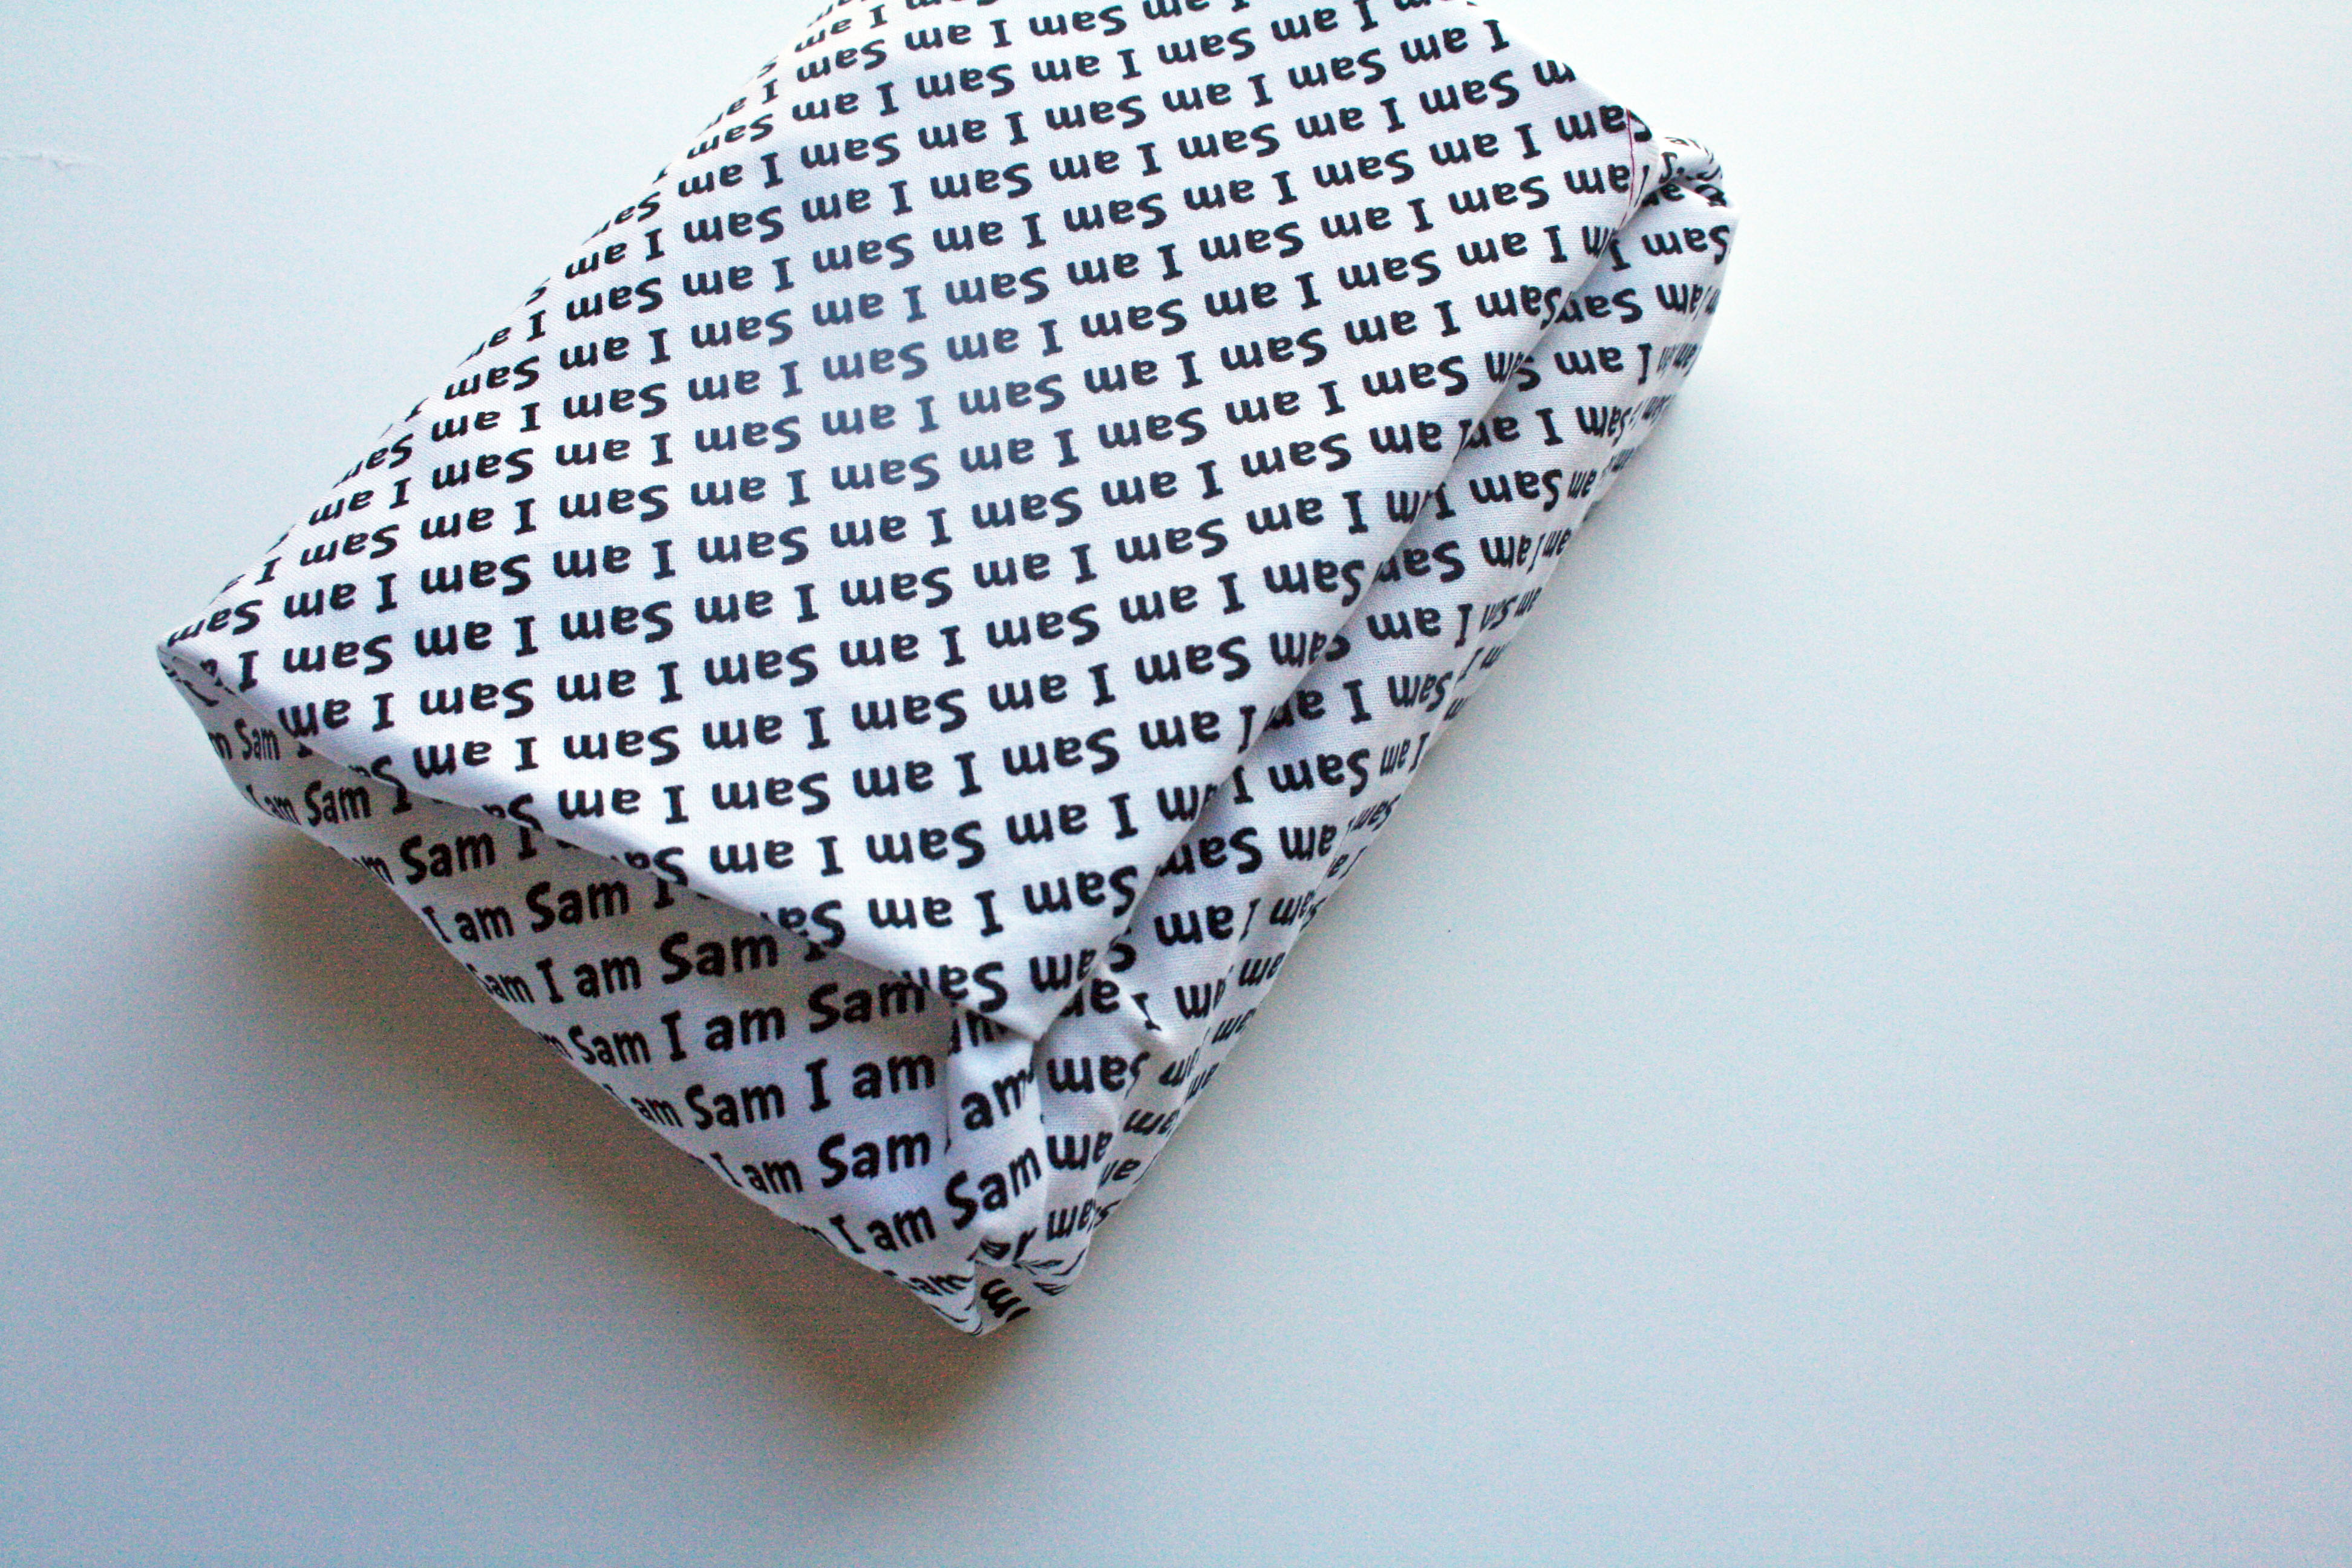
You can stop here and be done! But…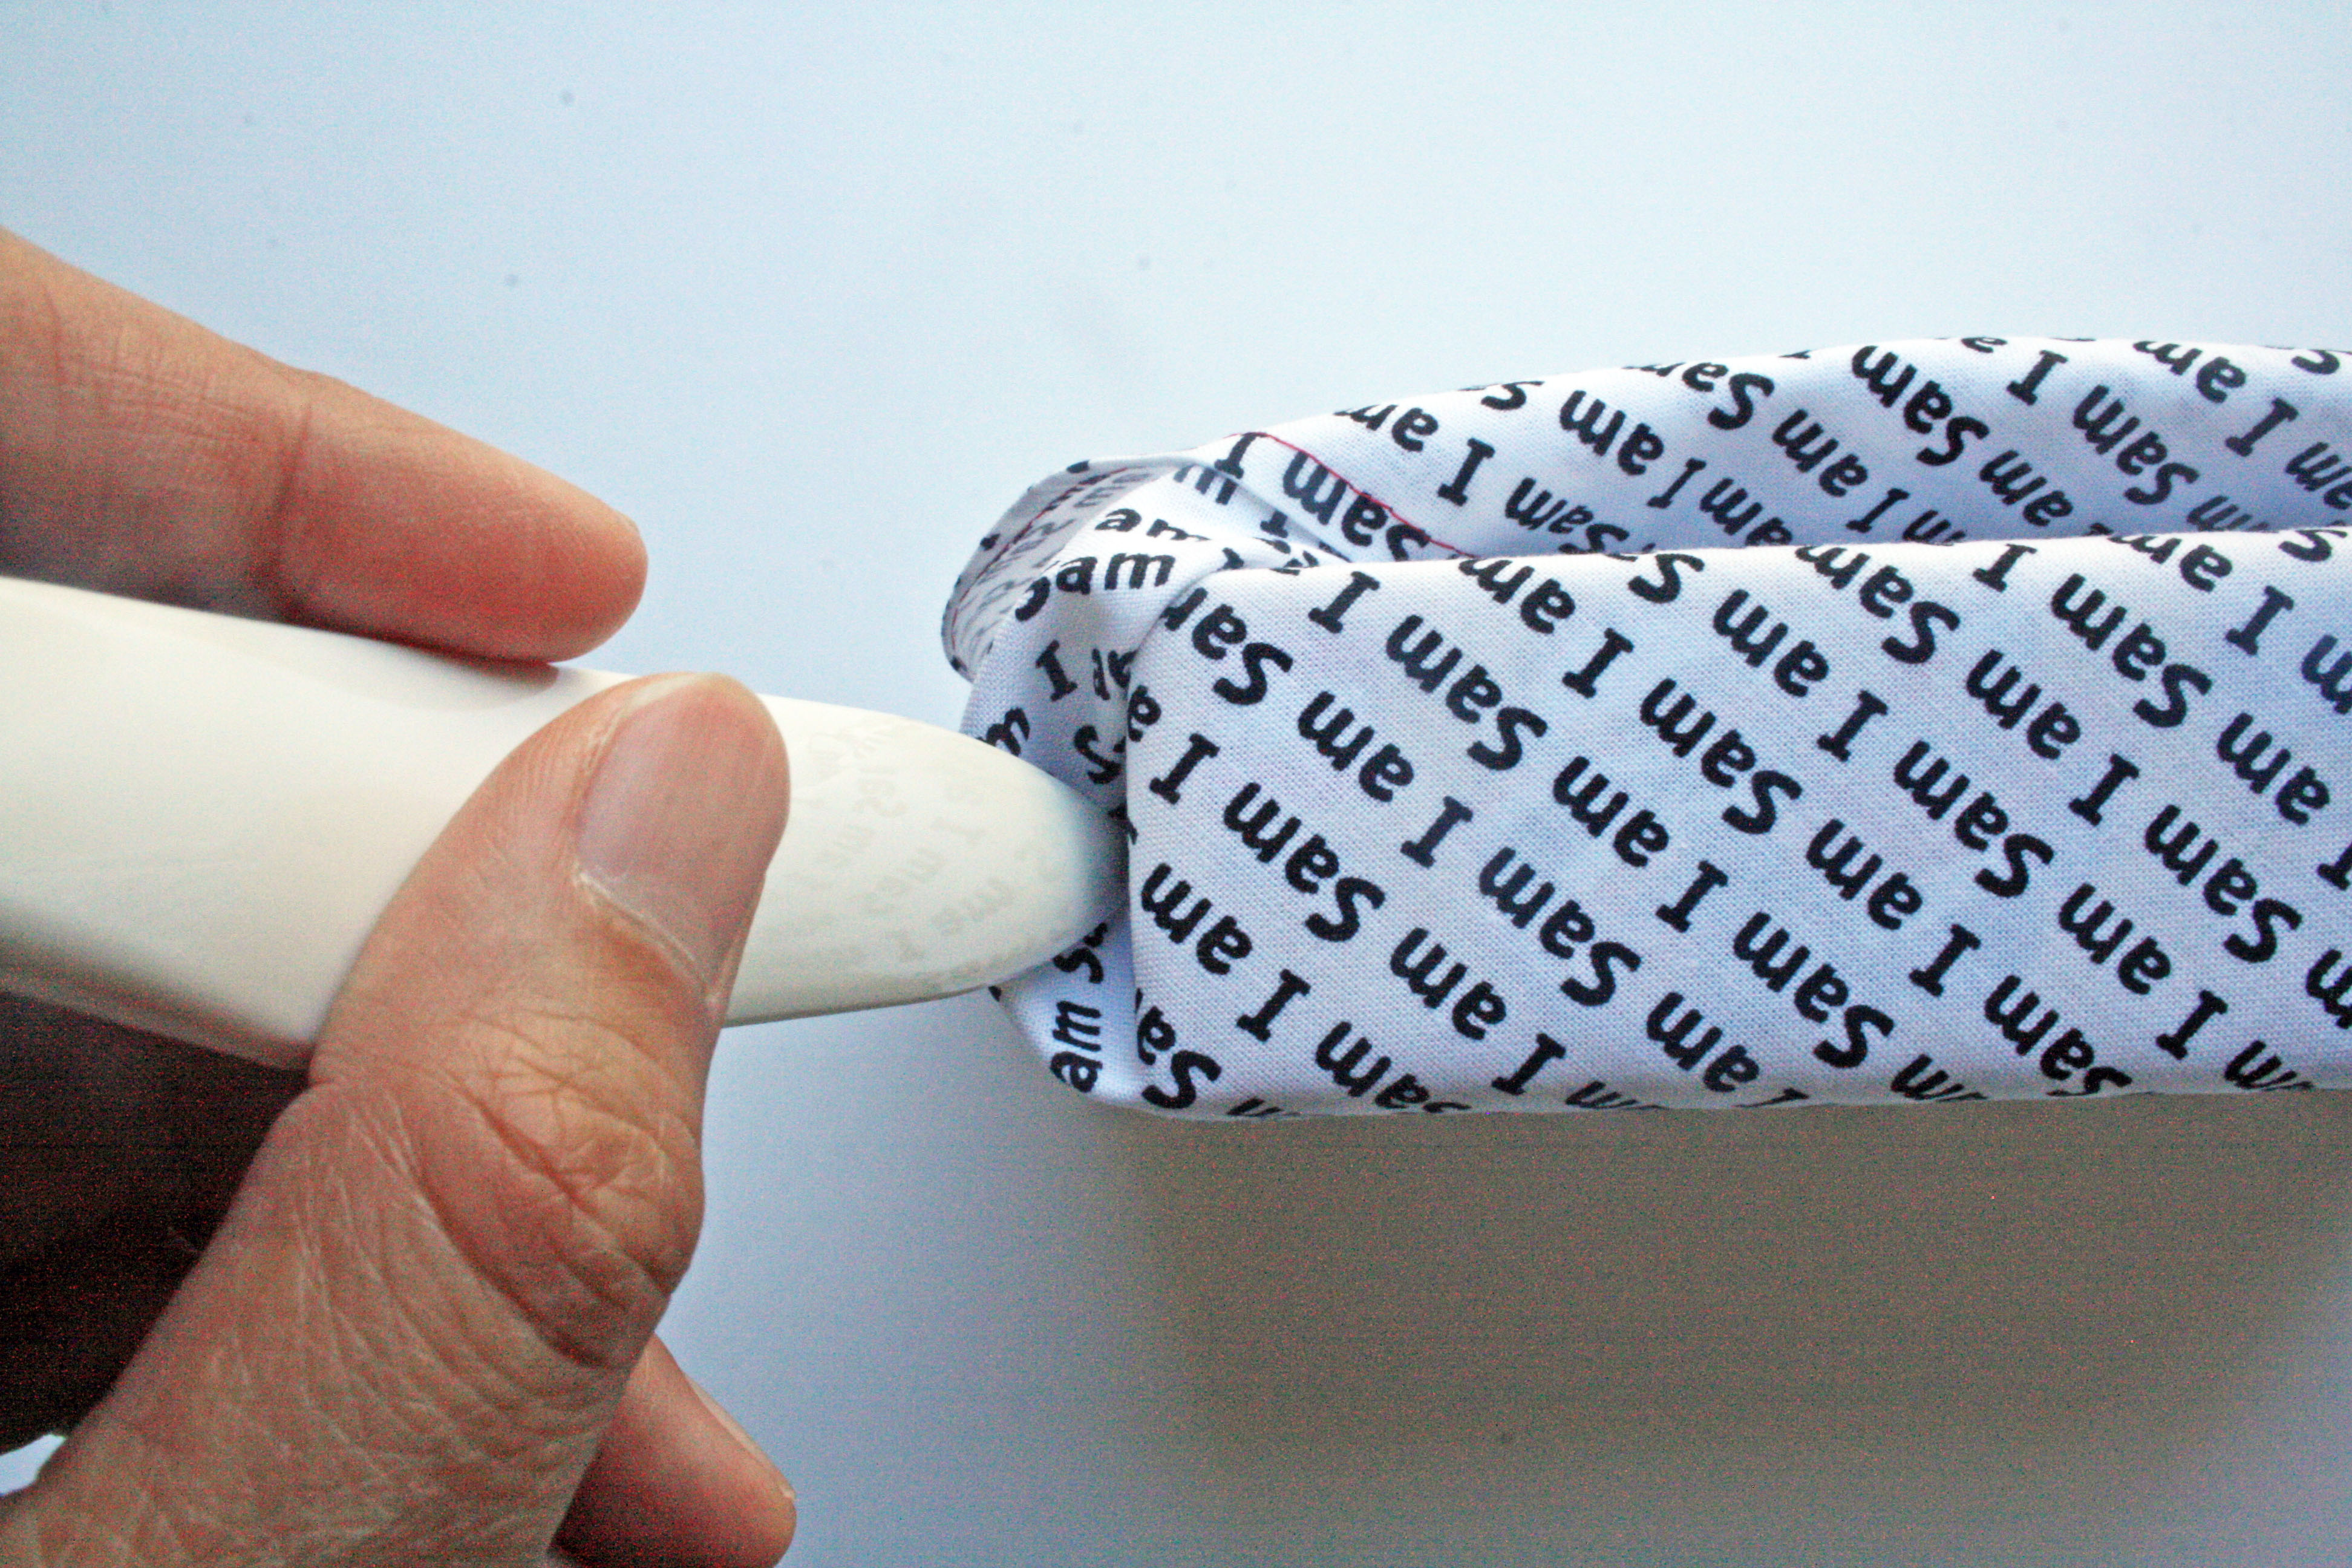 I prefer cleaner edges so I use my scorer to tuck in all the loose corners and tighten up everything.
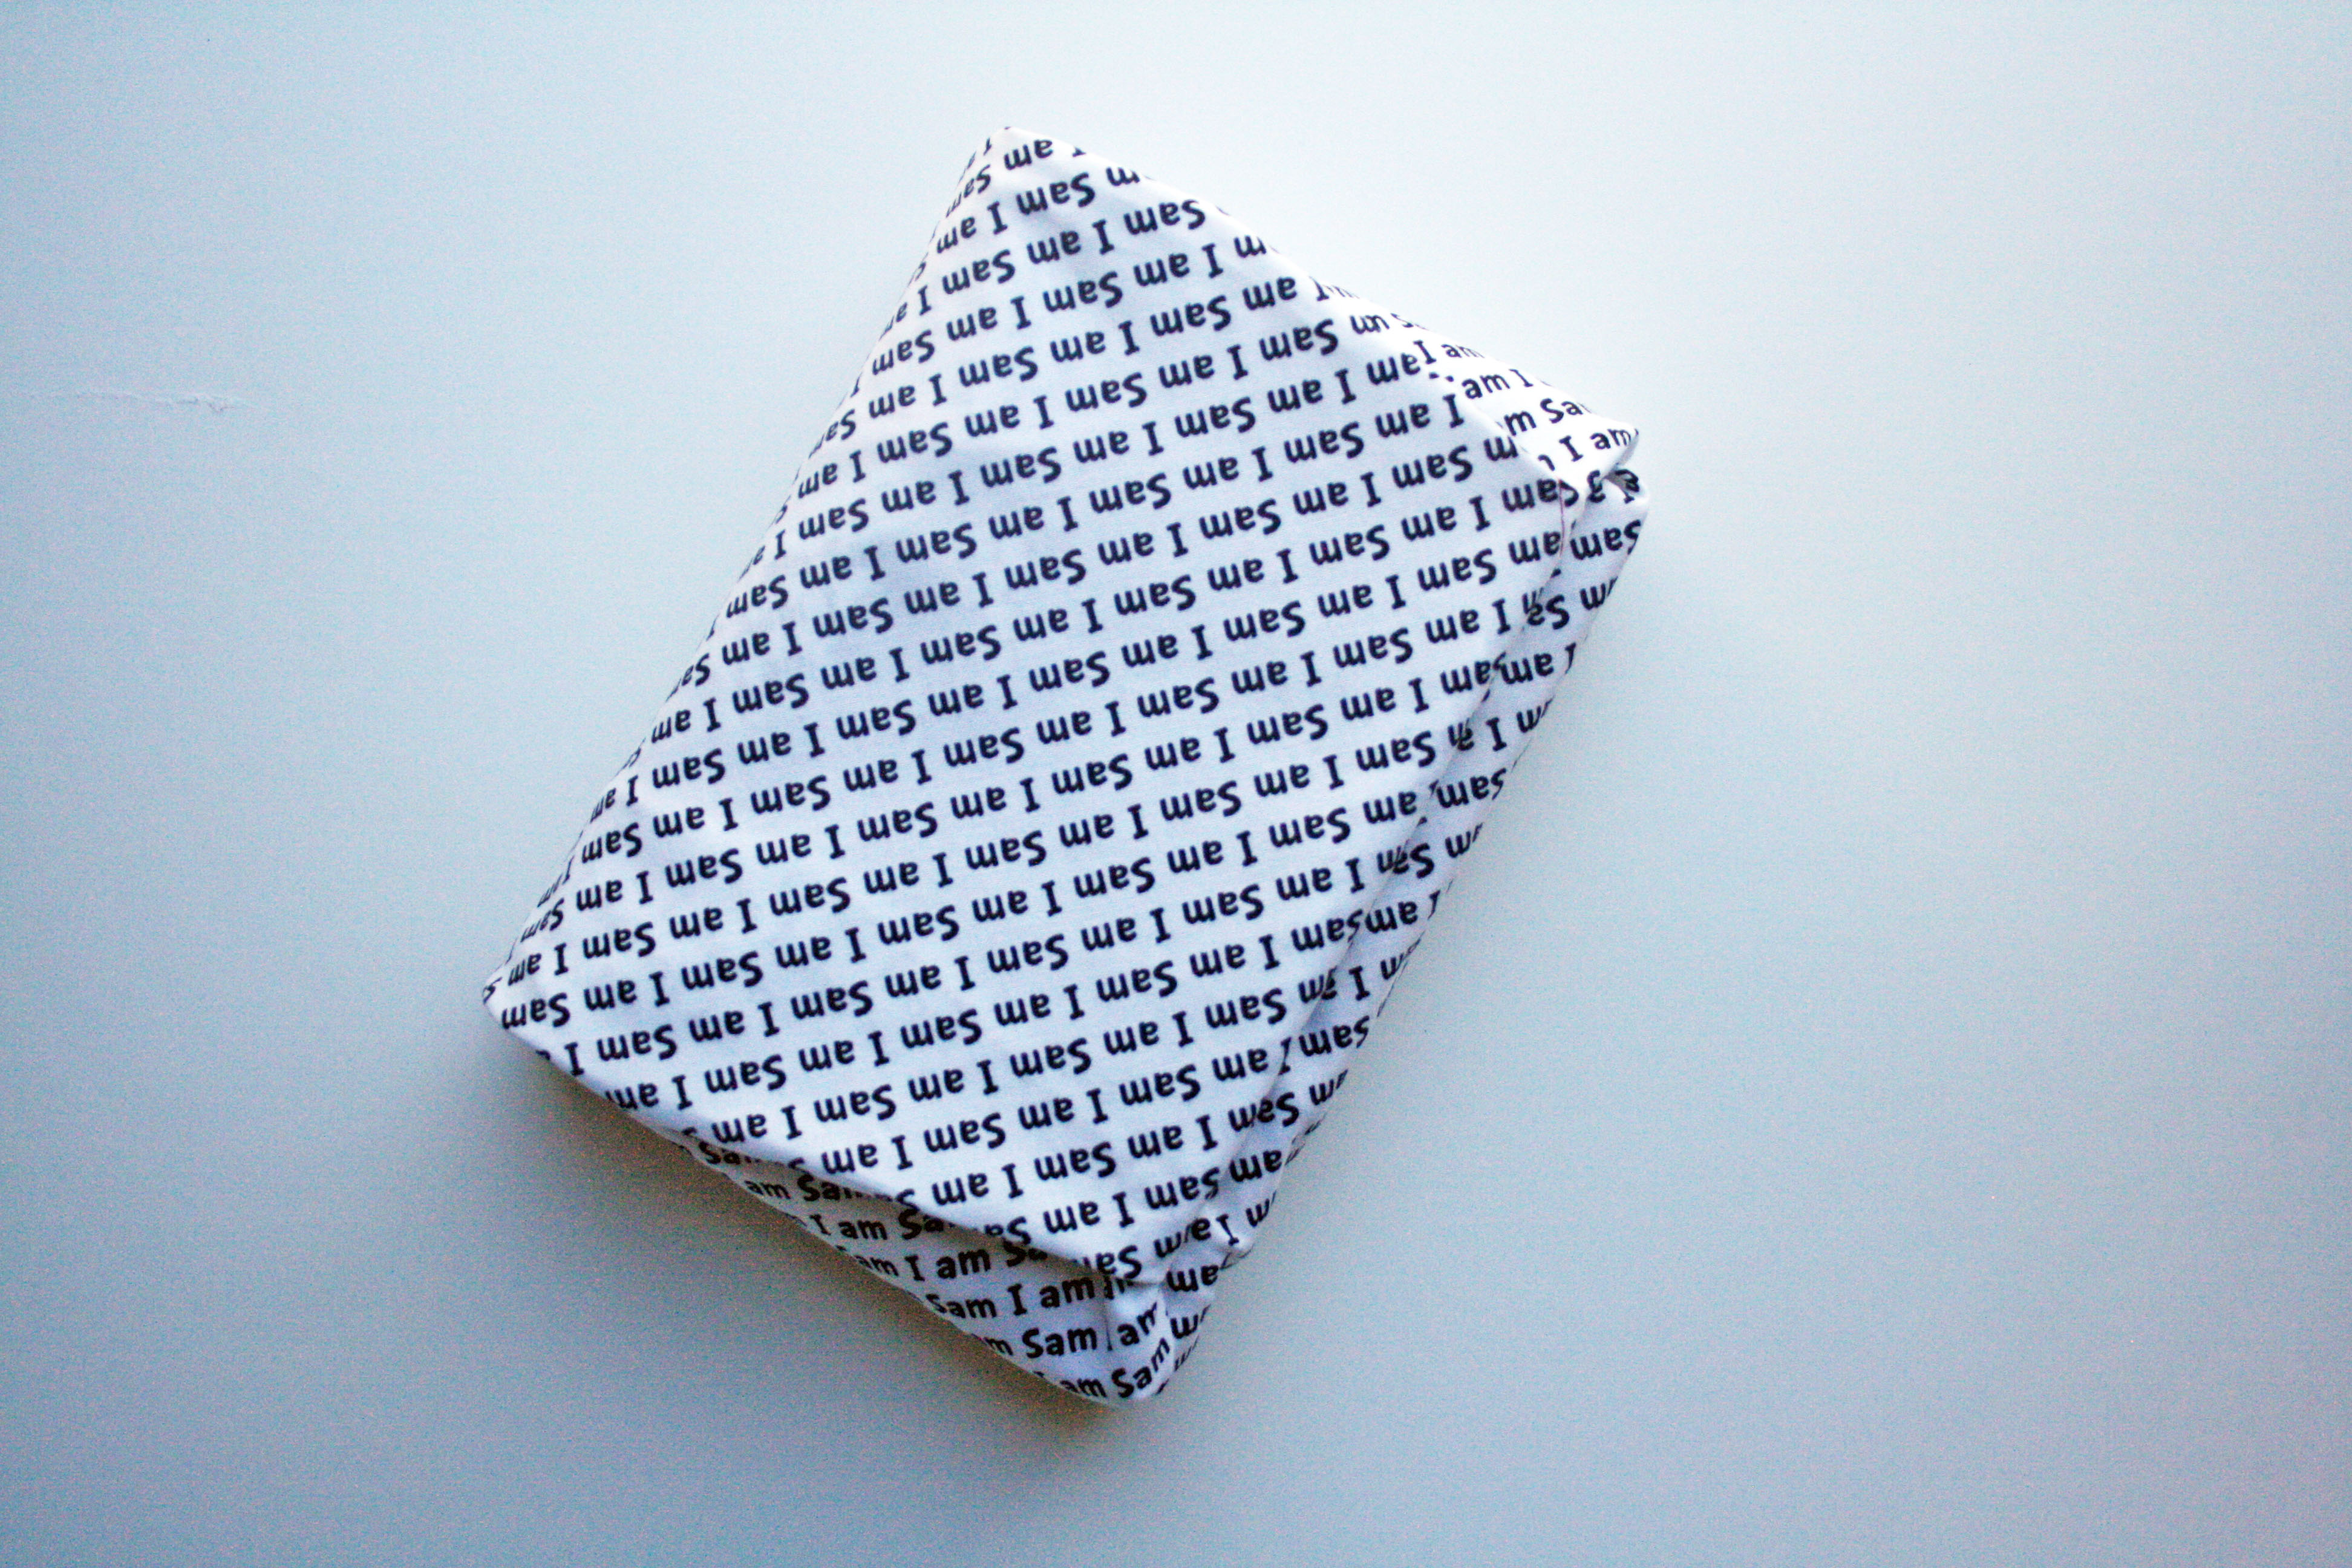 And now you’re all done! How simple was that? You can add any embellishments to make it more your own.
Here is another one I did with a cute whale fabric.
 I added some jelly beans in a little cello bag and taped it with brown washi tape.
Happy wrapping, everyone!
Pingback: Handmade Holidays Nov. 30: Wrap it Up | Sew Mama Sew | Outstanding sewing, quilting, and needlework tutorials since 2005.