Lego Birthday Party

So I’ve been a bad blogger. I’m not sure if I can even call myself a blogger since my average posting has been…well, about once every couple of months (yikes!). I’m trying to be better. Really, I am. So here is my first attempt back.
This has been on my “blog to-do list” since January. Hey, I’m only a few months late :). My son, Ben, turned 6 in January and he wanted a Lego themed party. In the past, we’ve had monkey, “Ben”, dinosaur, and ninja parties. But I must say, this year was particularly fun to put together. I think it was the kid in me coming out. Hey, I may no longer be a spring chicken but I still do love those Legos. From all the themed parties I’ve done in the past, what I learned the most was to keep things simple. Do a few things, and do them well. Which is why this year, I chose not to stress too much about the food portion of the party. I always made all the food in the past but this year…are you ready for this? We ordered pizza! And let me tell you, it felt good not to have to worry about every single detail. I just might have to go the pizza route every year. That is if I can control the I-must-do-everything-on-my-own side of me. Baby steps, Sarah. Baby steps.
So these are the things that I made this year. Some are simple while some do require a little more time.
Party Drinks and Snacks:
Every year, since Ben’s first birthday, I’ve made water bottles labels. It’s simple to make and takes little time to assemble. It’s a good way to give the party a personalized feel without having to put much effort into it.

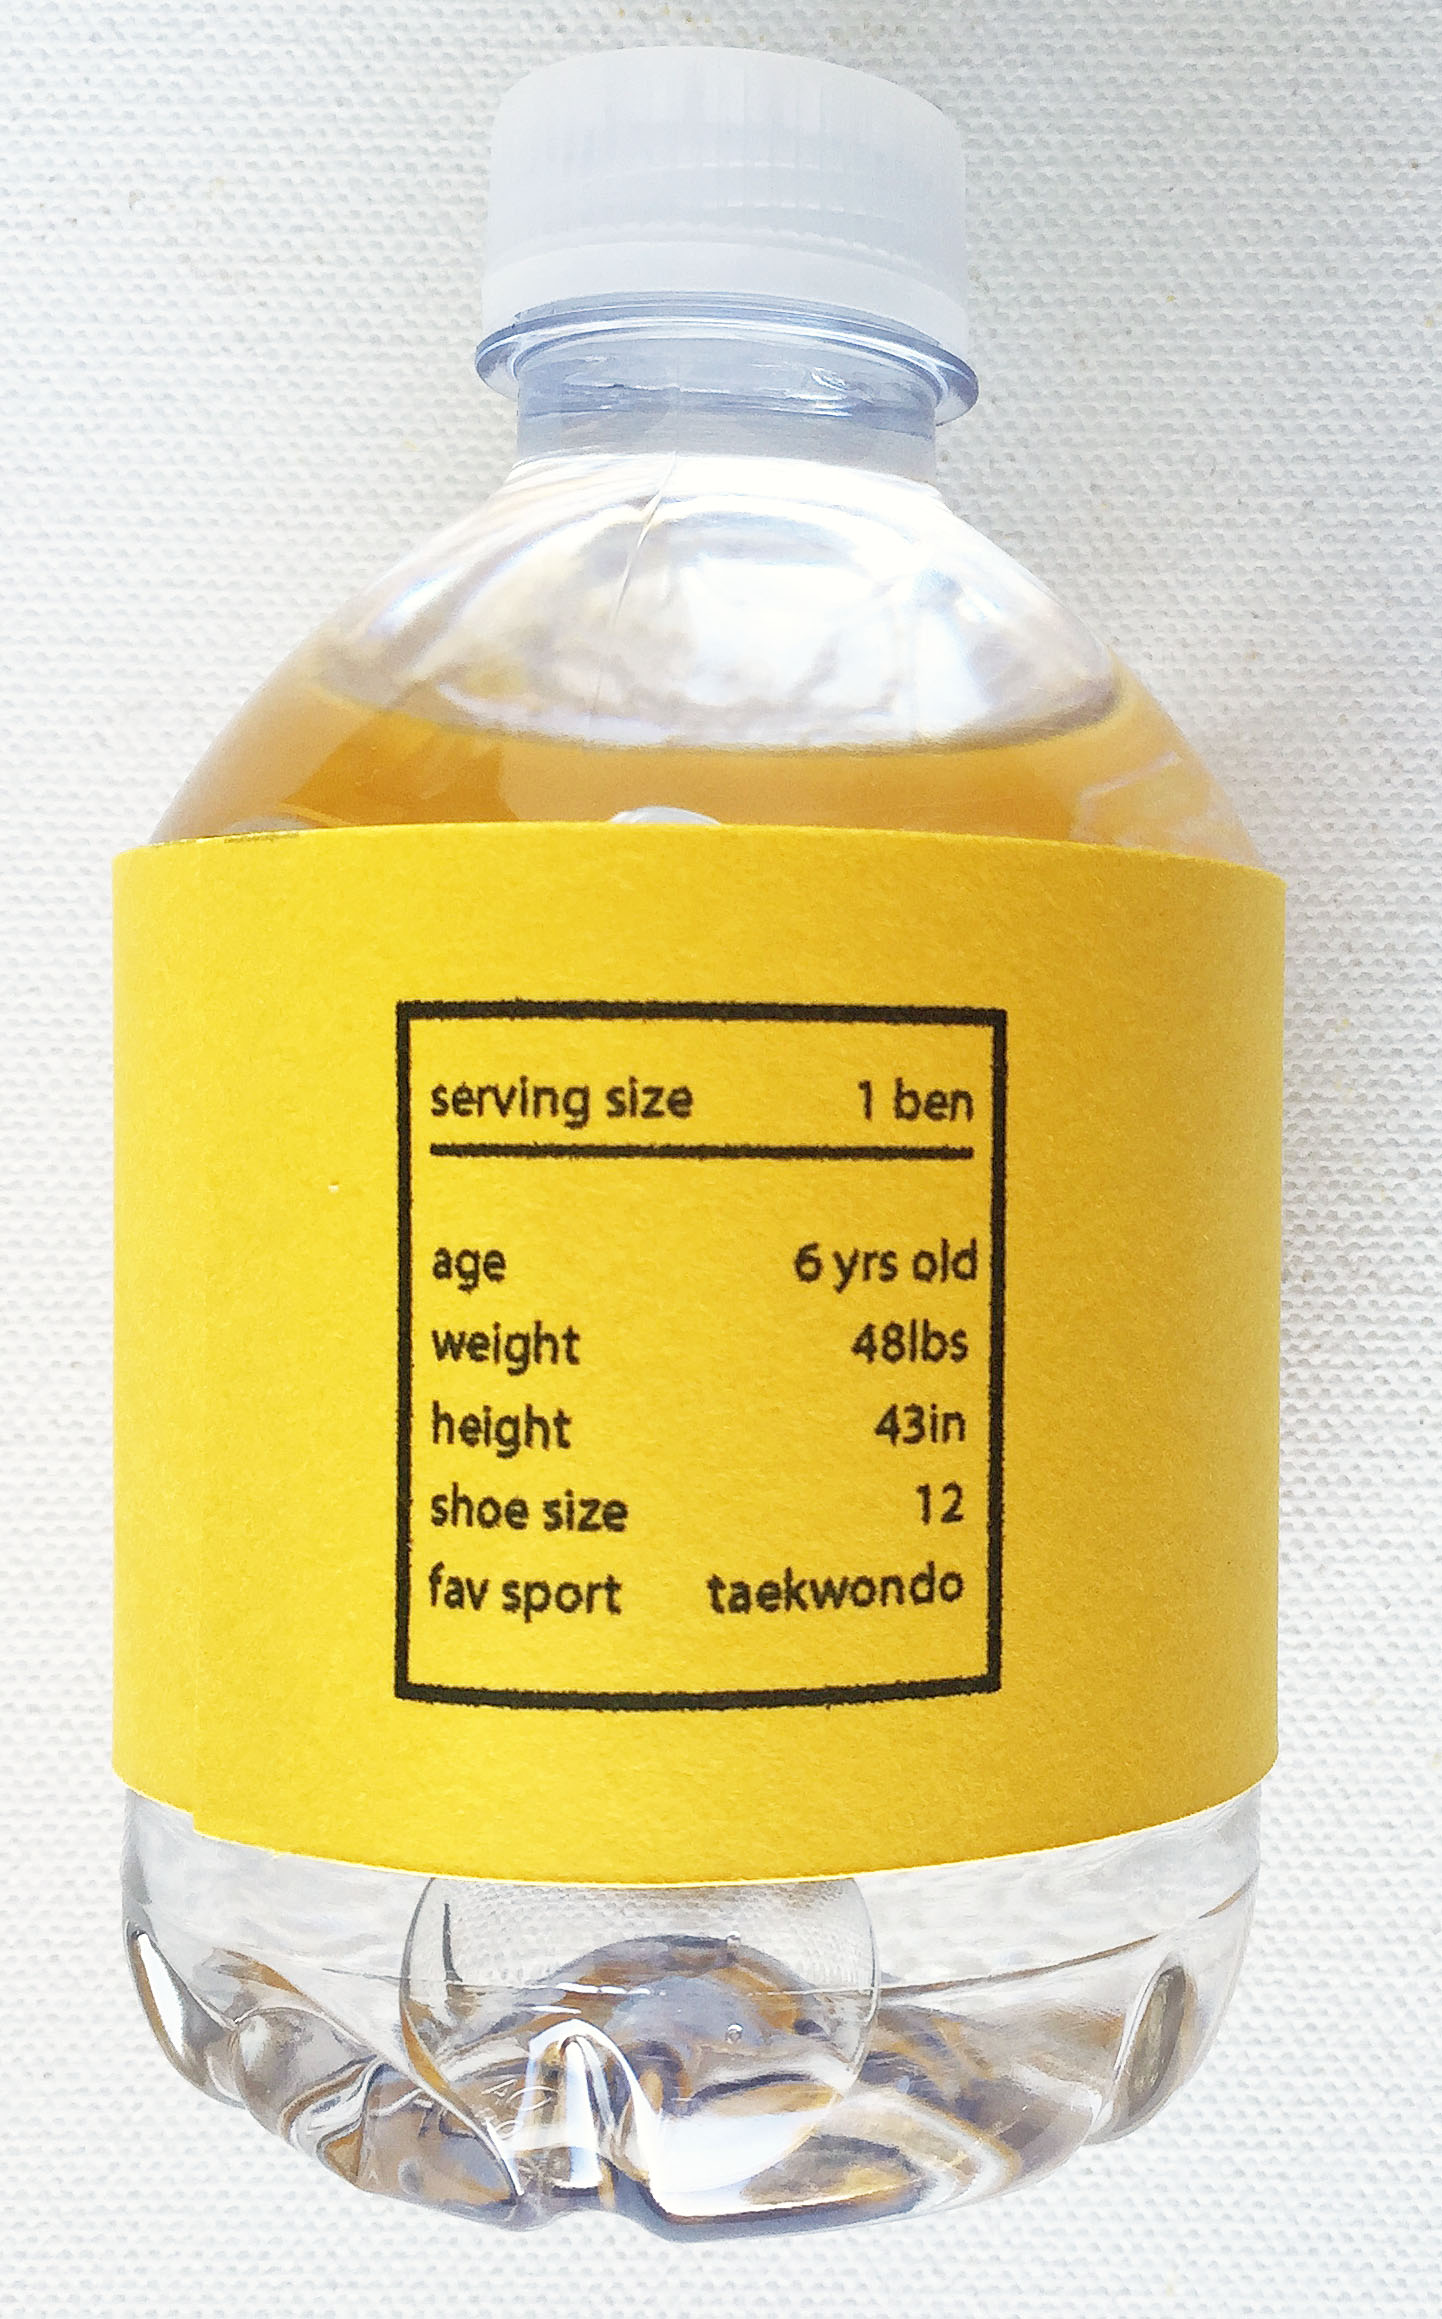 My favorite part has to be his “stats” for that year which goes where the nutritional label would go. I’ve kept one bottle every year as a souvenir and it’s fun to see his changing stats year to year.

For the juice boxes, I took off the straws that came with the box. I wrapped with Lego label and replaced the straws with these cute paper straws. Again, another nice way to dress it up with minimal effort.
 Since I wasn’t doing any cooking, I wanted to make fruit cups for each child. I kept with the yellow theme by using bananas, pineapples, and yellow apples. I got these containers from Amazon last year for another project. I love being able to use up leftovers! Lastly, I used yellow chevron washi tape to tape on the forks.

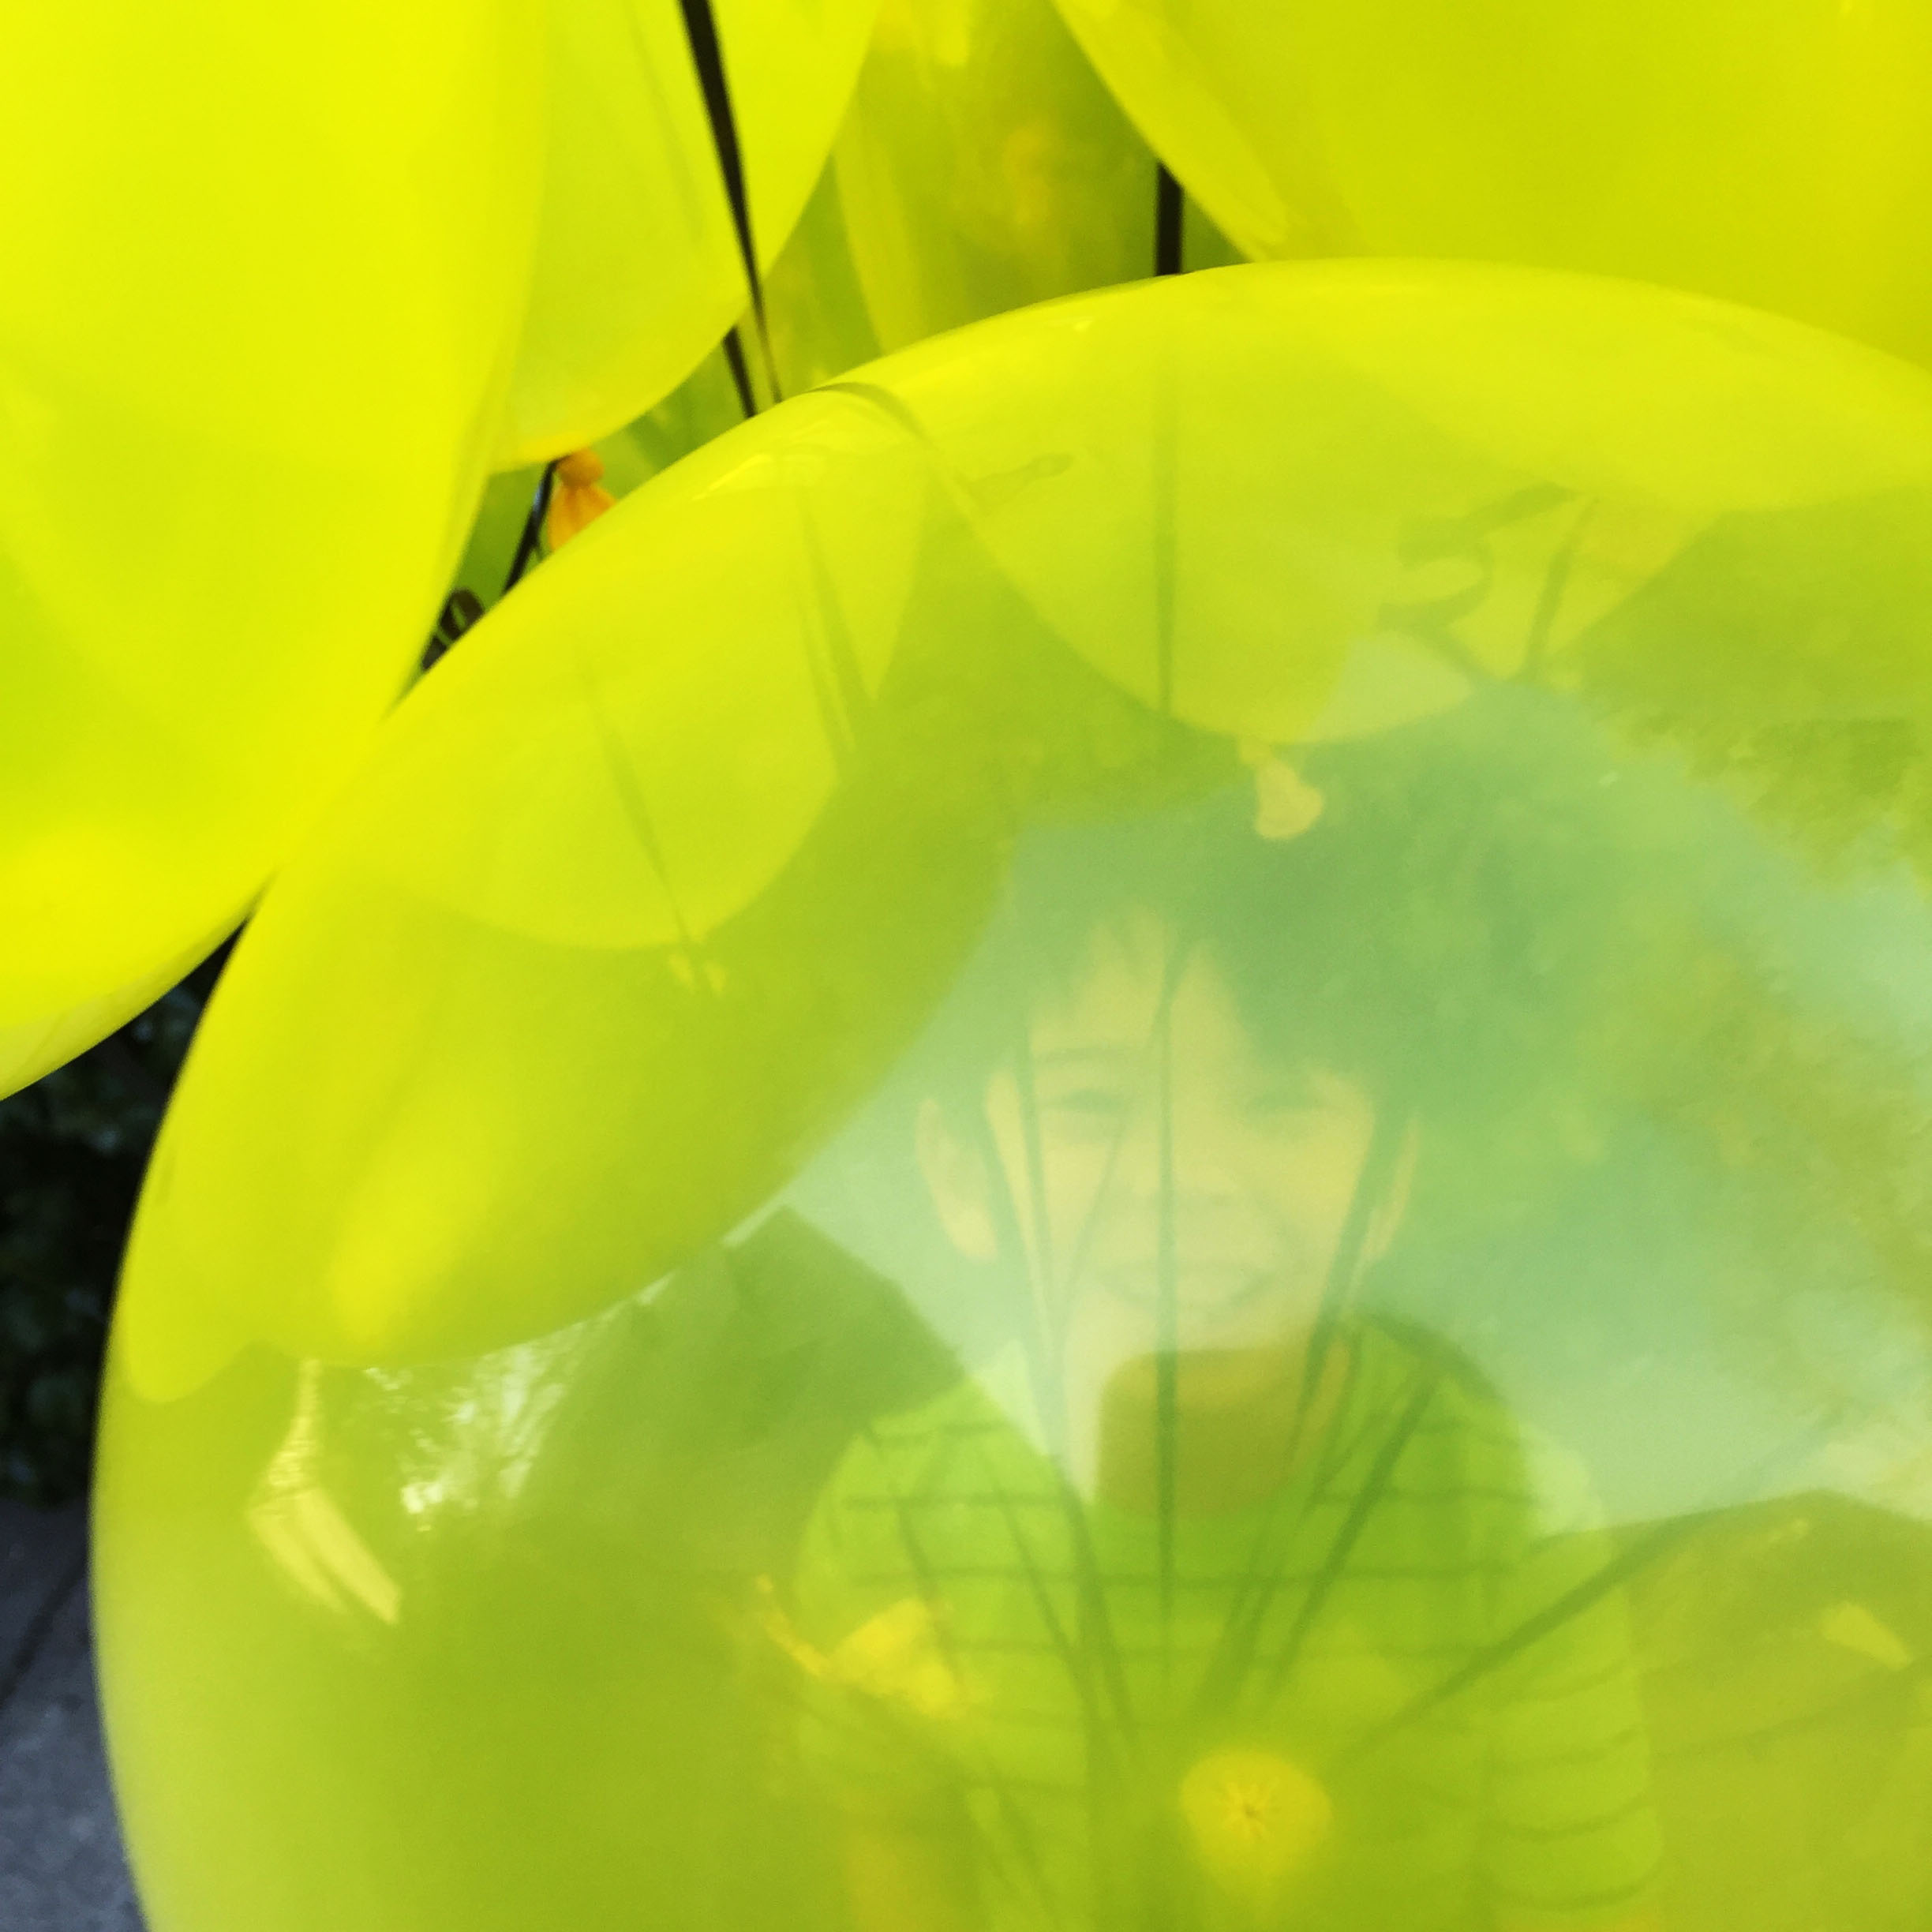
One last thing for snacks were individual bags of potato chips. Aren’t these fun? 🙂

Lego Favors and Cupcake Toppers:
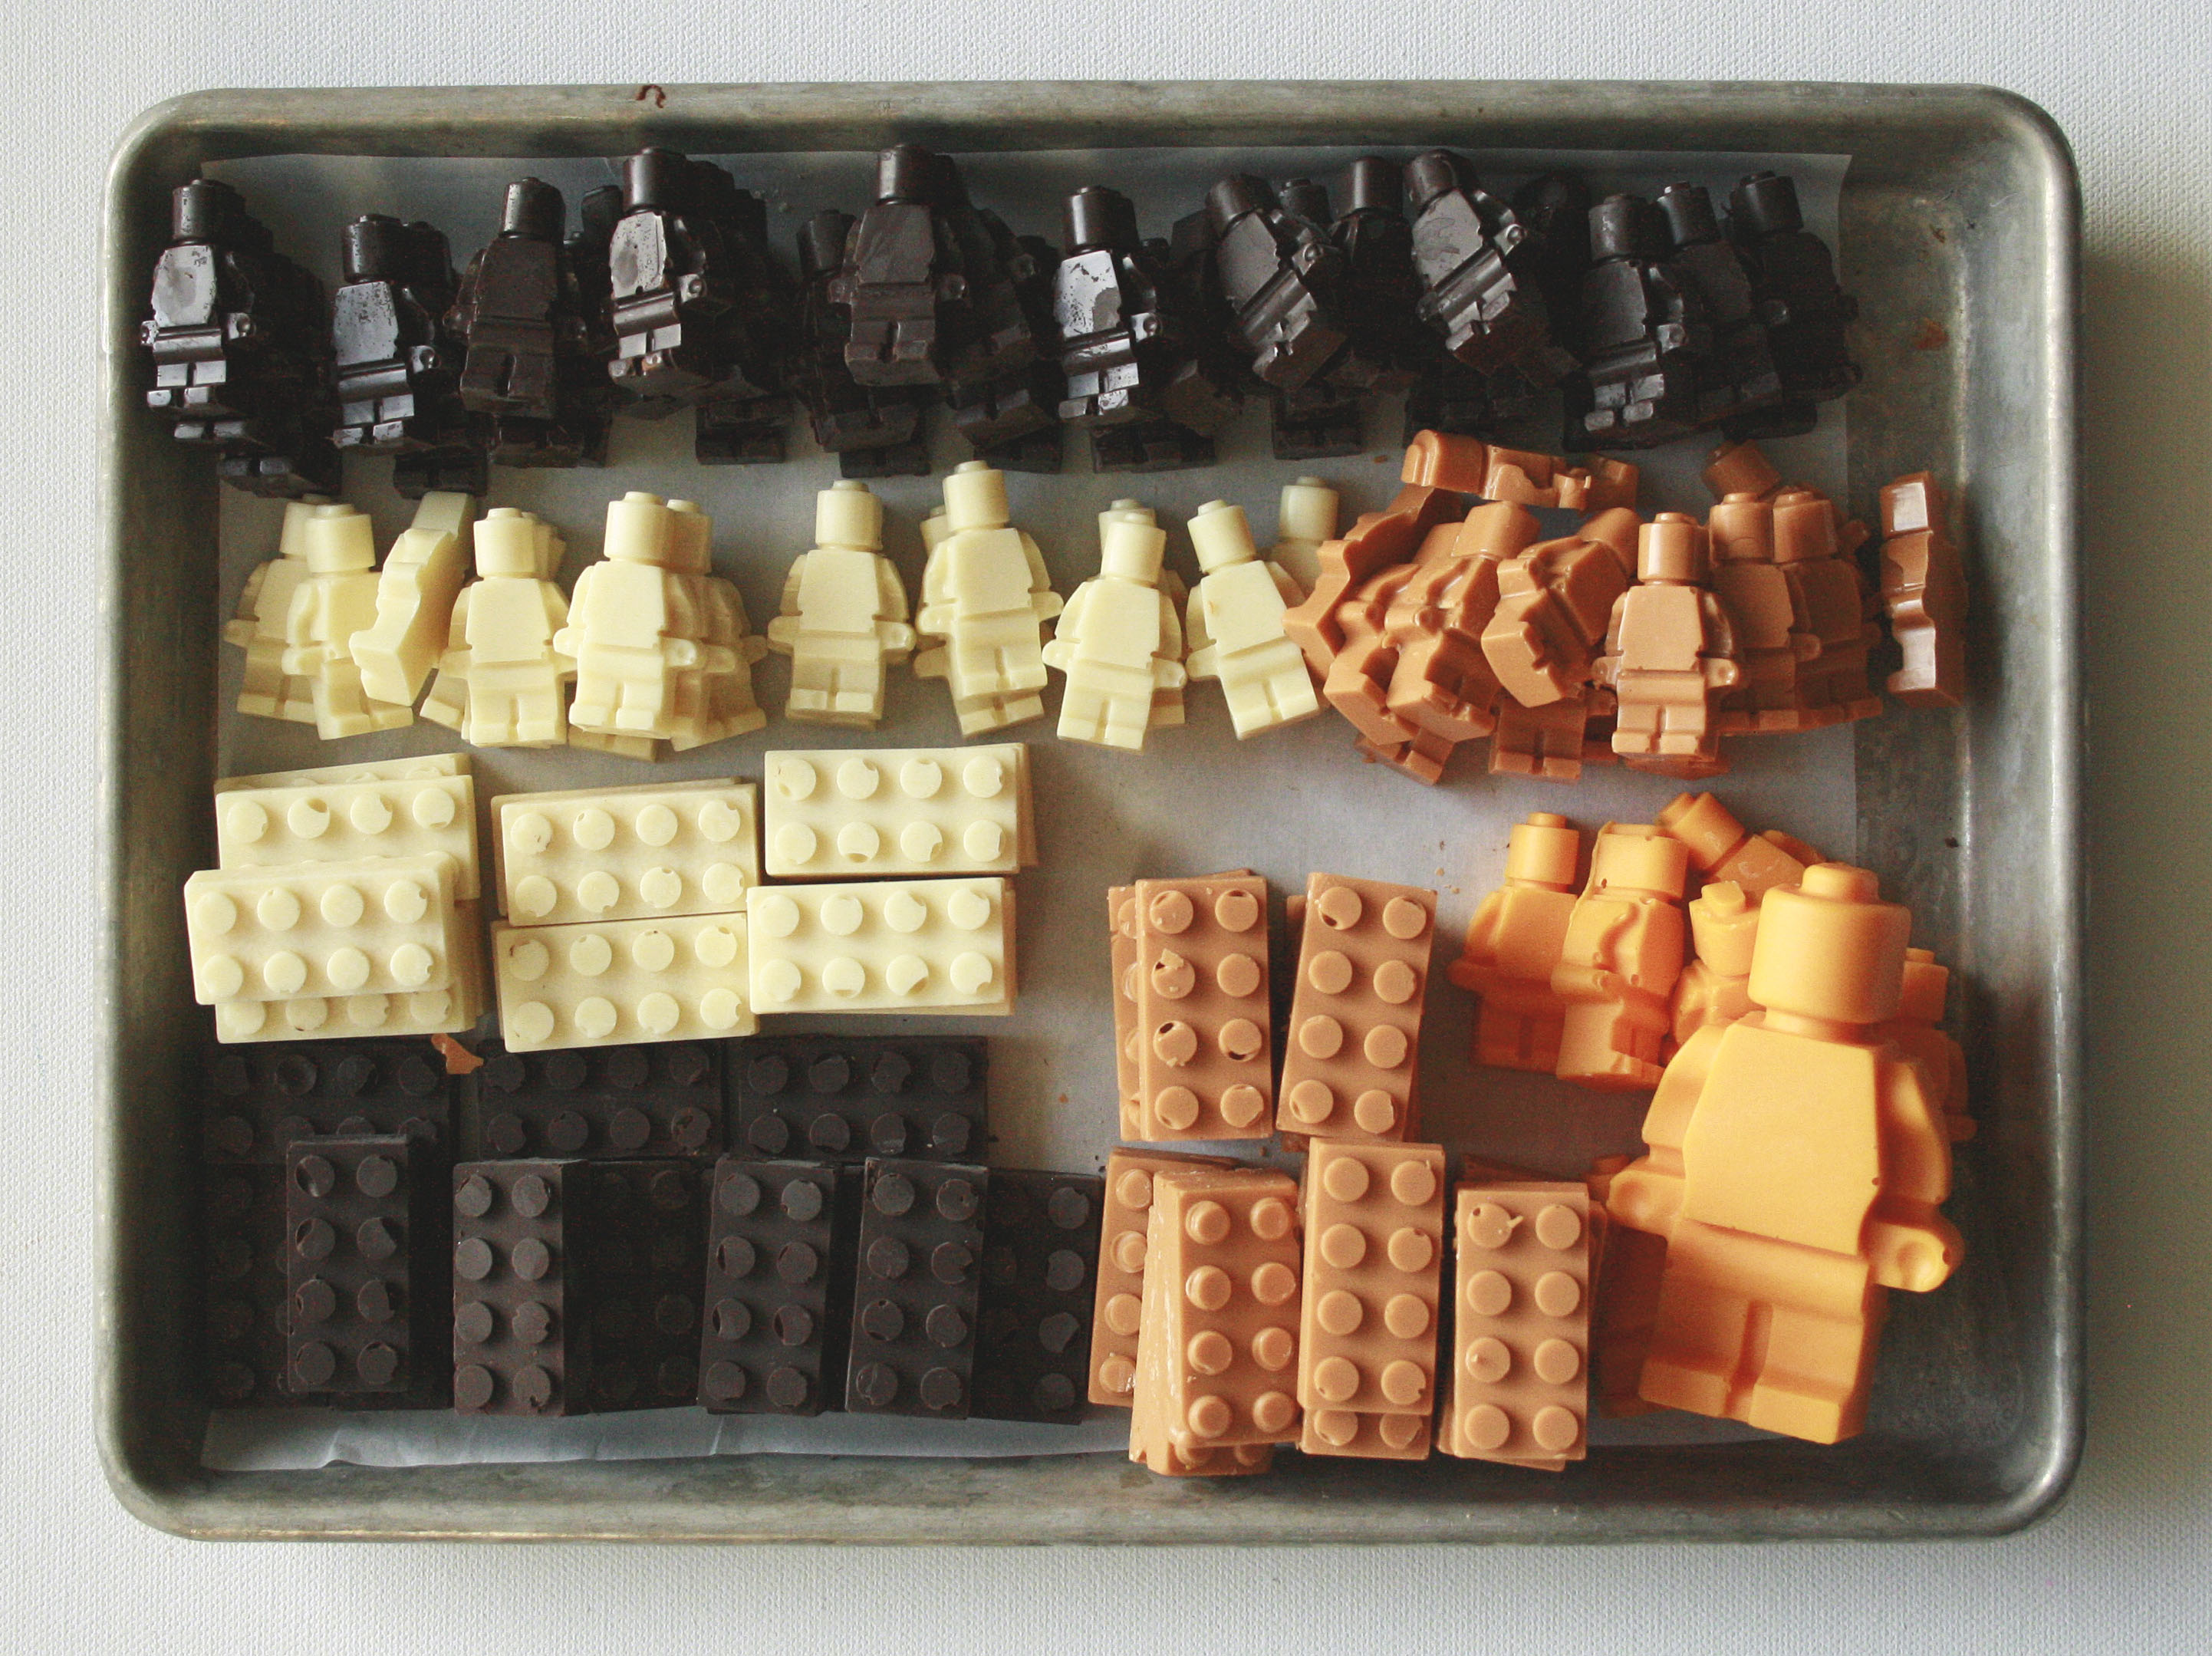
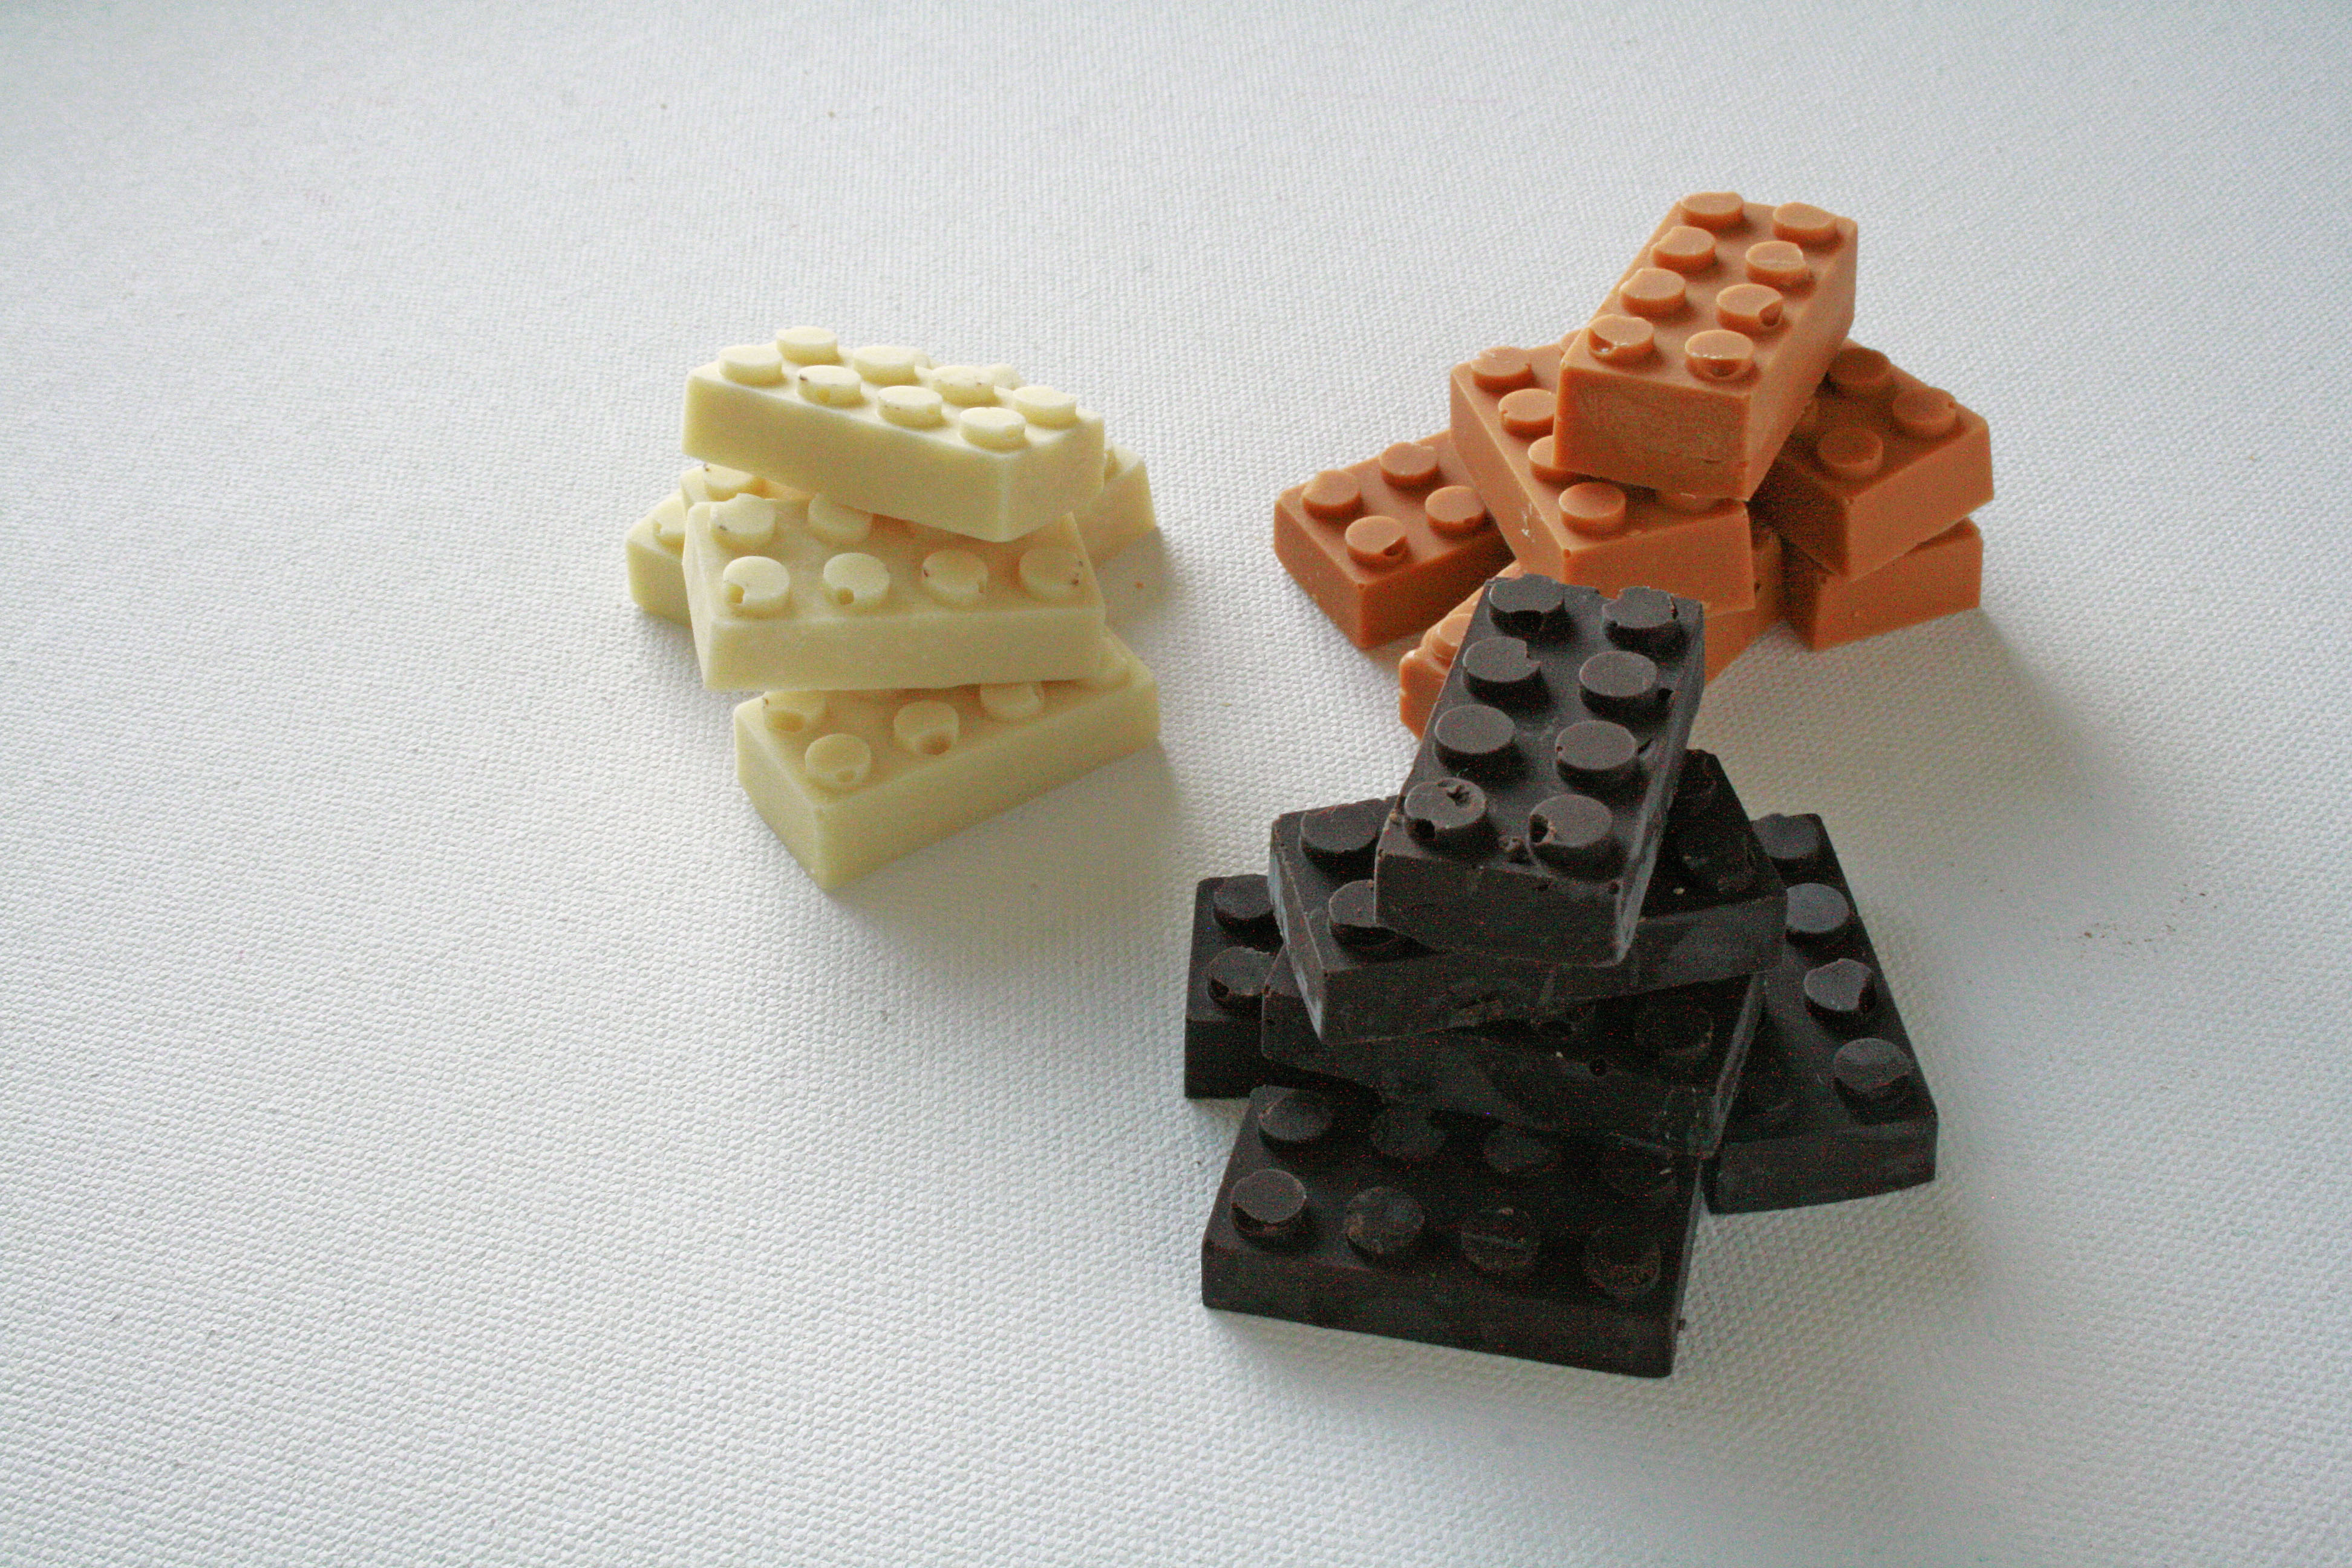
I found these Lego molds on Amazon which I used to make the party favors and cupcake toppers. They’re fun and easy to make. For the chocolate favors and toppers, I melted dark chocolate, white chocolate, and butterscotch chips. Once melted, fill the molds, tap it to get the air bubbles out, and let it set up in the fridge for about 10 minutes. Once set, just pop them out and they’re ready! If you’re making both crayons and chocolates, I recommend that you have designated molds for each (if you want to use them in the future) or just make the chocolates first since the melted crayon is hard to get off (shown below). You definitely don’t want crayon-y chocolates. No, thank you.
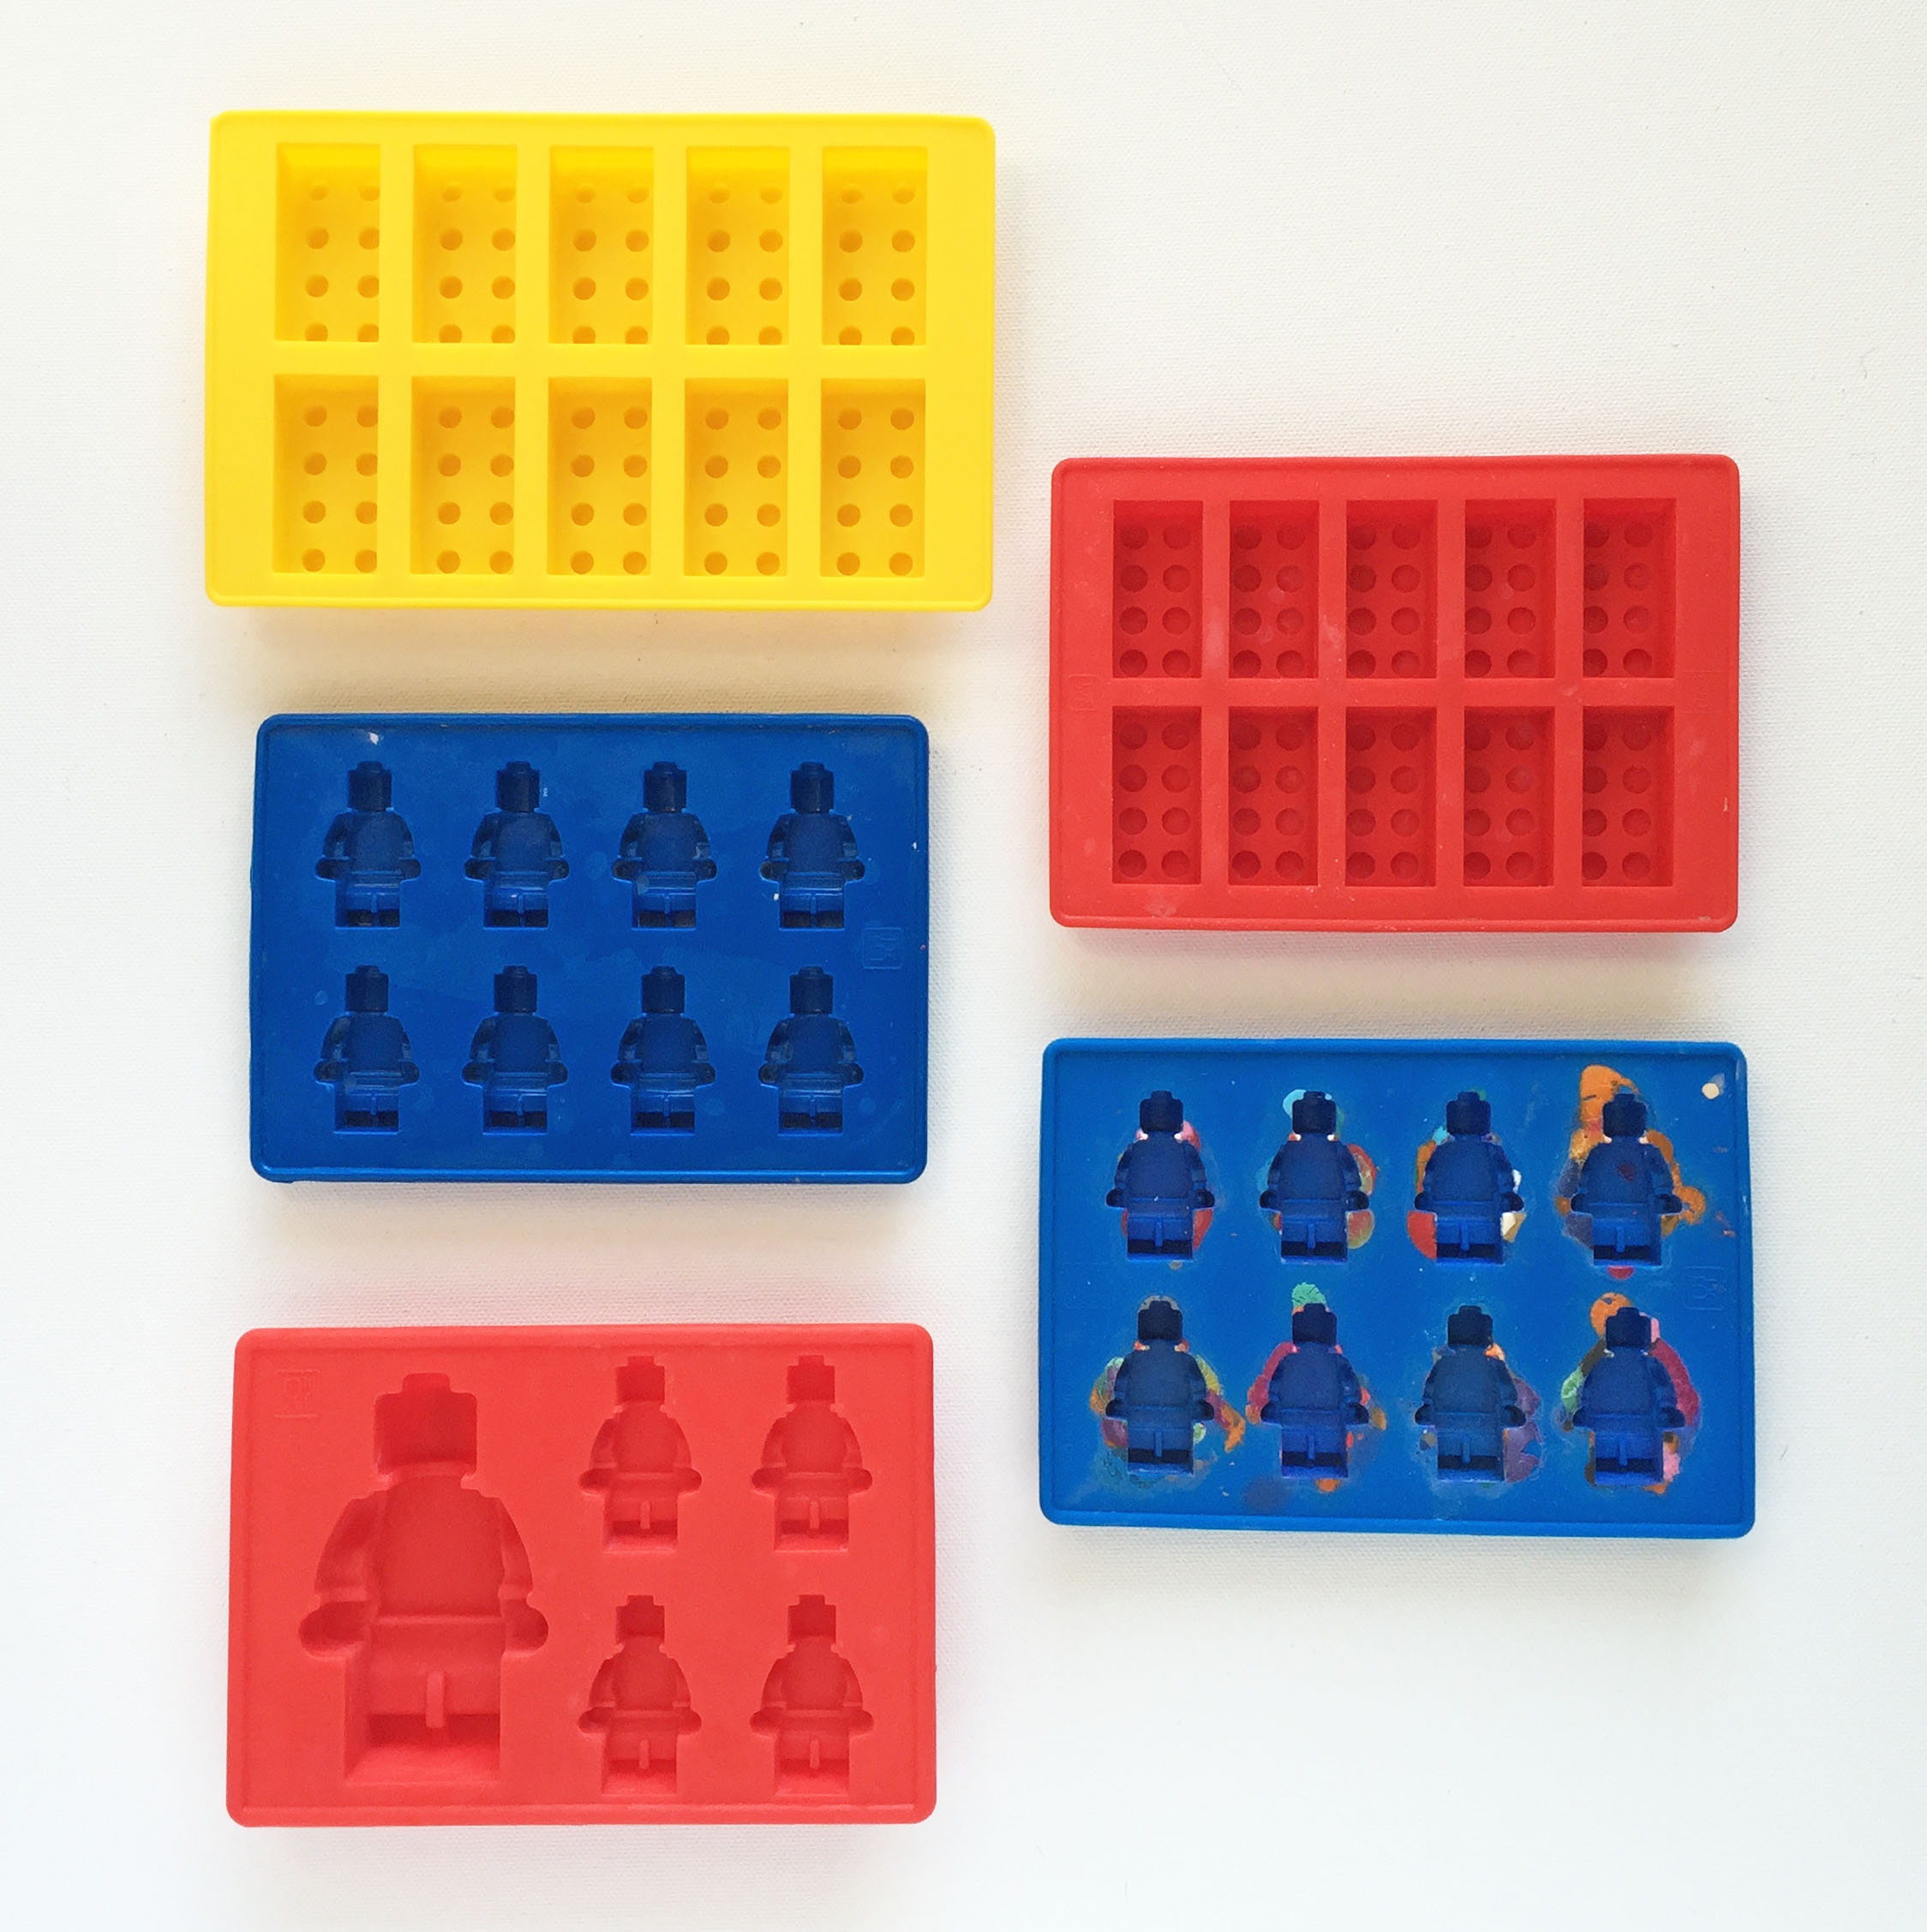
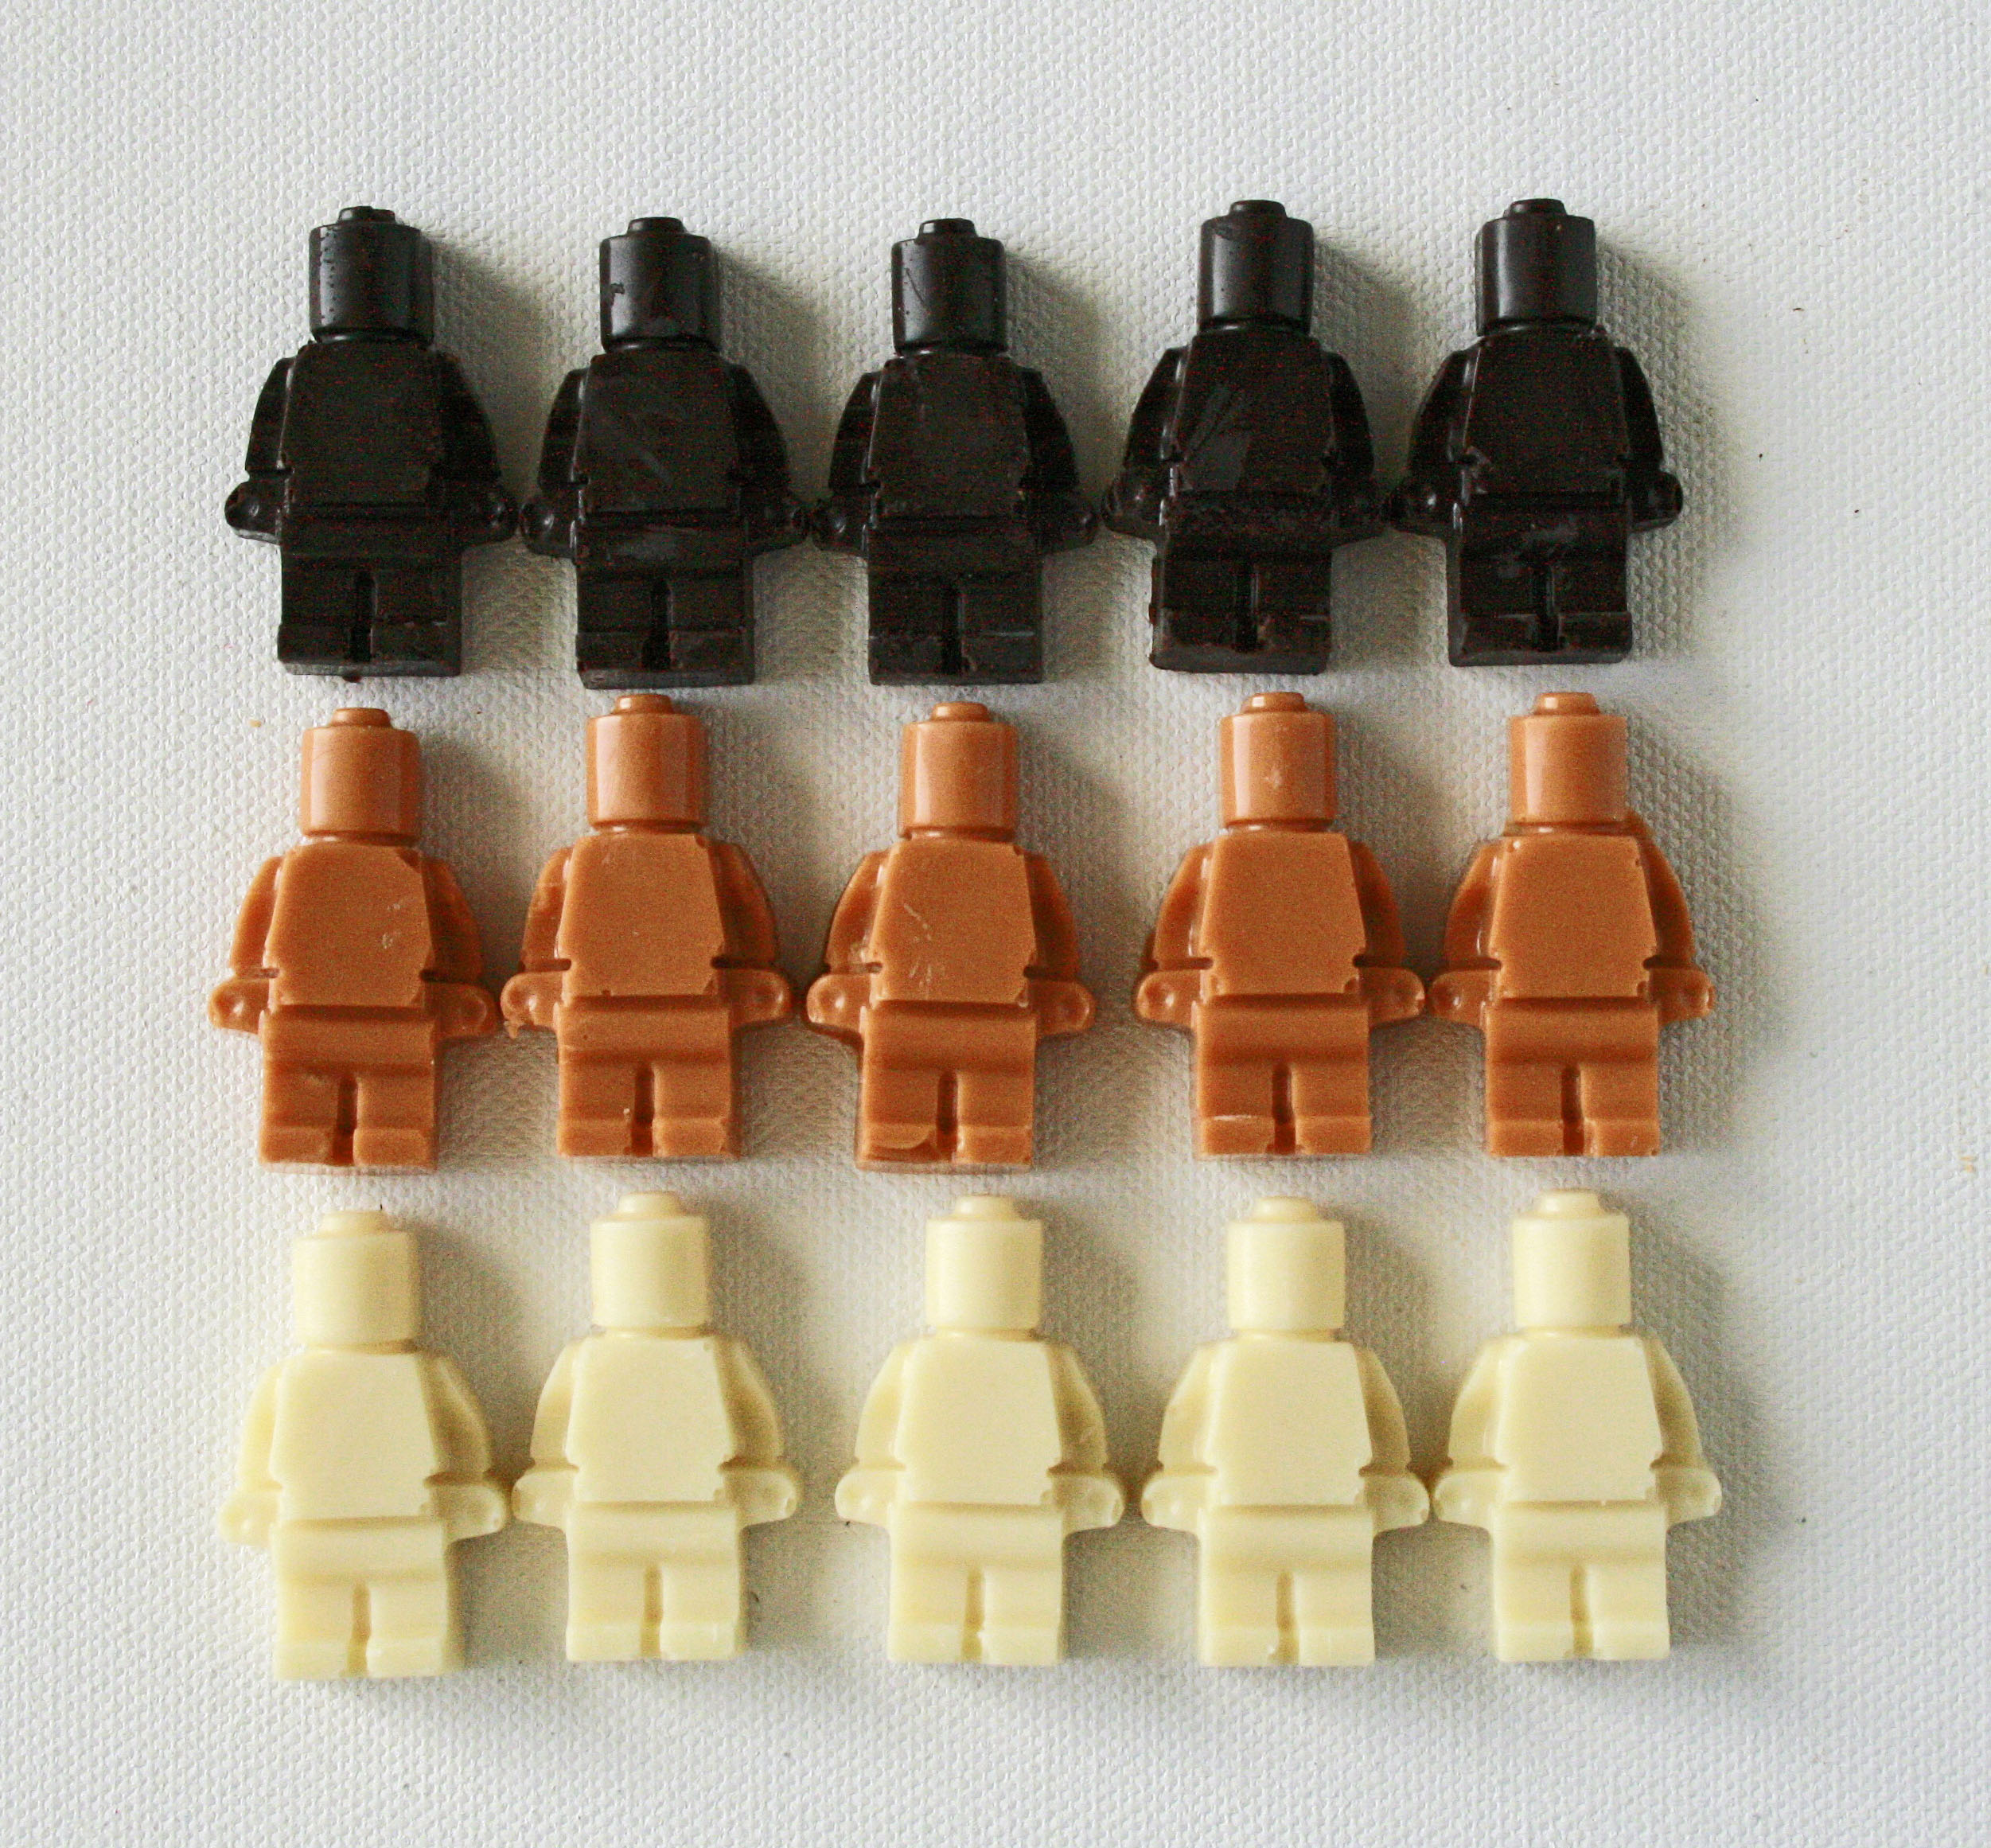

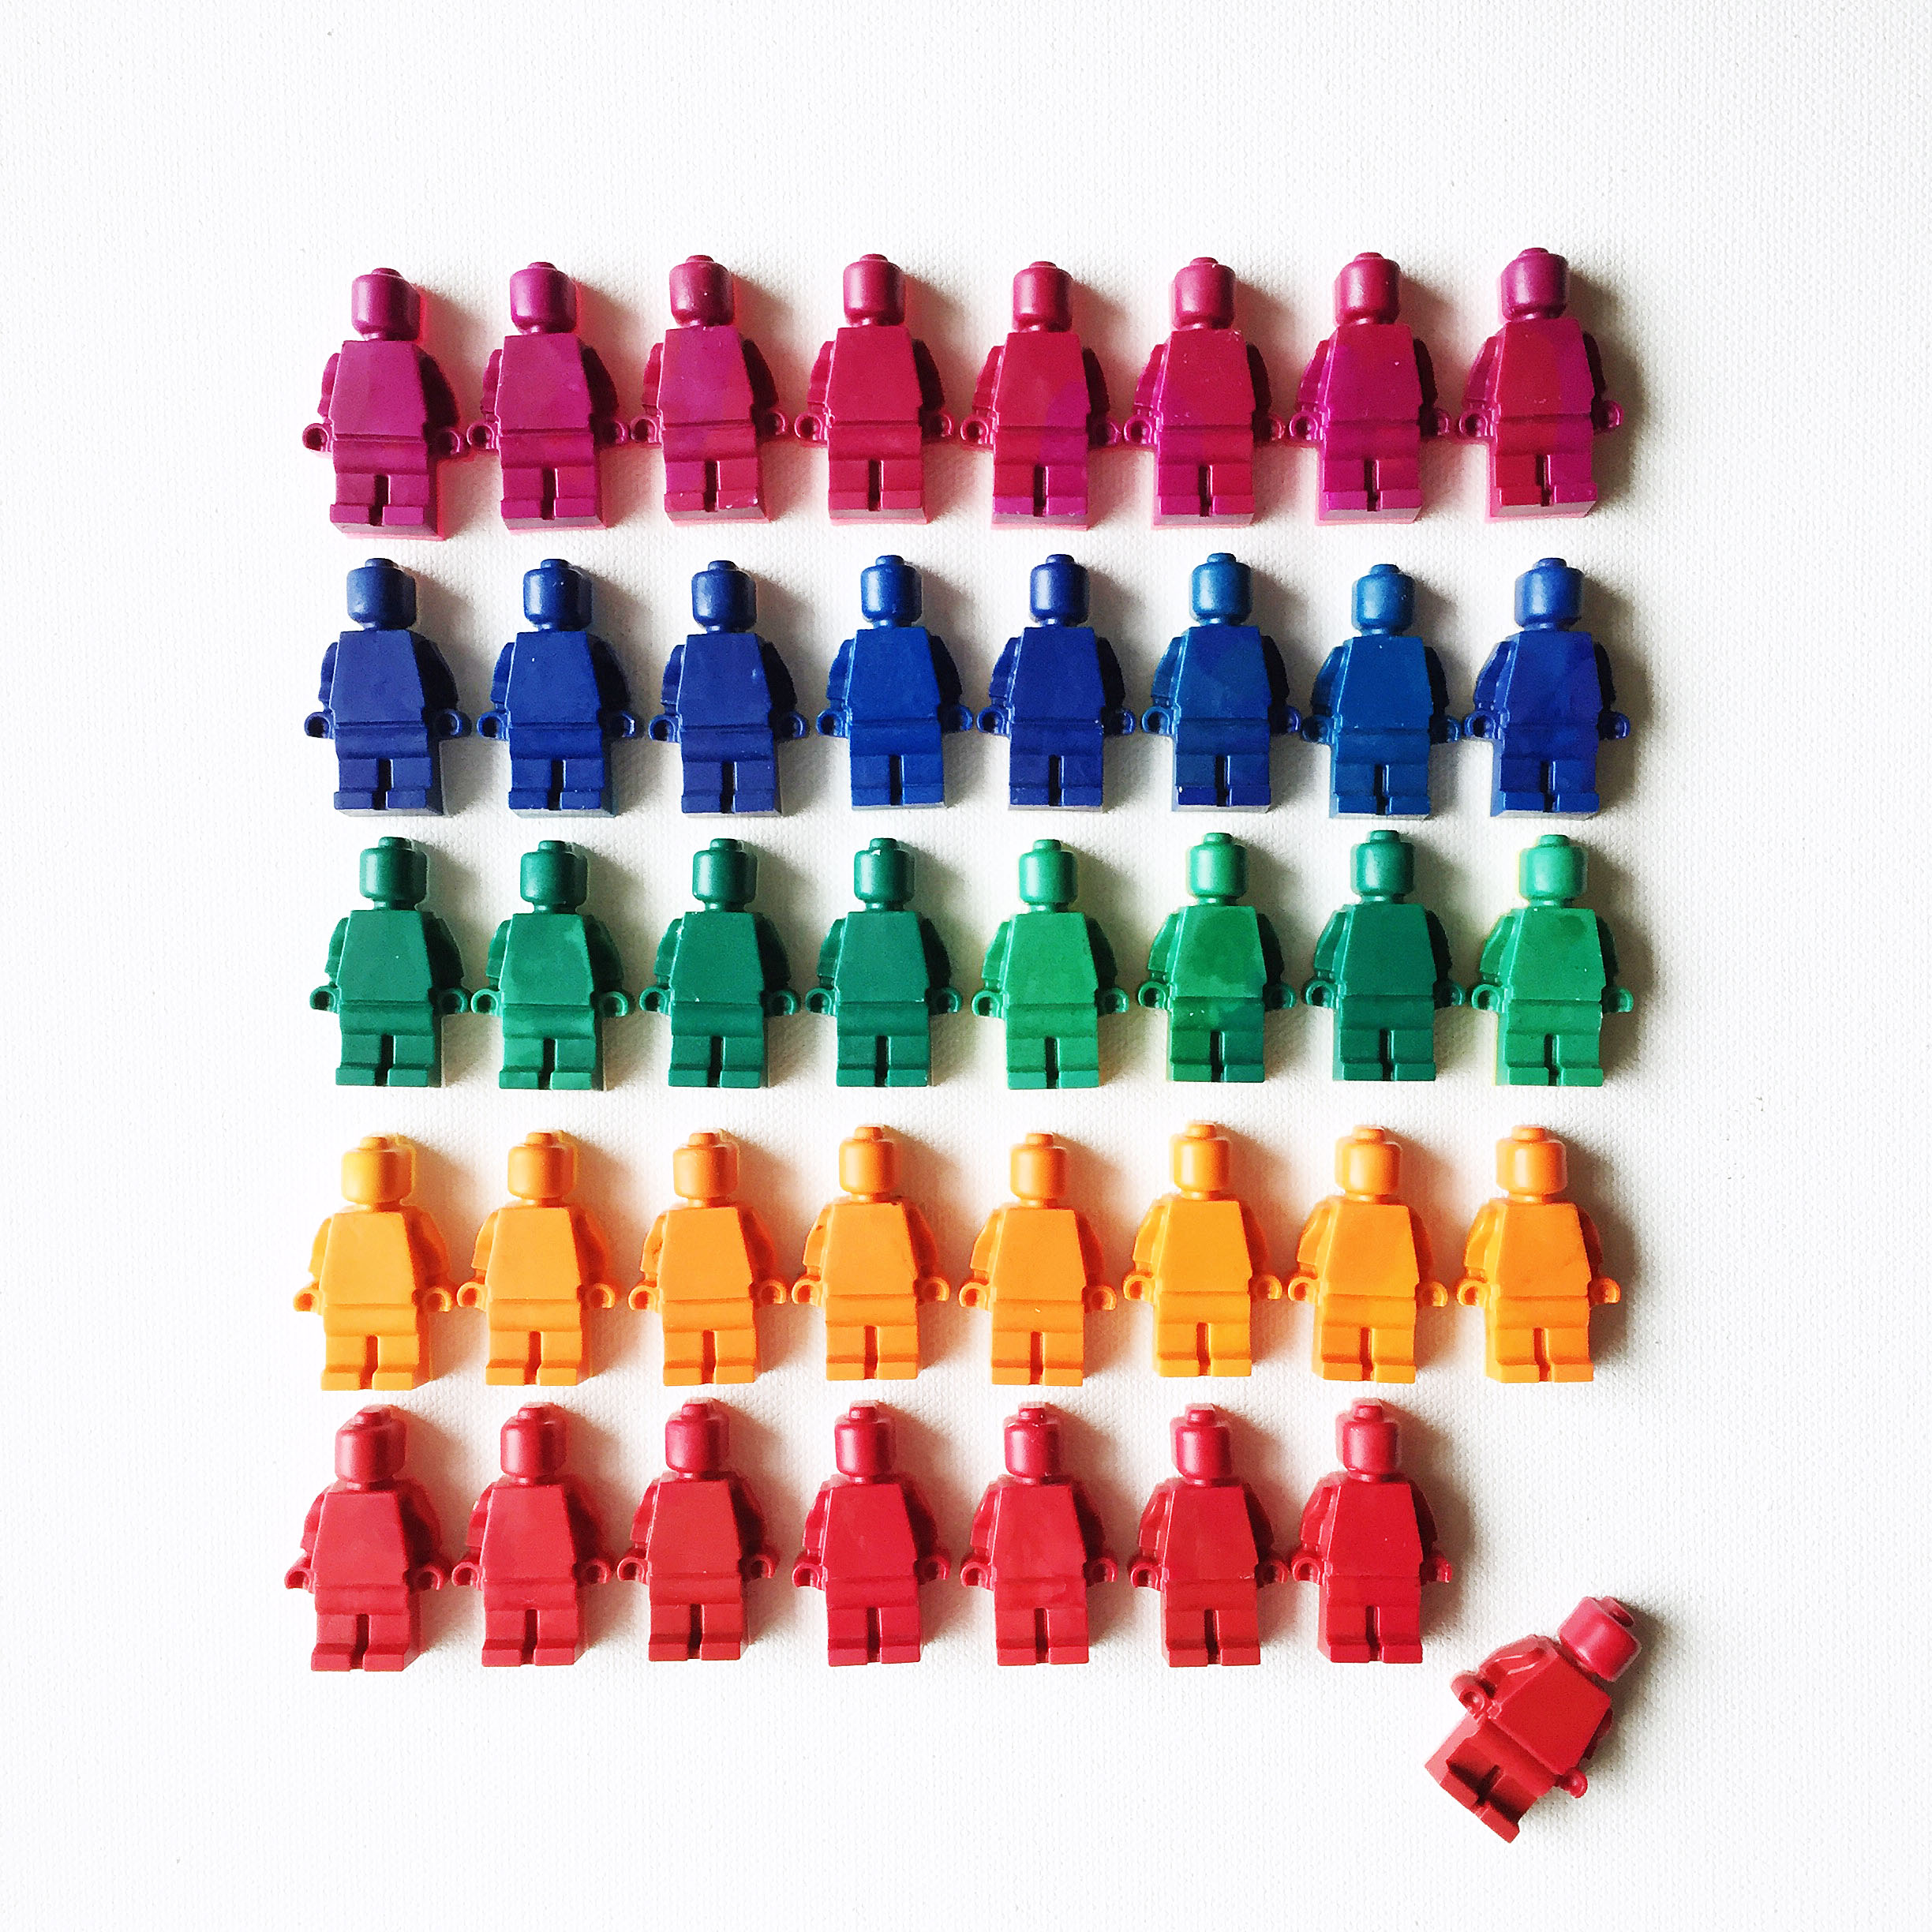
For the Lego crayons, preheat oven to 300 degrees. Break up crayons into pieces, put them in the molds. Place the mold in the oven until the crayon melts, about 15 minutes. Let it cool on the counter or in the fridge until it sets up. Pop them out and that’s it! FYI, if the crayon breaks while popping them out (which happened to me especially with the Lego man) just put it back in the oven until it melts and let it set up again.
Favor Bags:
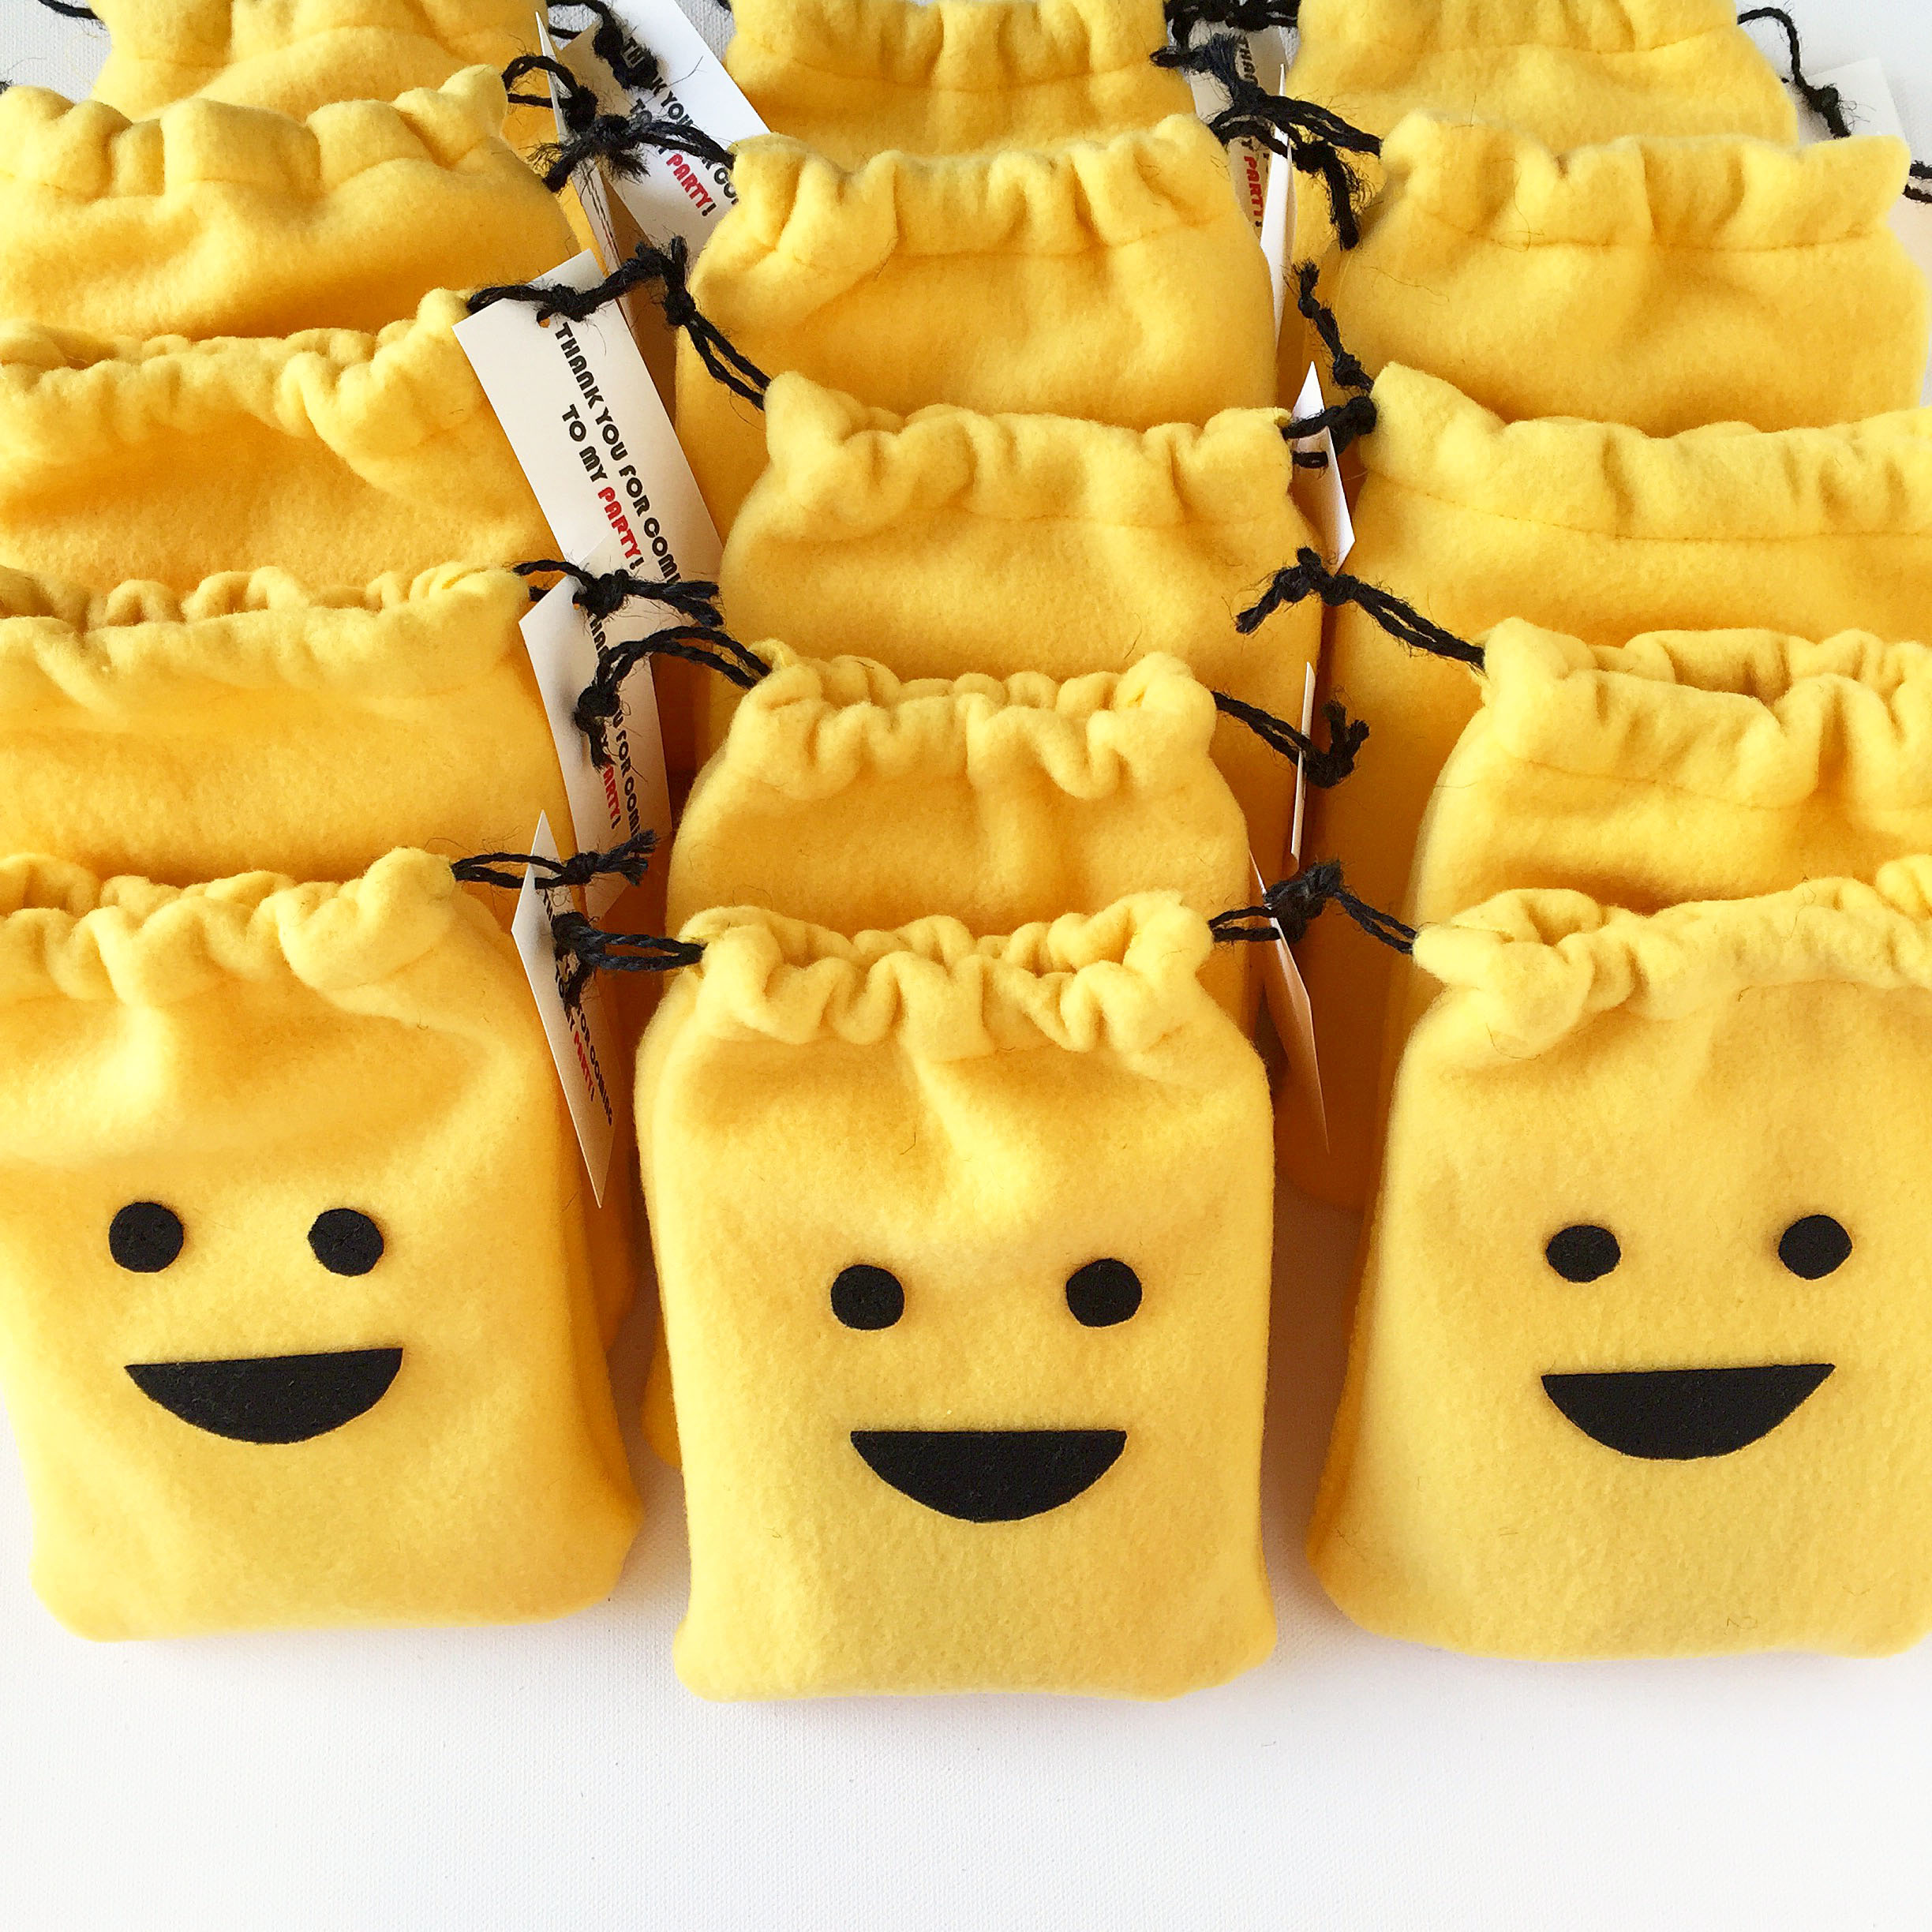
This definitely took the most time. I could’ve gotten away with paper favor bags but I just knew these would come out so cute! So if you own or have access to a sewing machine, I recommend you try making them. Once the eyes and mouths are cut, the assembly goes by pretty fast. There are many resources out there on how to make a drawstring bag: books, magazines, and videos. I personally like to watch tutorials on youtube. Here is a sample tutorial site for drawstring bag but please look around to see which style of tutorial suits you best.

 I used yellow fleece for the bag and black felt for the eyes and mouth which I sewed on. (You can also glue them on). Again, I know these take a little work but I guarantee that these will be a big hit with the kiddos (and the parents!). I also love the fact that these bags can be reused. My son is always carrying around little knickknacks so having little bags like this is perfect.
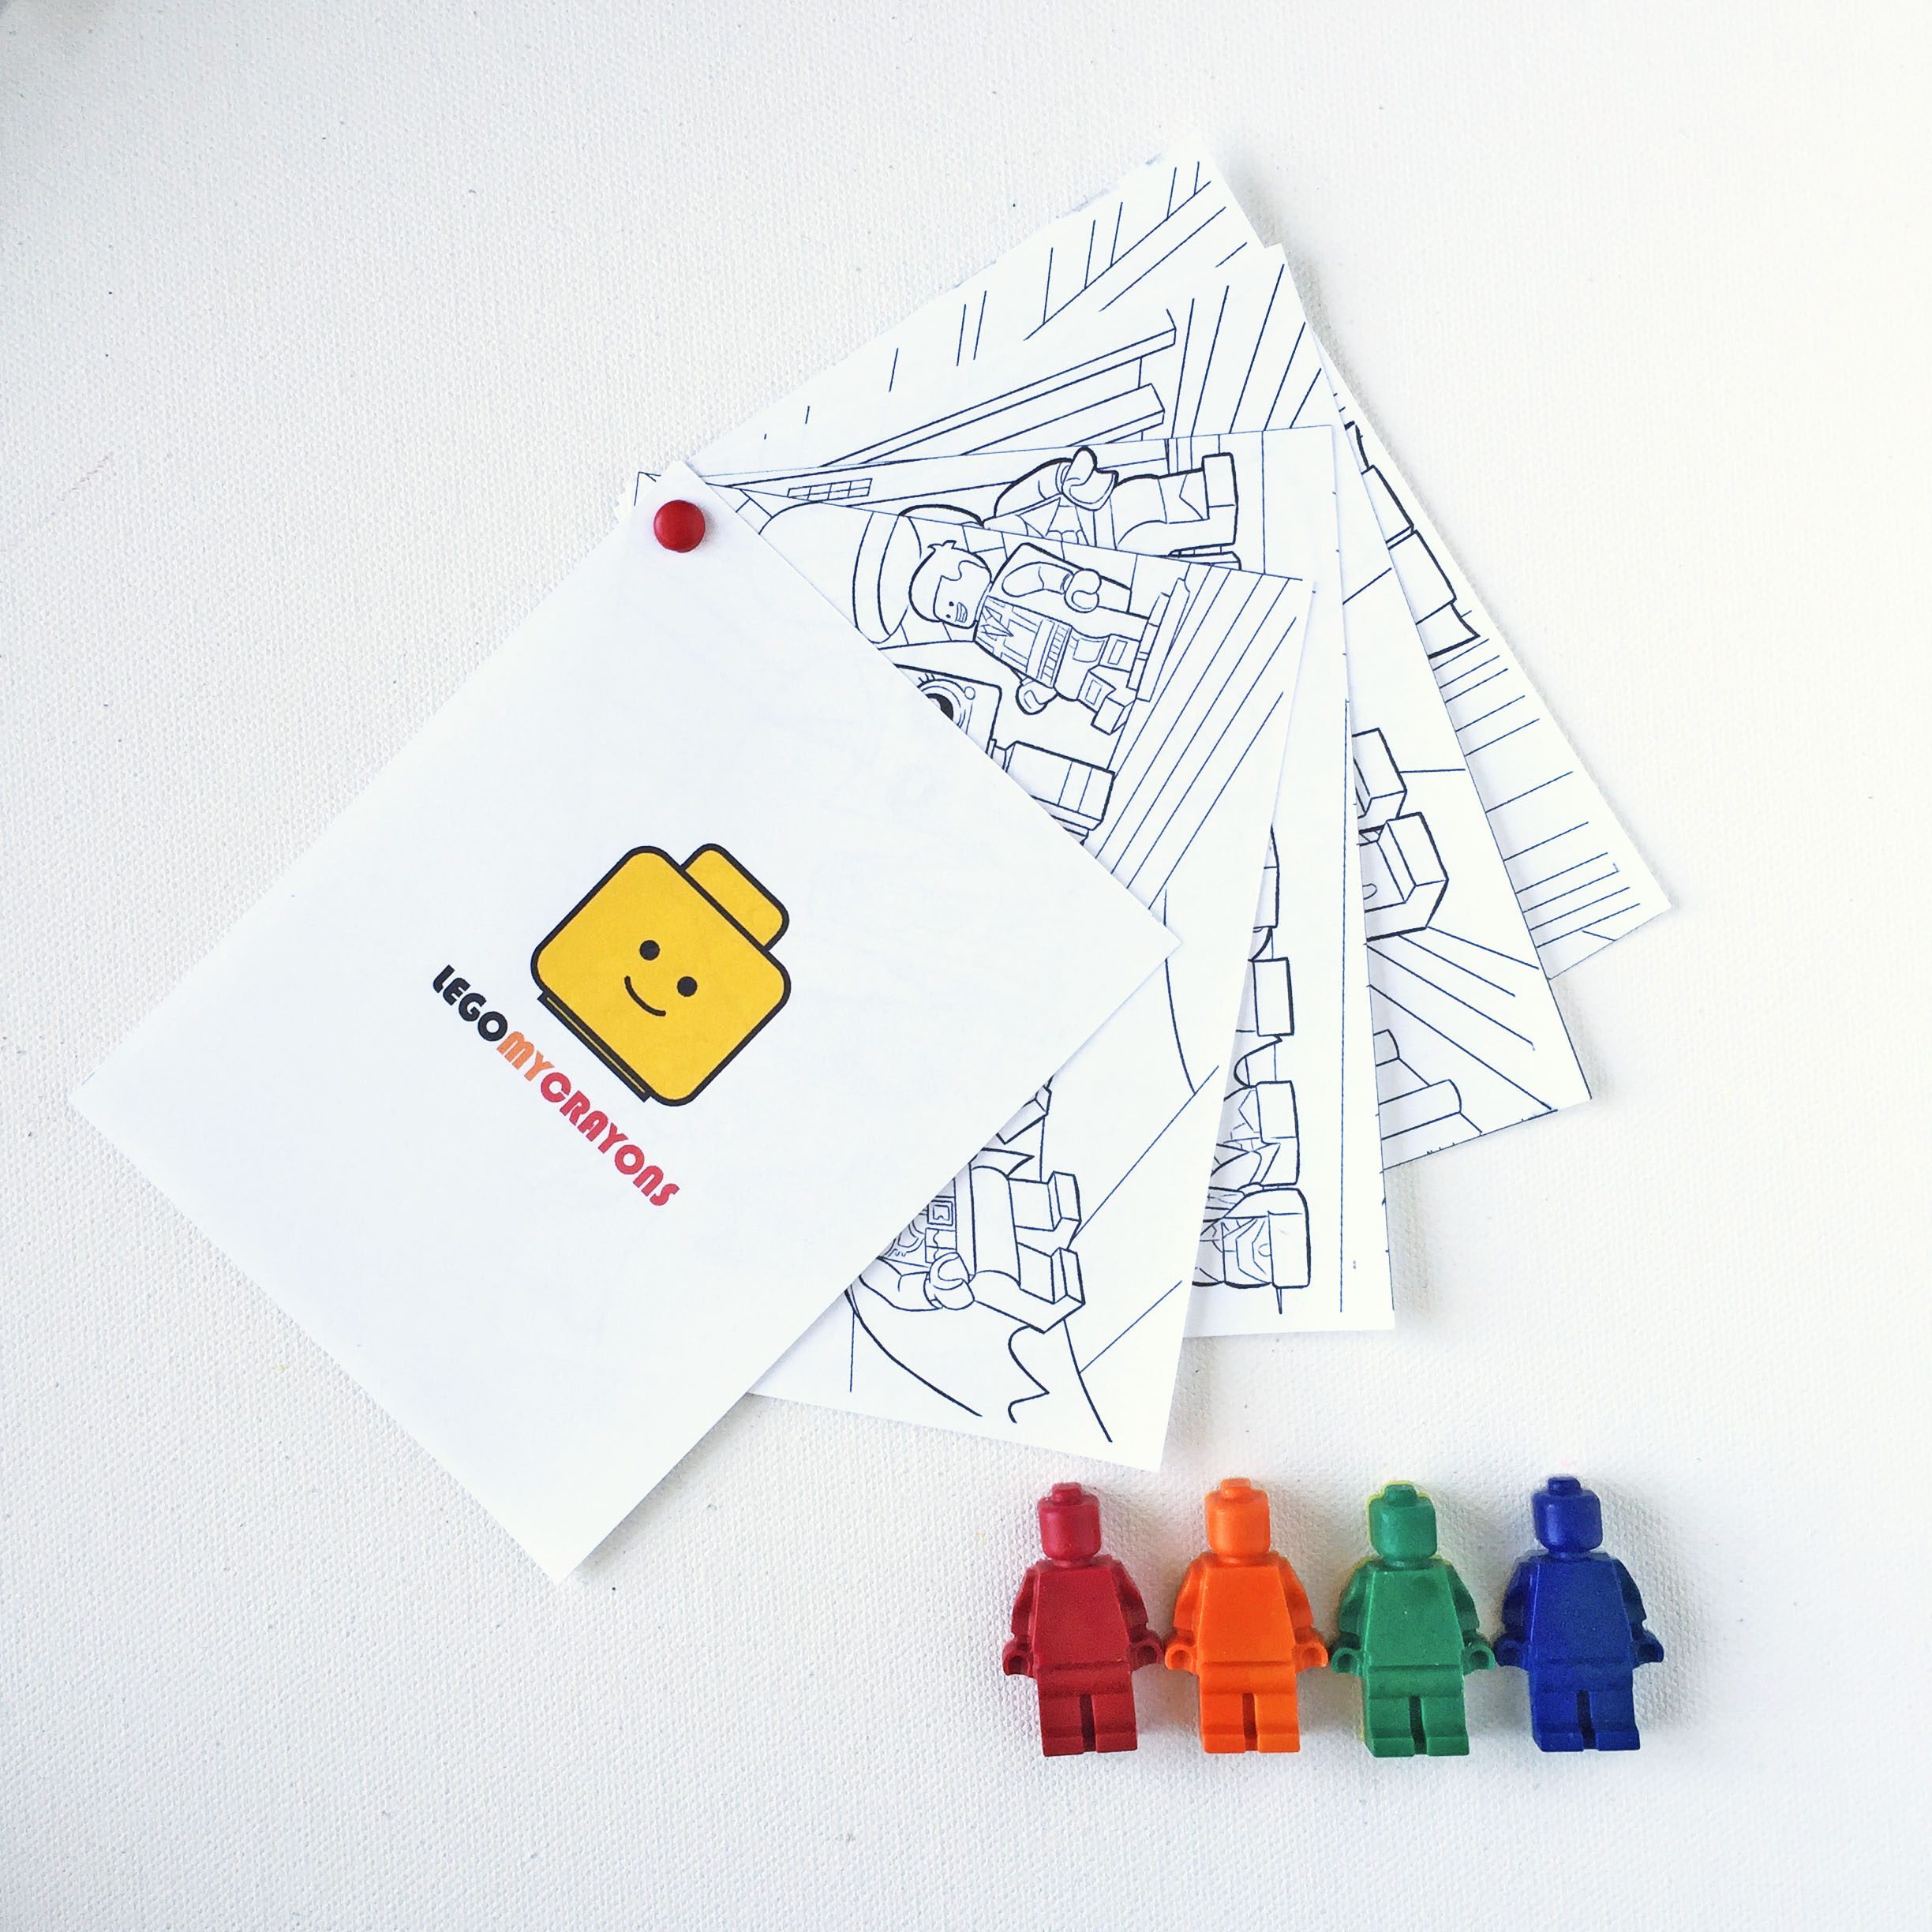 To put the crayons together, I printed 4 Lego coloring pages and bound it with a brad to make a mini Lego coloring book. (If you search for “Lego coloring pages” online, you will find a wide range of selections). So cute, right?

To sum it up, these are all the Lego goodies. Ben is already planning his 7th birthday party. So far, the most popular contender is Minecraft. We shall see.
Happy Lego-ing, everyone!
Just amazing, and everything looks so perfect! I do love a good pun, we had 2ft pizza for our wedding breakfast so I’m a big fan of buying in 🙂