Fabric Gift Wrapping Tutorial #3
There has been a baby boom at my son’s preschool lately. A total of 4 families has welcomed or will welcome new additions to their families. One of my son’s good friend will soon become a big brother to a precious lil’ sister. I wanted to make something special for the new addition.
I knew I wanted to sew something. After searching for ideas, I decided to make burp cloths and a tag blankie. Now, let me put a disclaimer here before I go on. I’m NOT a professional seamstress. I’m an absolute novice when it comes to sewing. In fact, these burp clothes tutorials all said it should take less than an hour to make but it took me 5 tries and definitely well-over an hour to get it right. (Talk about being a novice!) And it was still not perfect. When I started to get frustrated, I had to tell myself that these will be used to wipe baby’s spit-up :).
This is NOT a sewing tutorial. I’ll leave that those who are pros at it. I used this tutorial for the tag blankie and this for the burp cloth.
This is my third installment of fabric wrapping tutorial. Check out the first two tutorials fabric gift wrapping tutorial #1 and fabric gift wrapping tutorial #2. Hope you give it a go! It really is easy. I promise!
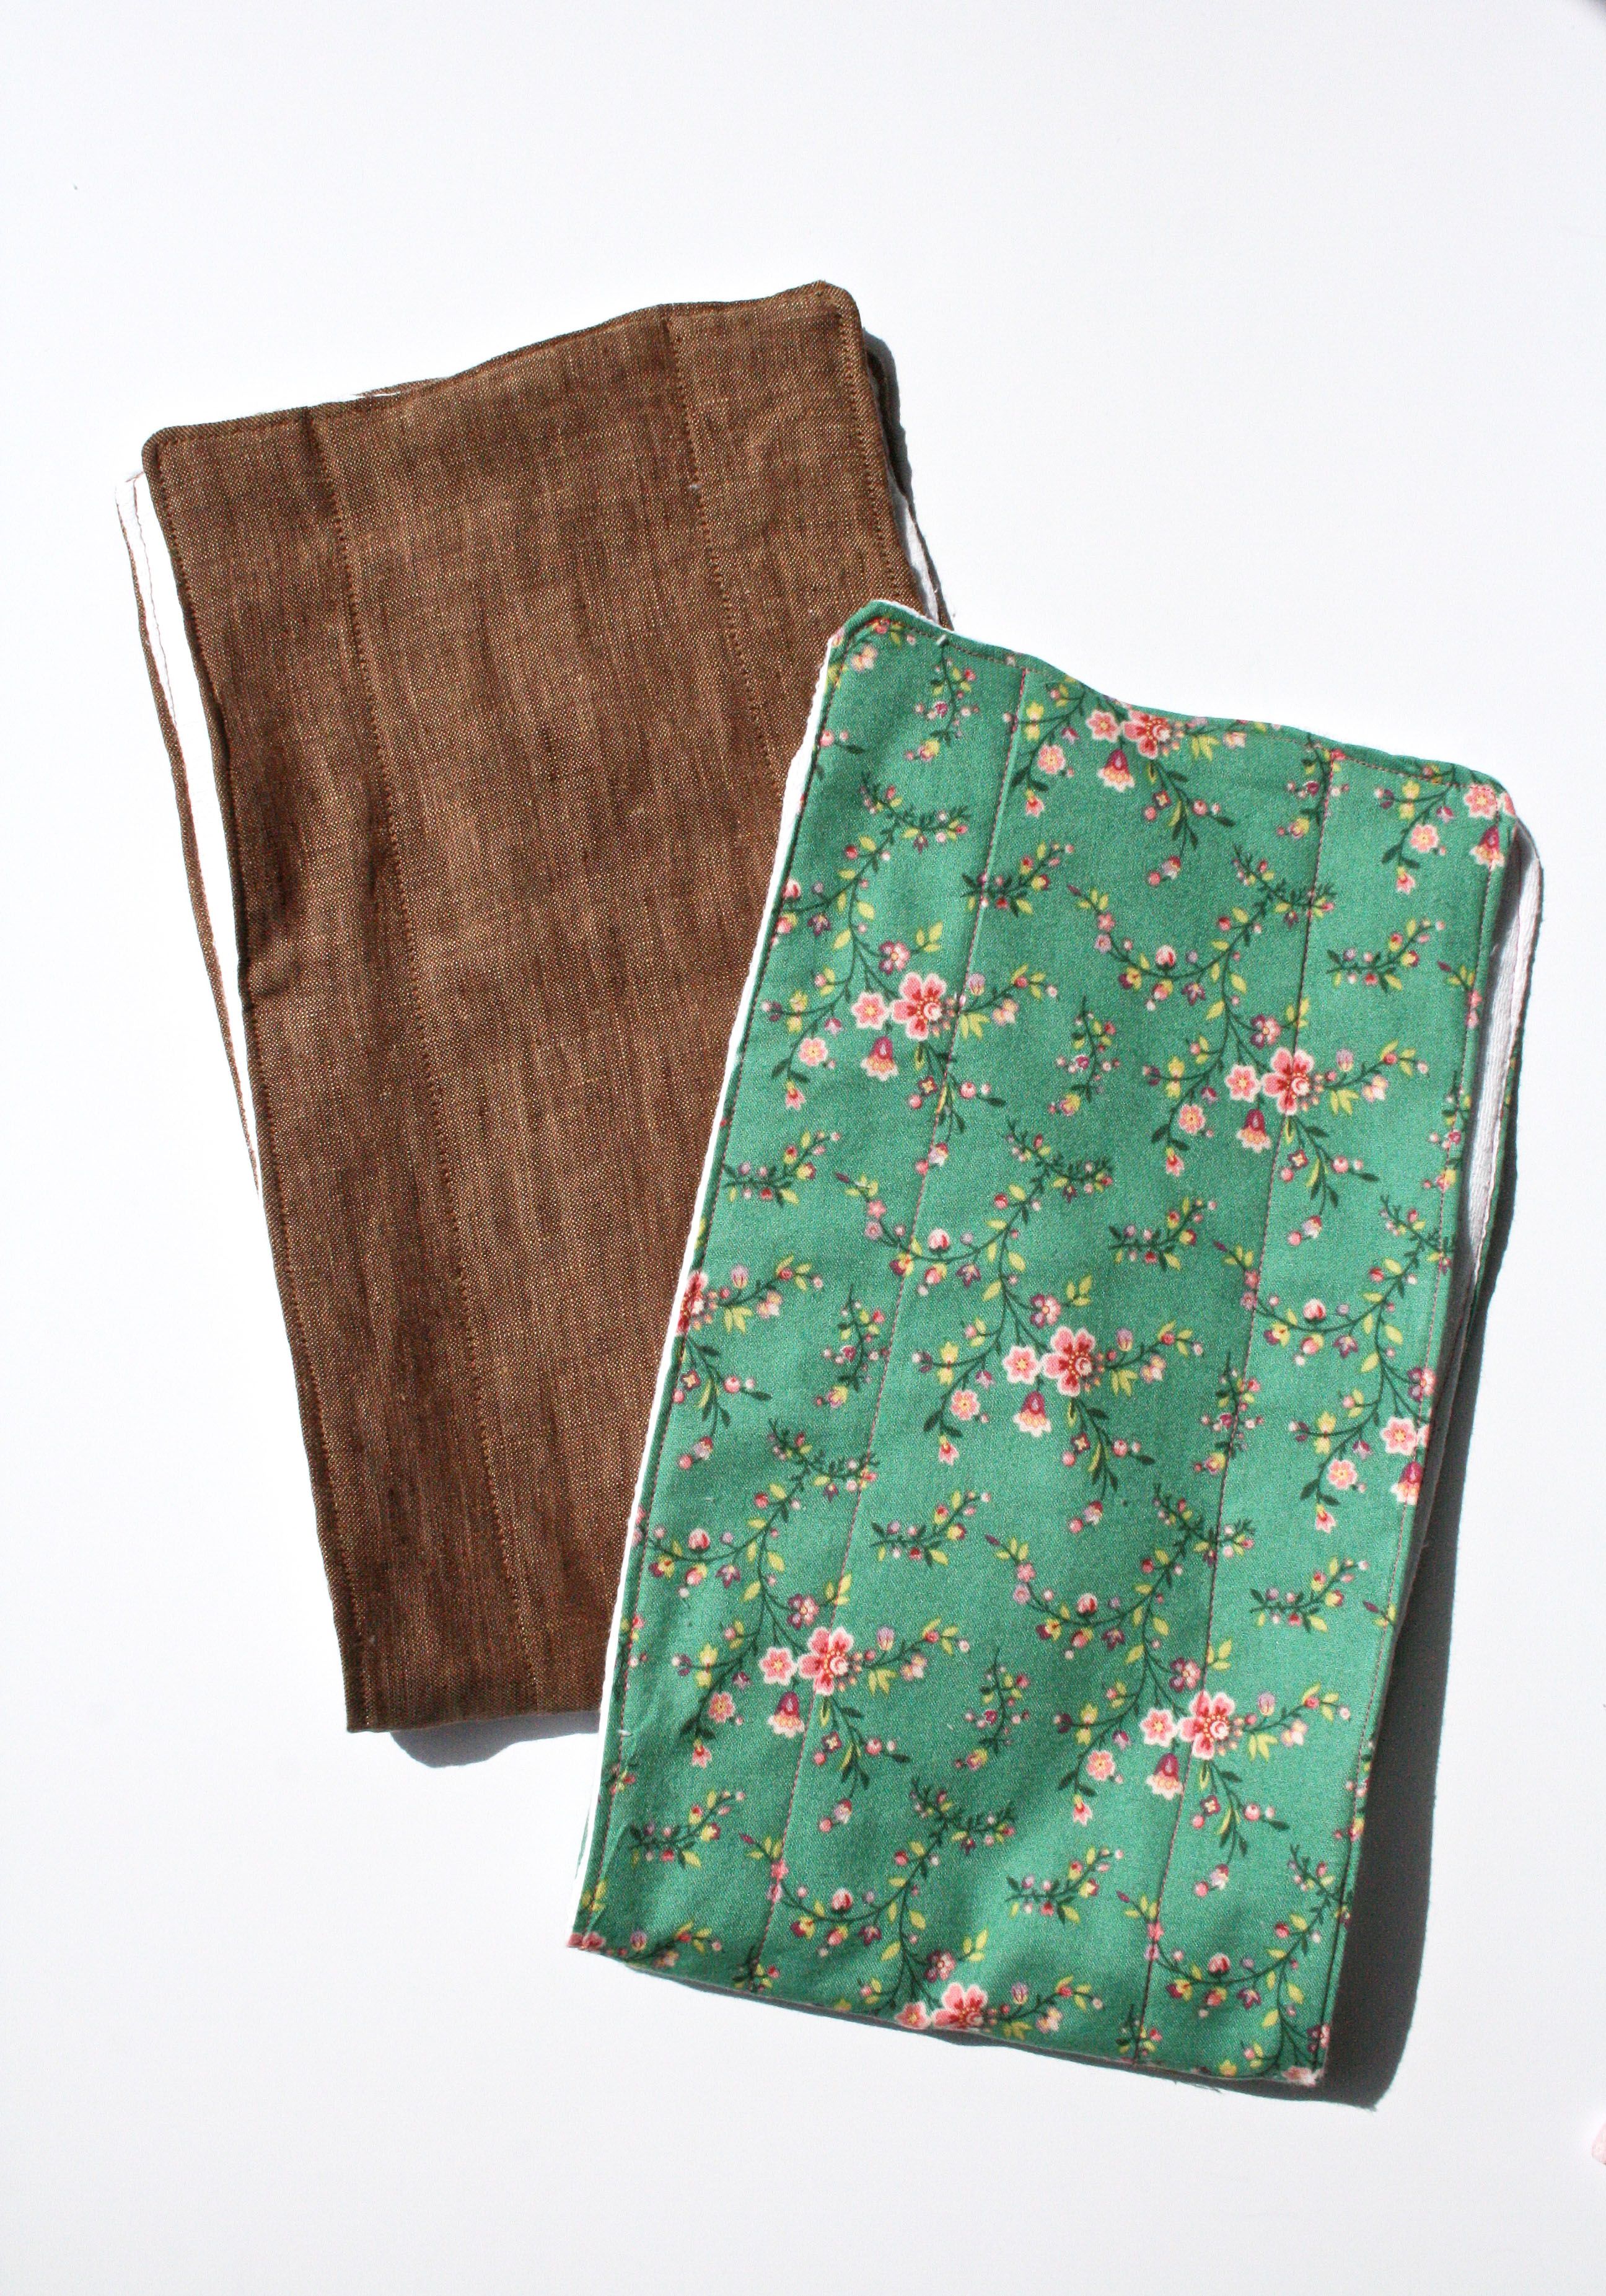 I used linen and pretty cotton fabric for the burp cloths.
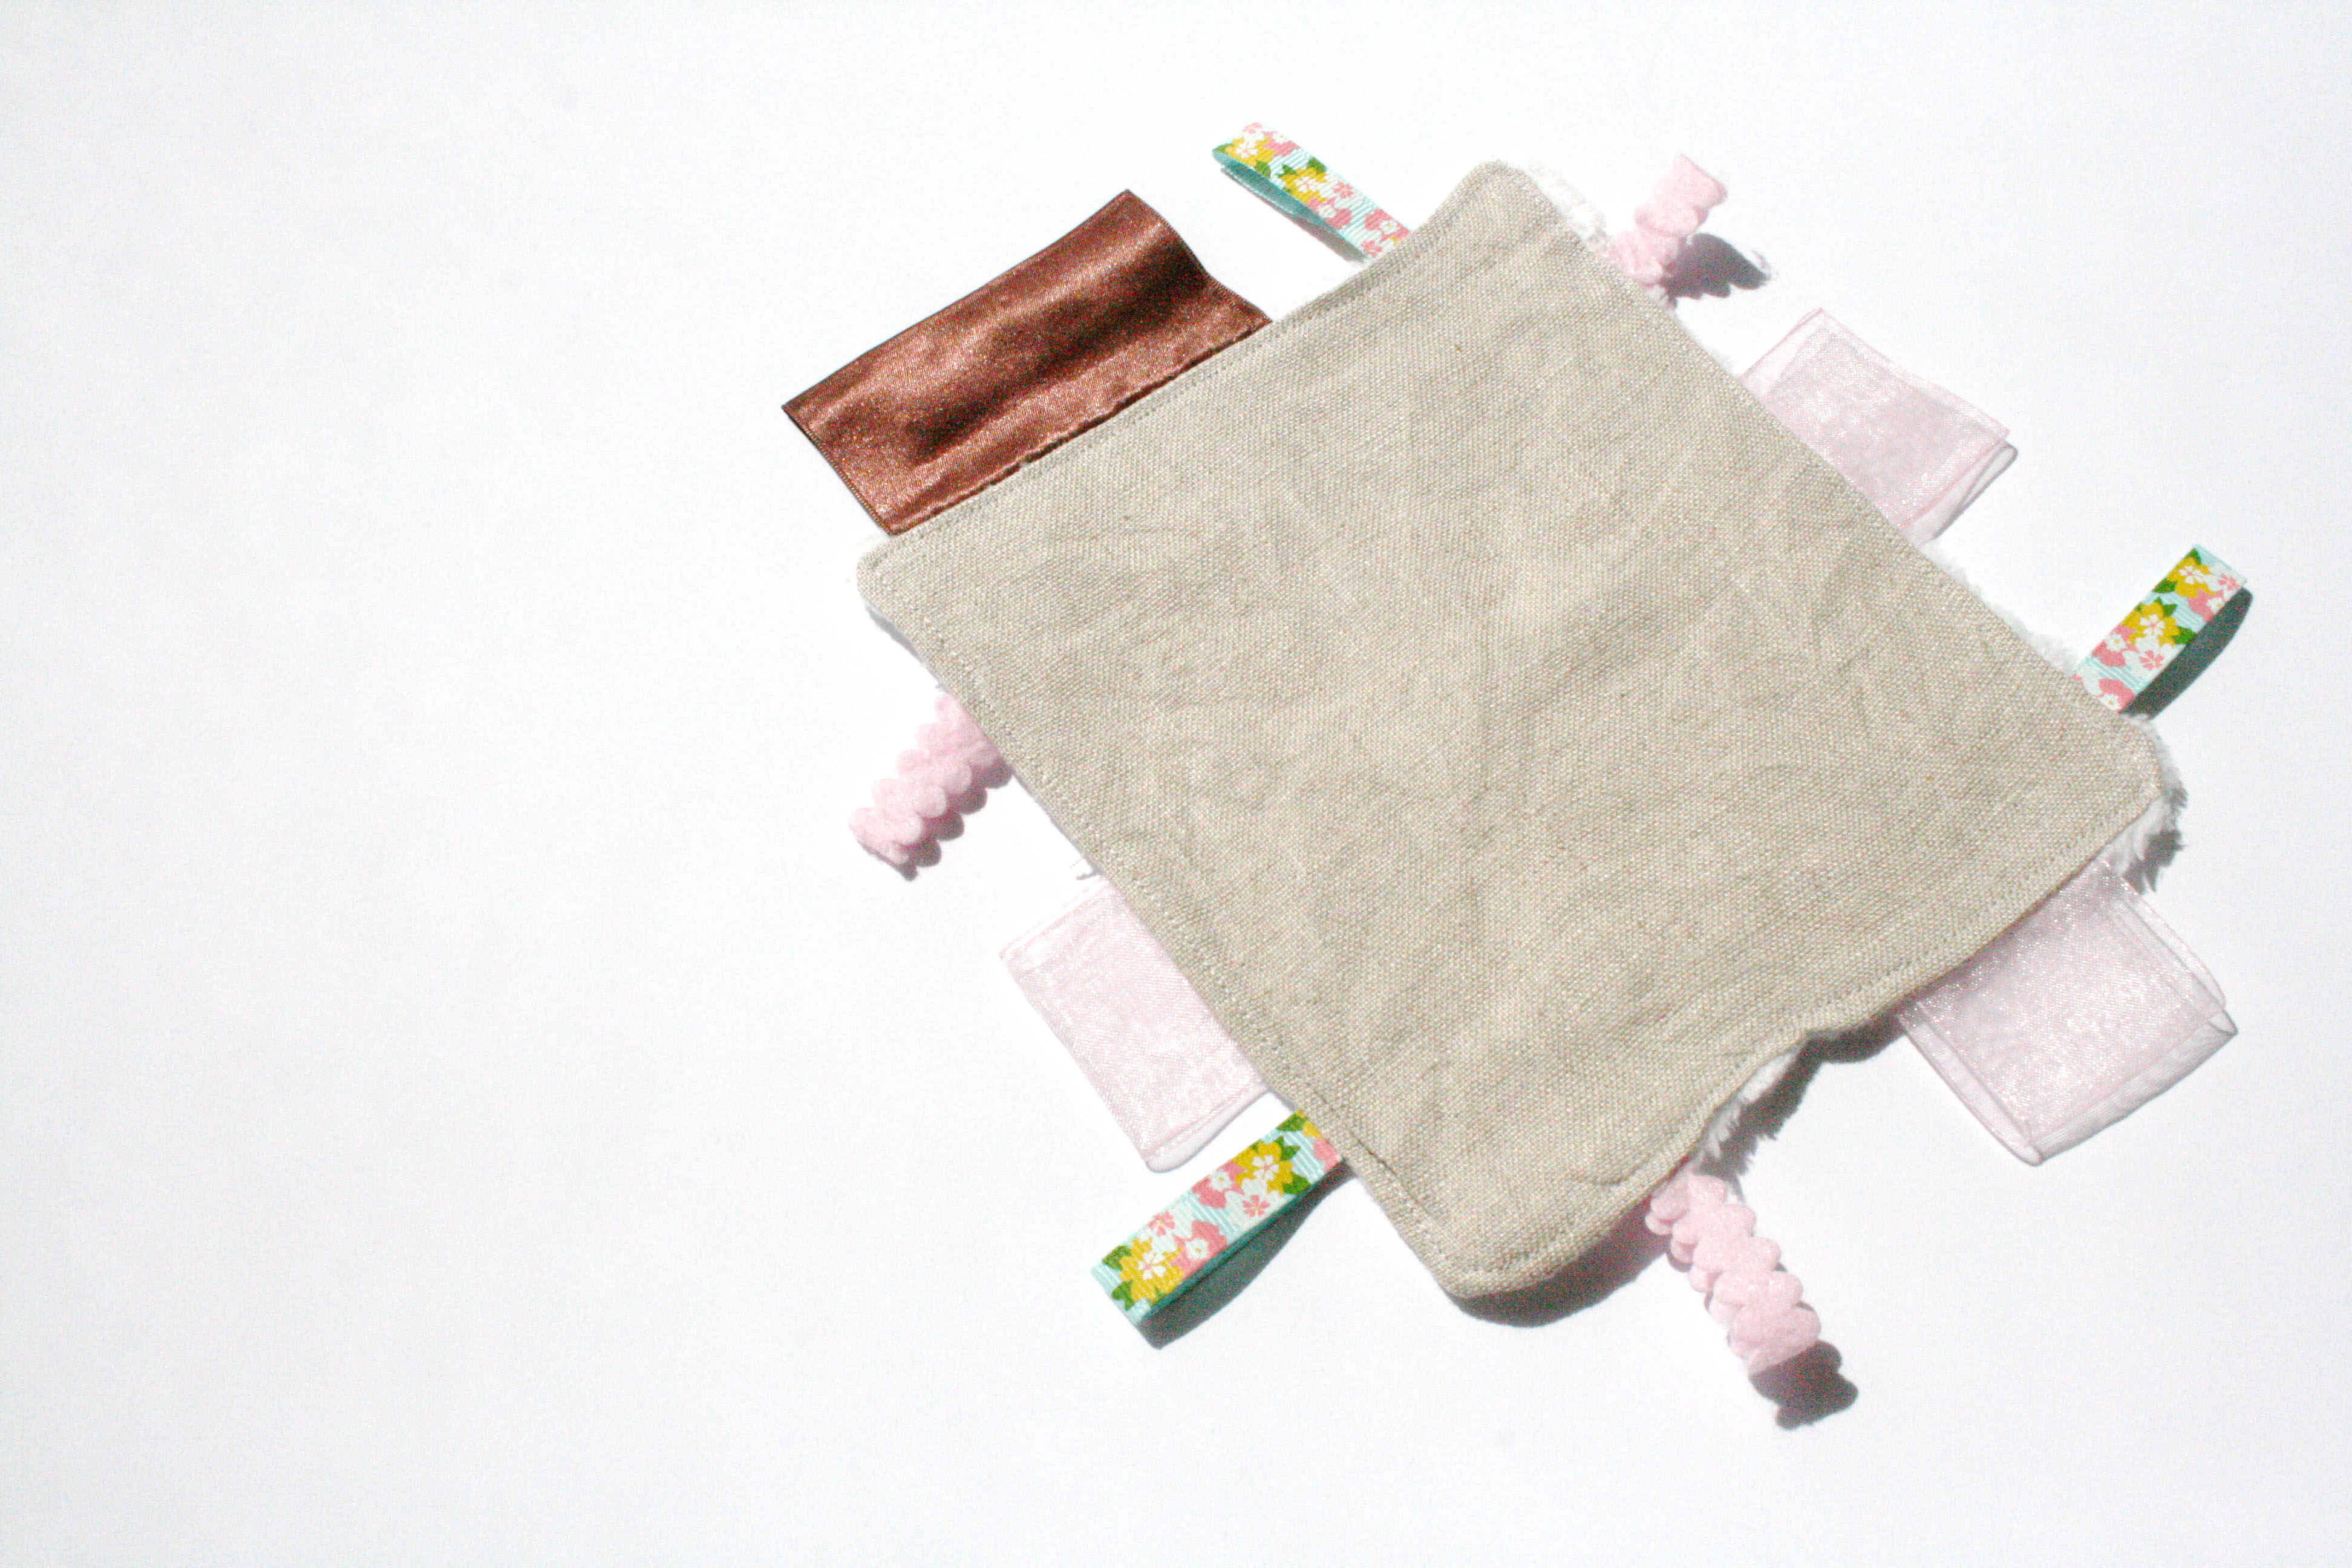 Tag blankie. I remember my son loving “tags” when he as an infant. Miss those days…sniff.
 I put the burp cloths and the blankie in a pretty box.
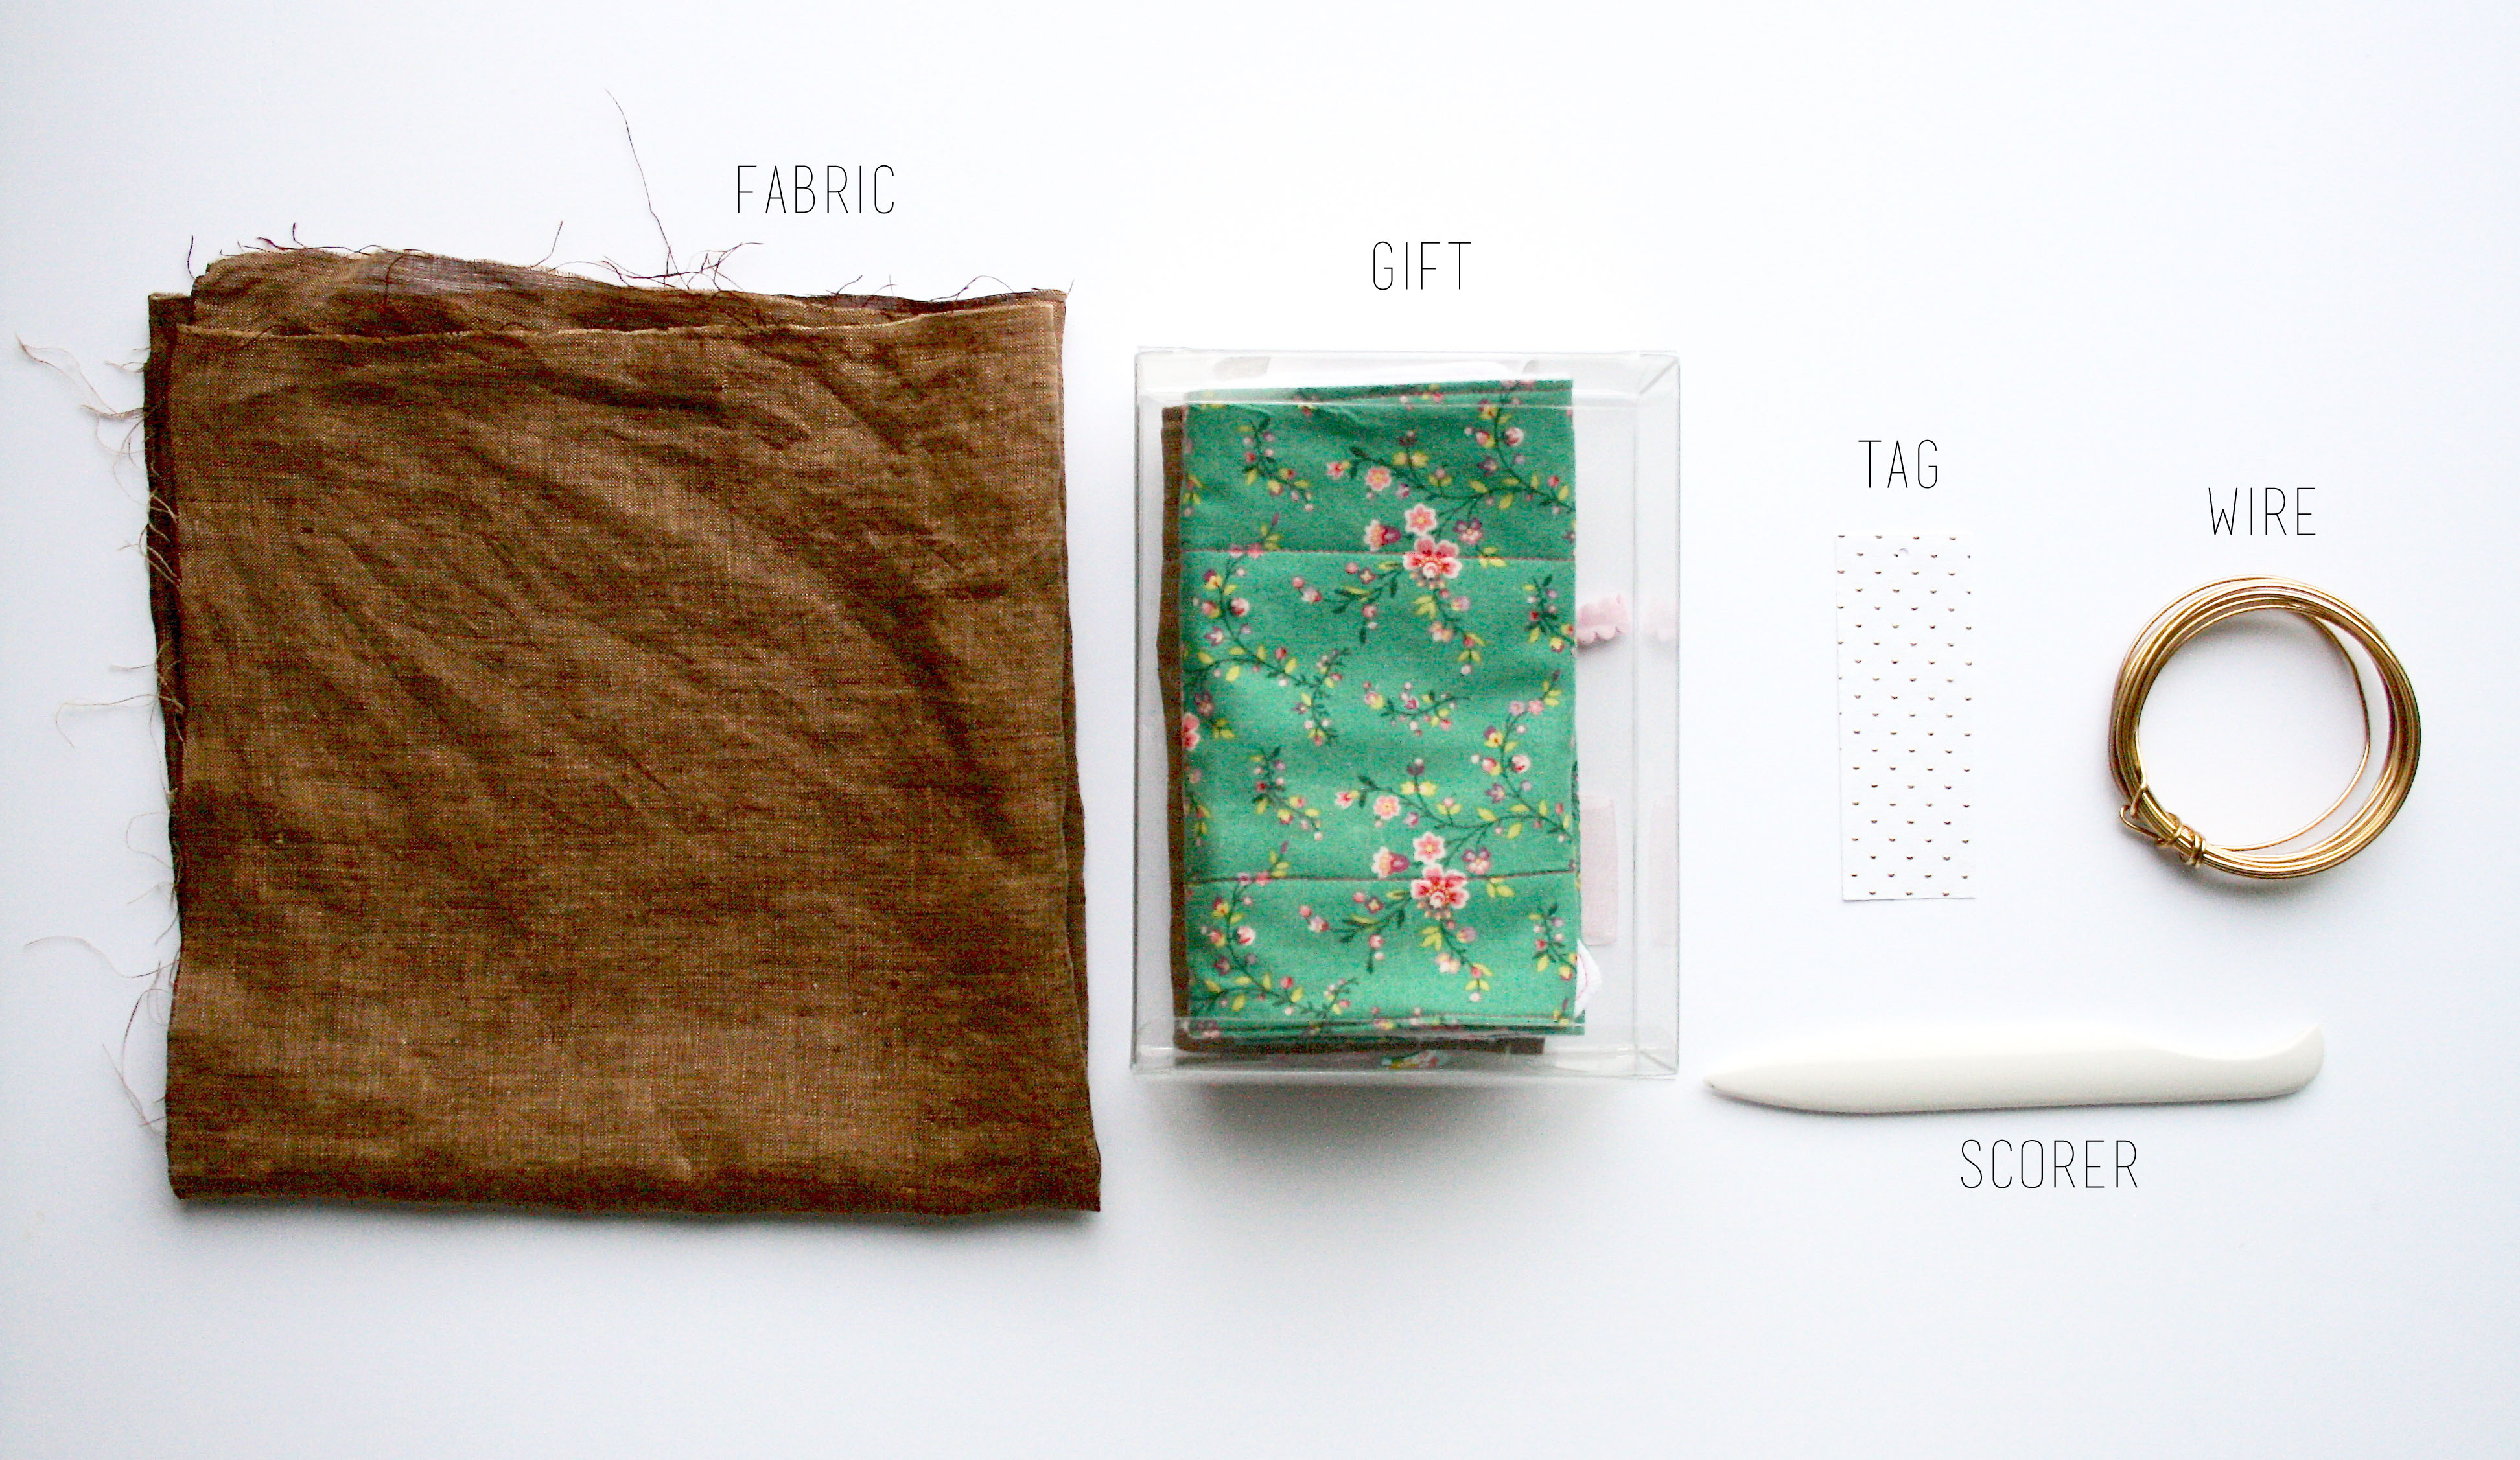
You need:
Light weight fabric (I used linen)
Gift
Scorer
Gift Tag (optional)
Wire (optional)
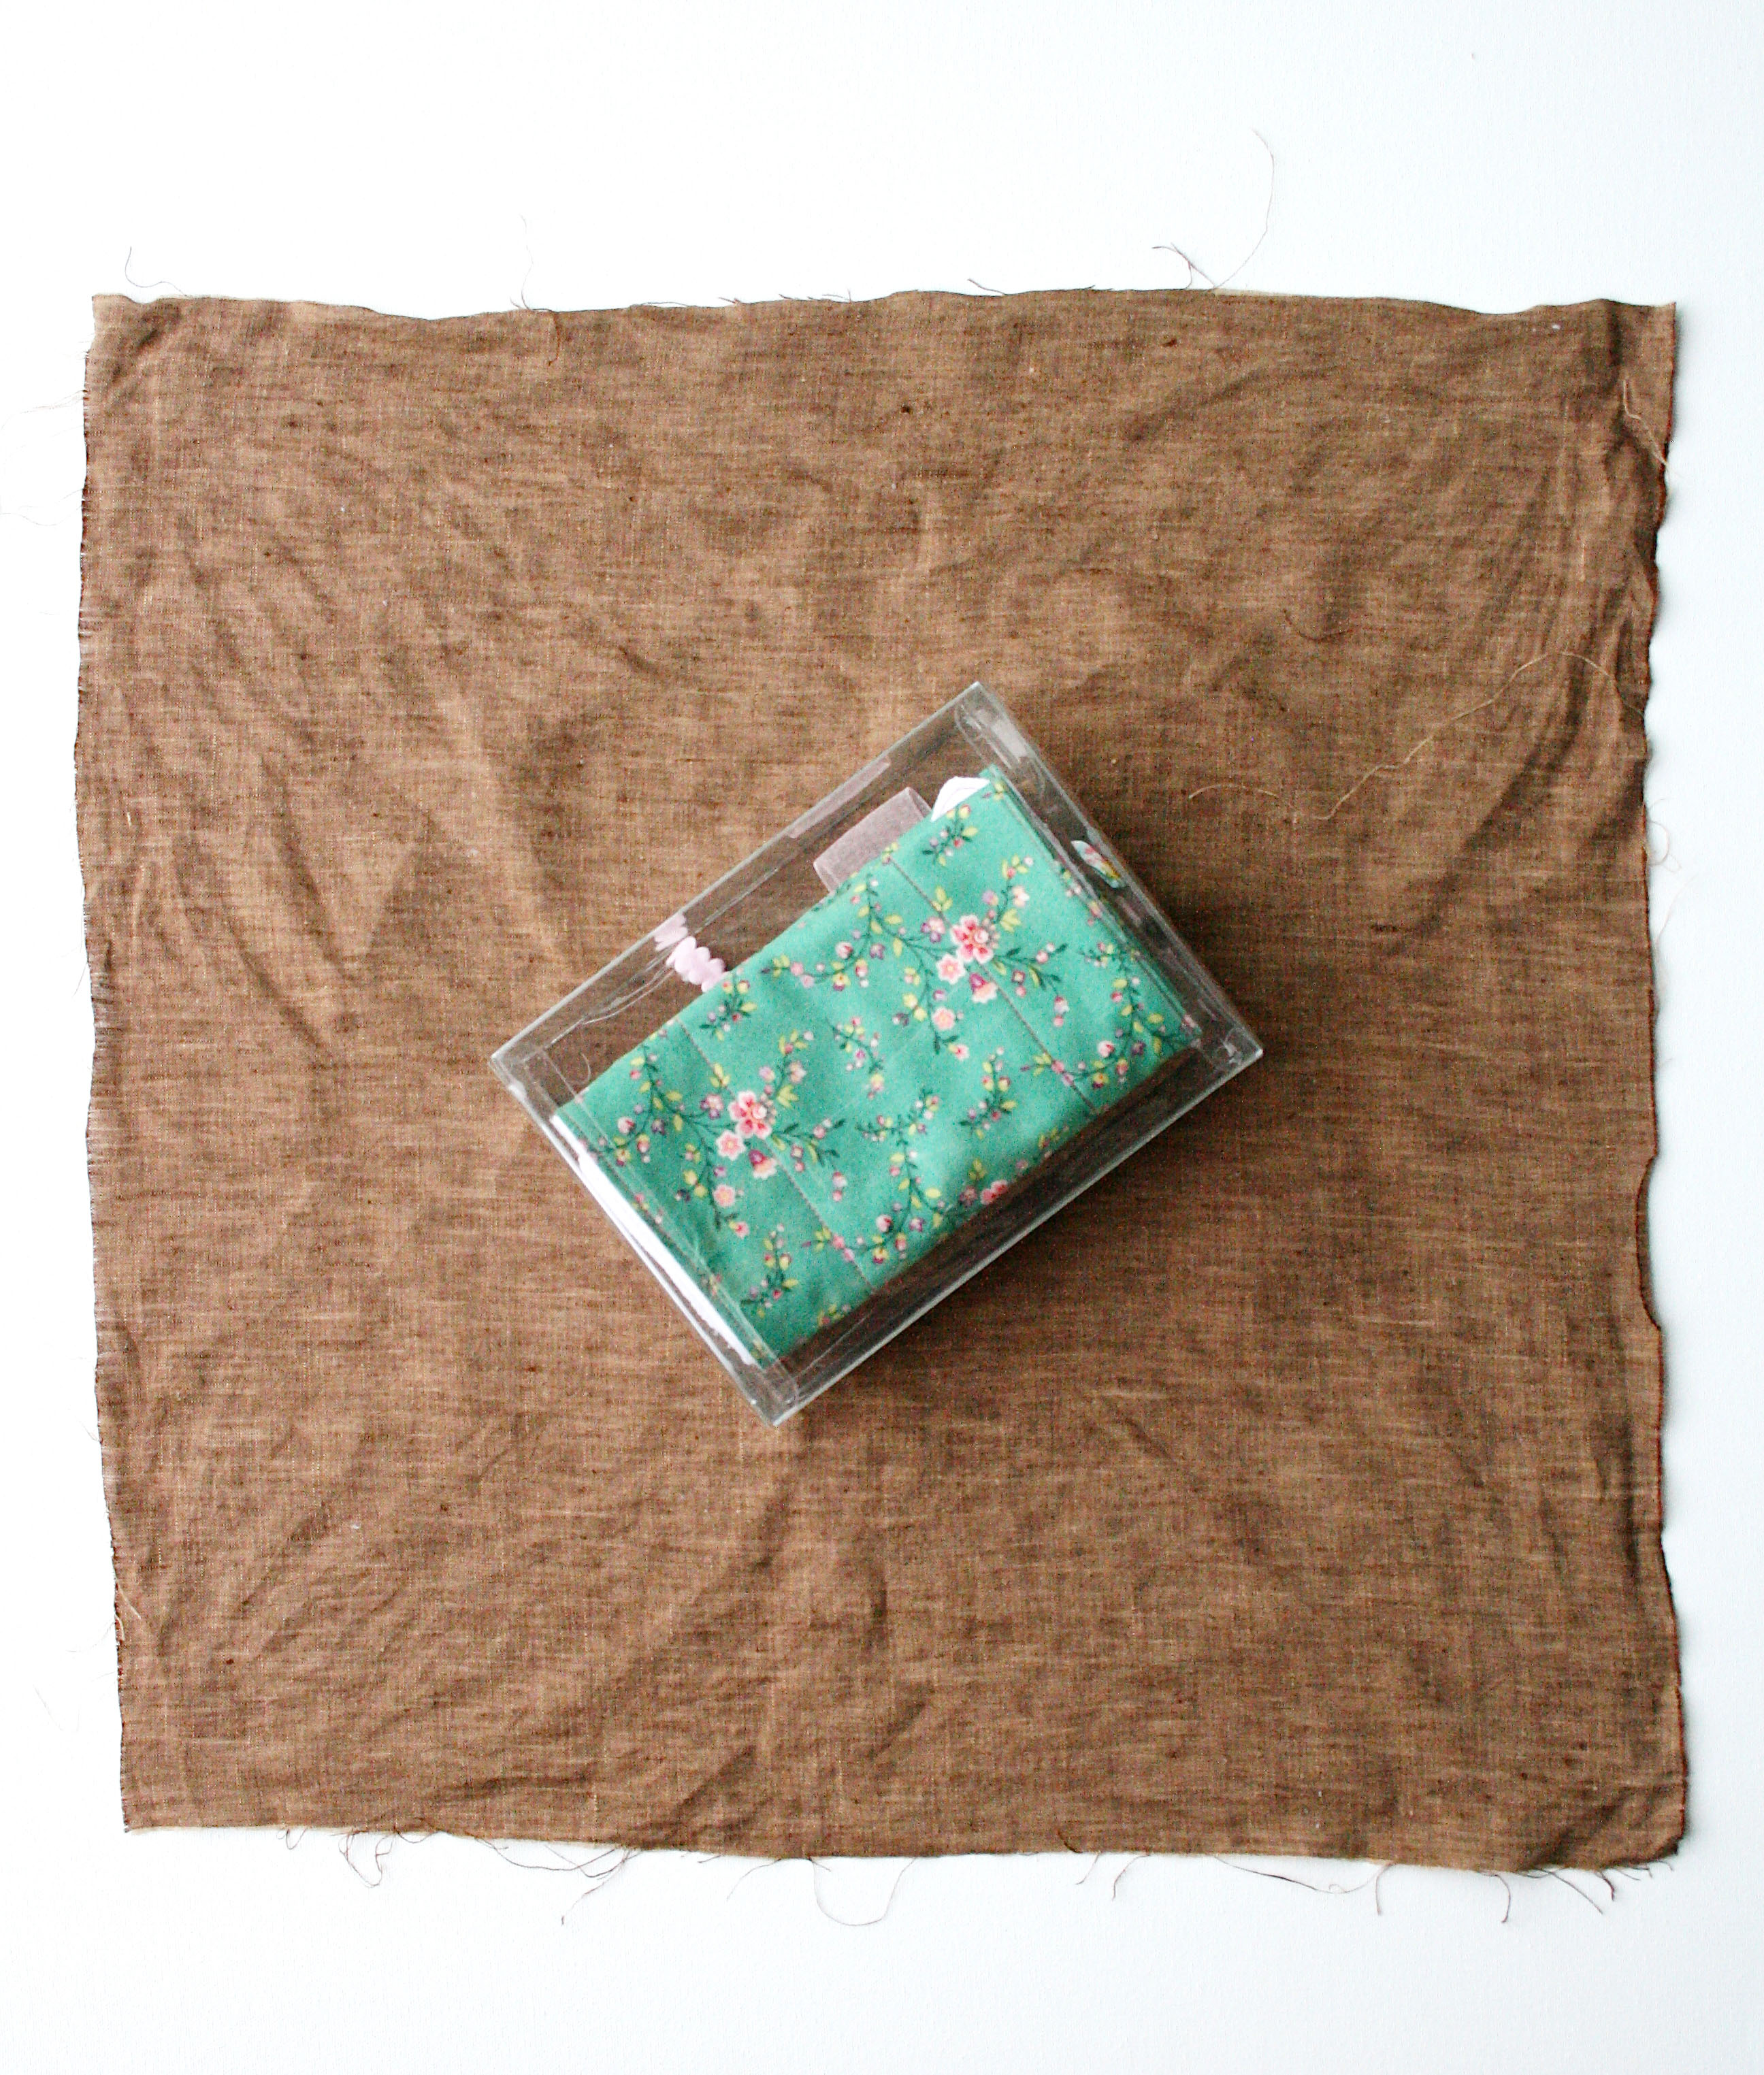 Step 1: Lay out the fabric. Place your gift in the middle.
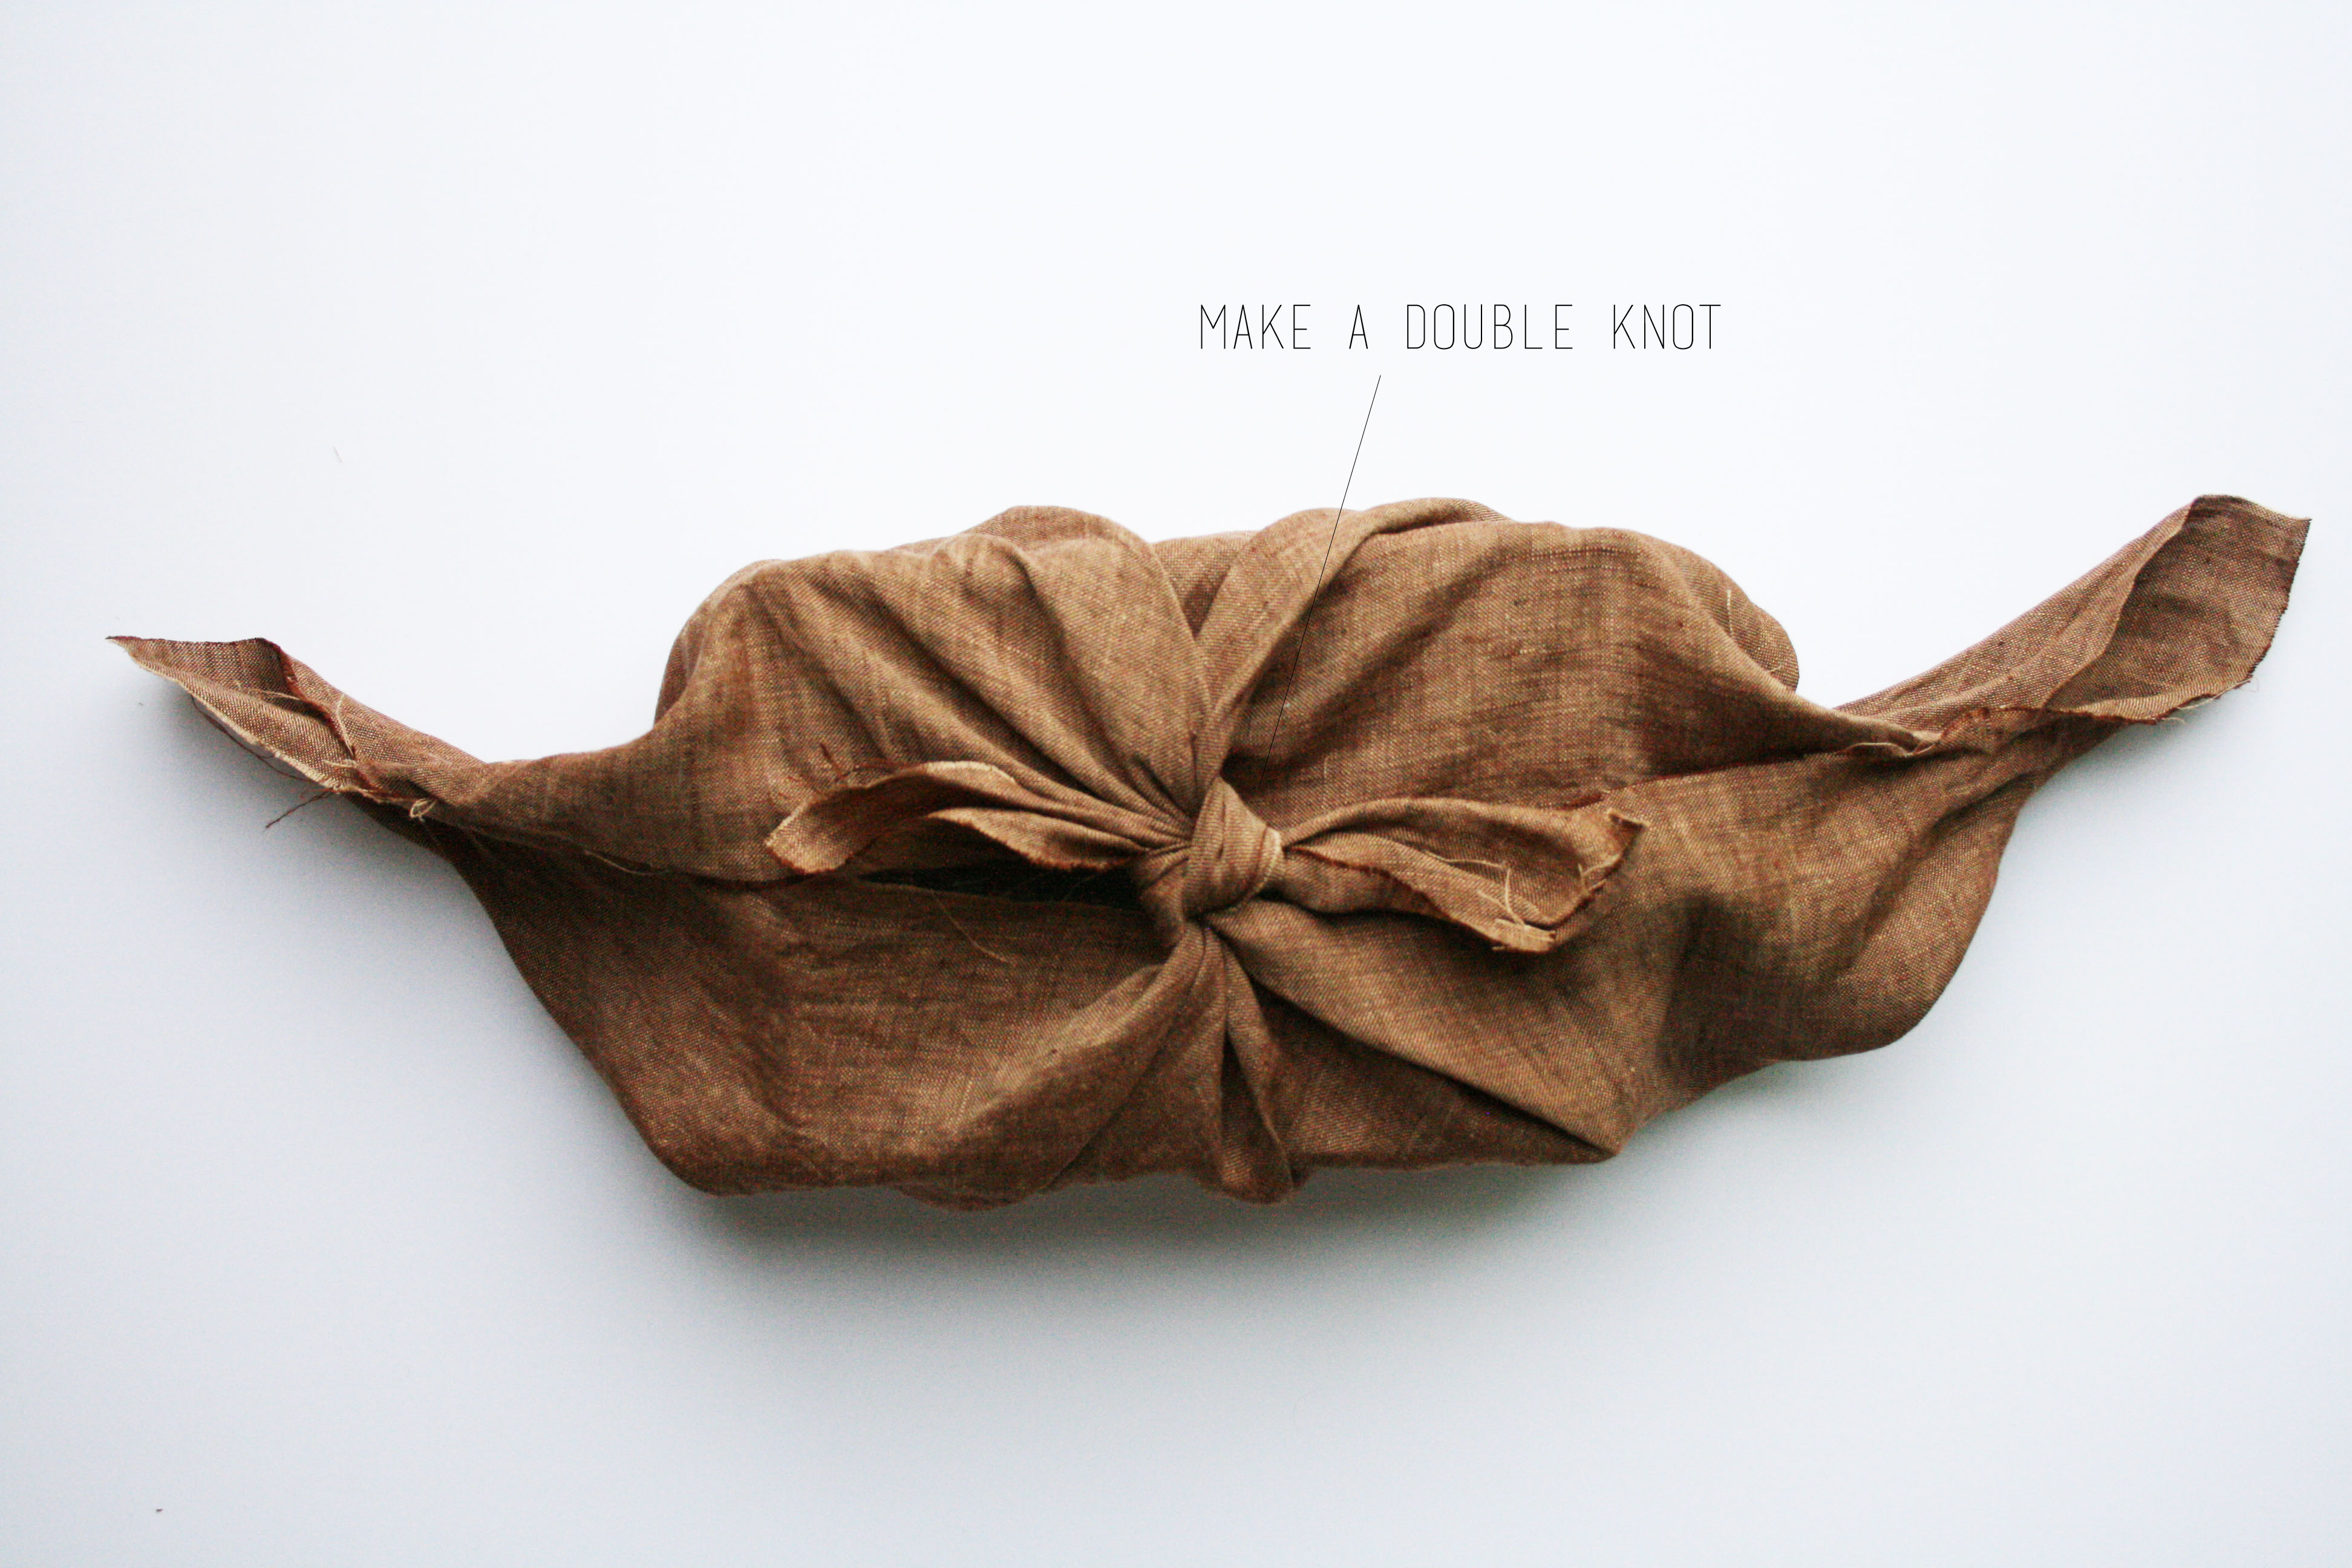 Step 2: Take 2 opposite ends and make a double knot.
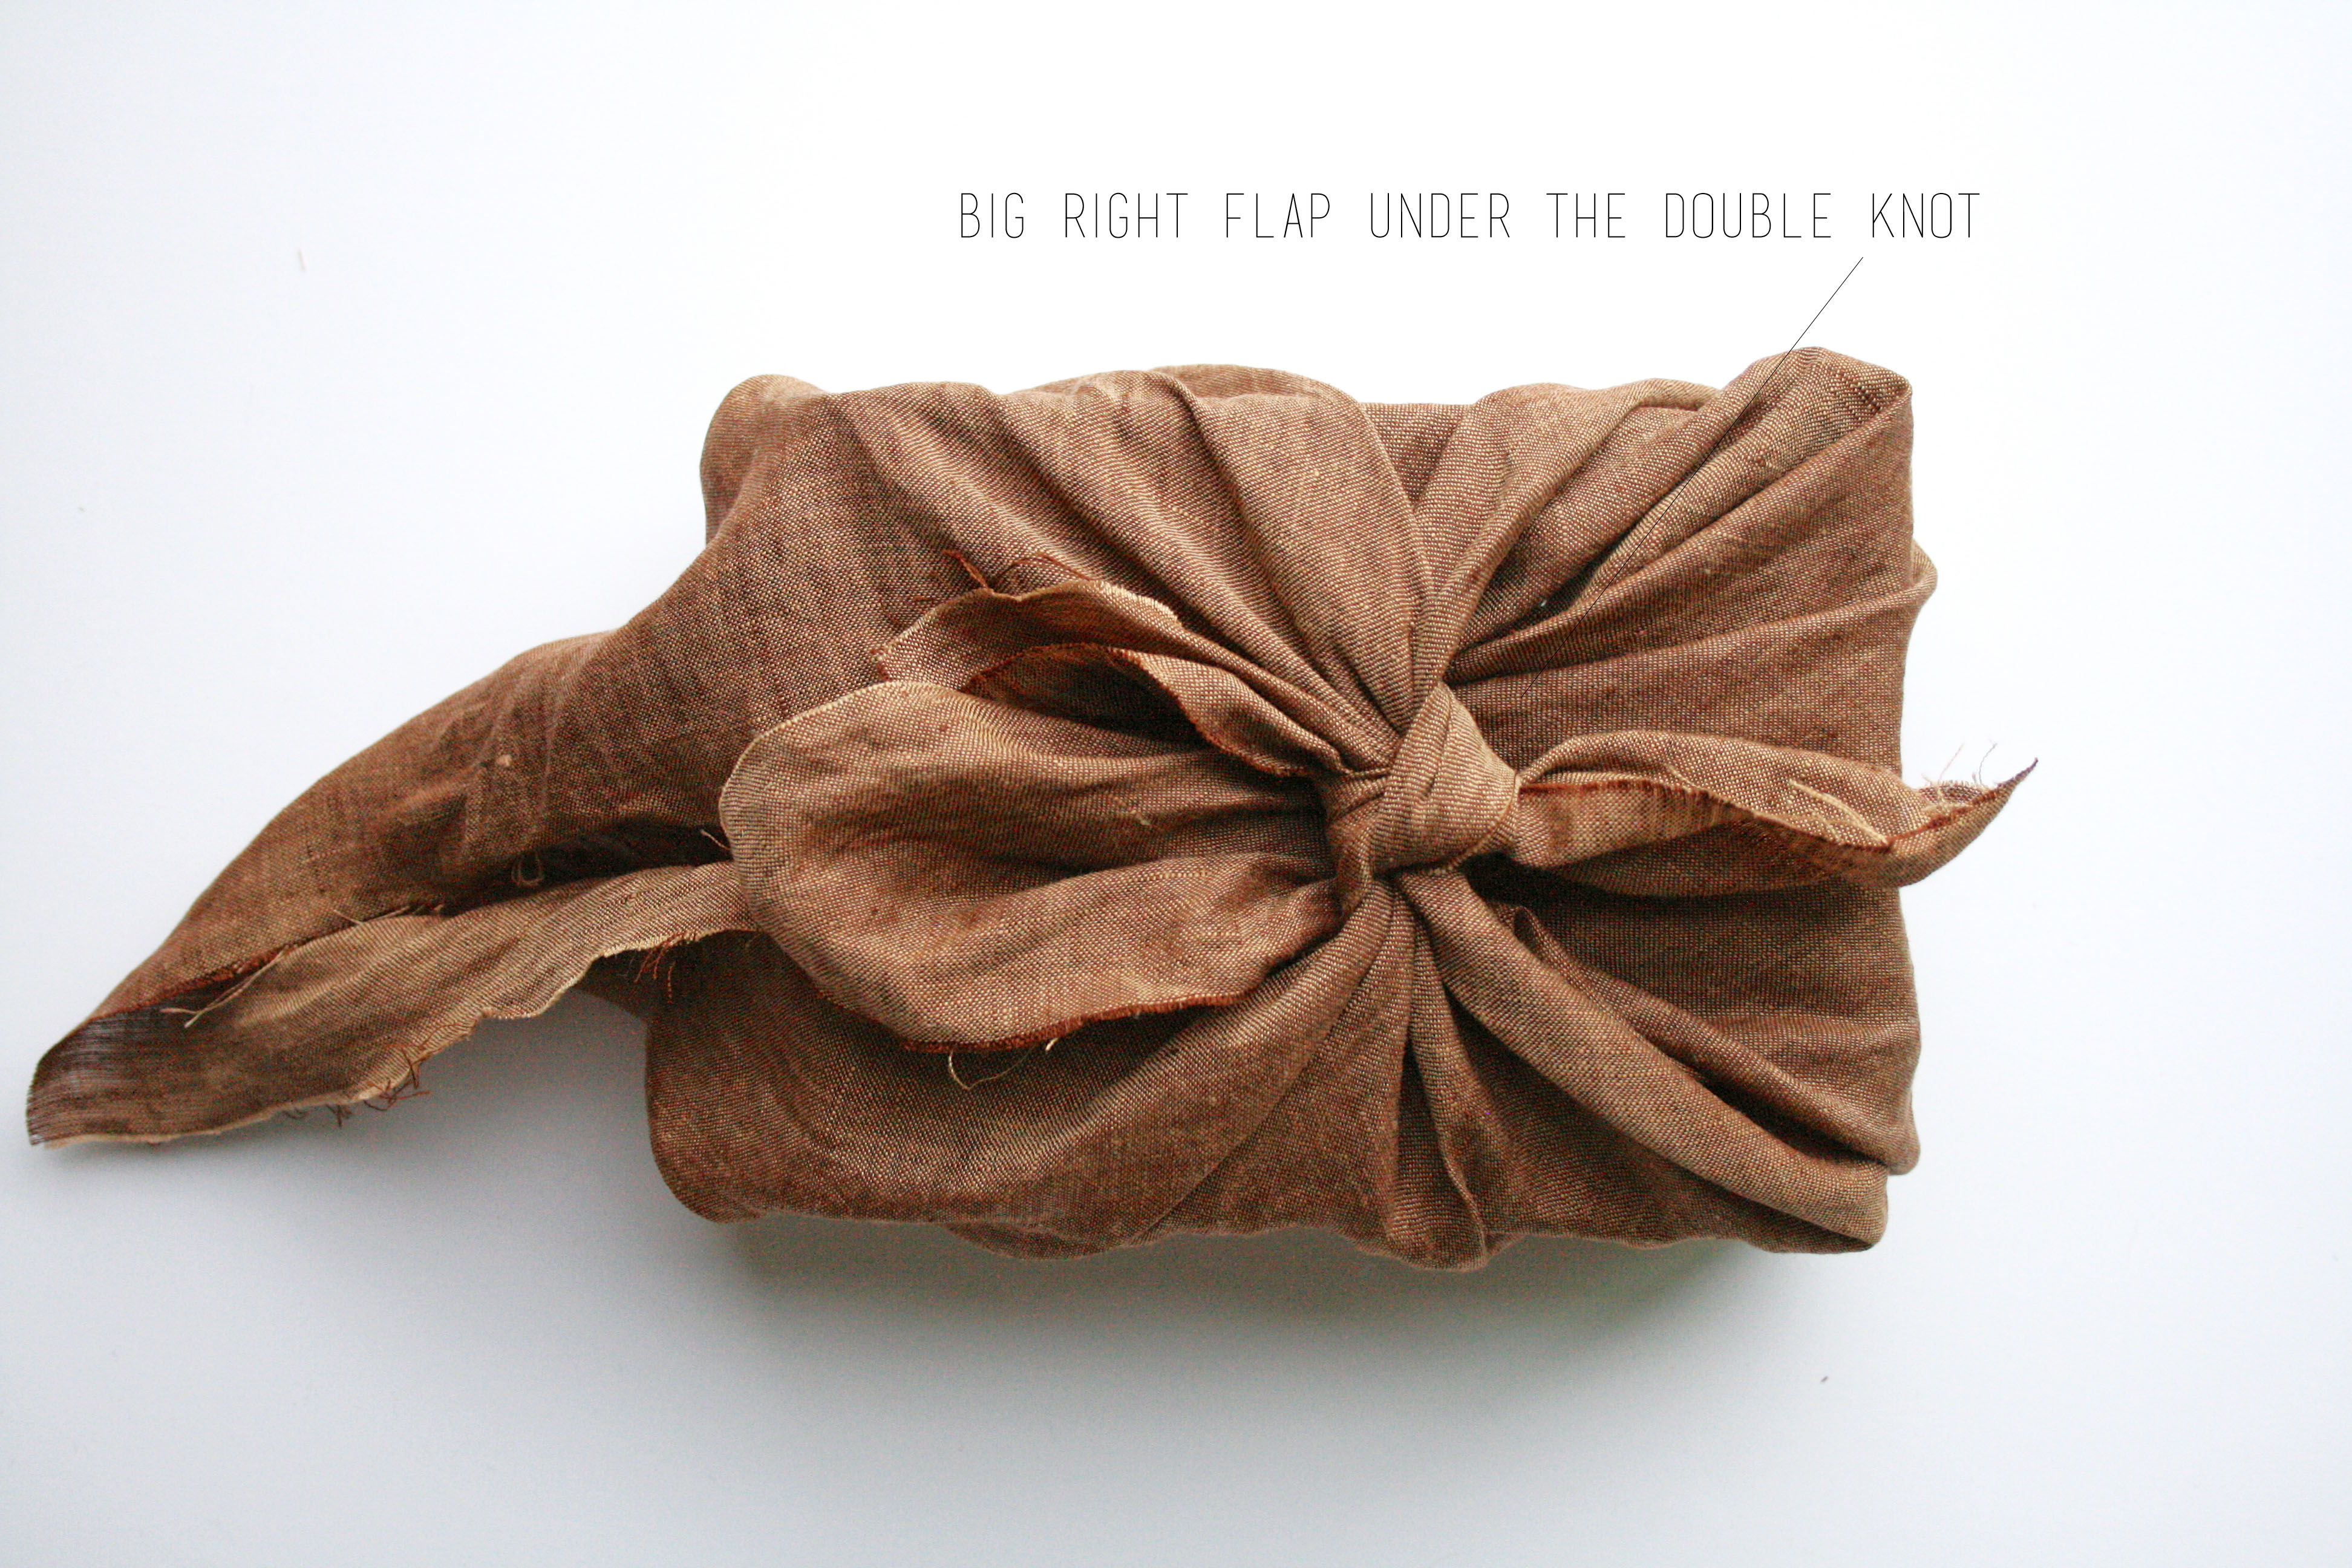 Step 3: Take the right big flap (the un-knotted flap) and pull it under the knot.
 Step 4: Take the big left flap and pull it under the knot.
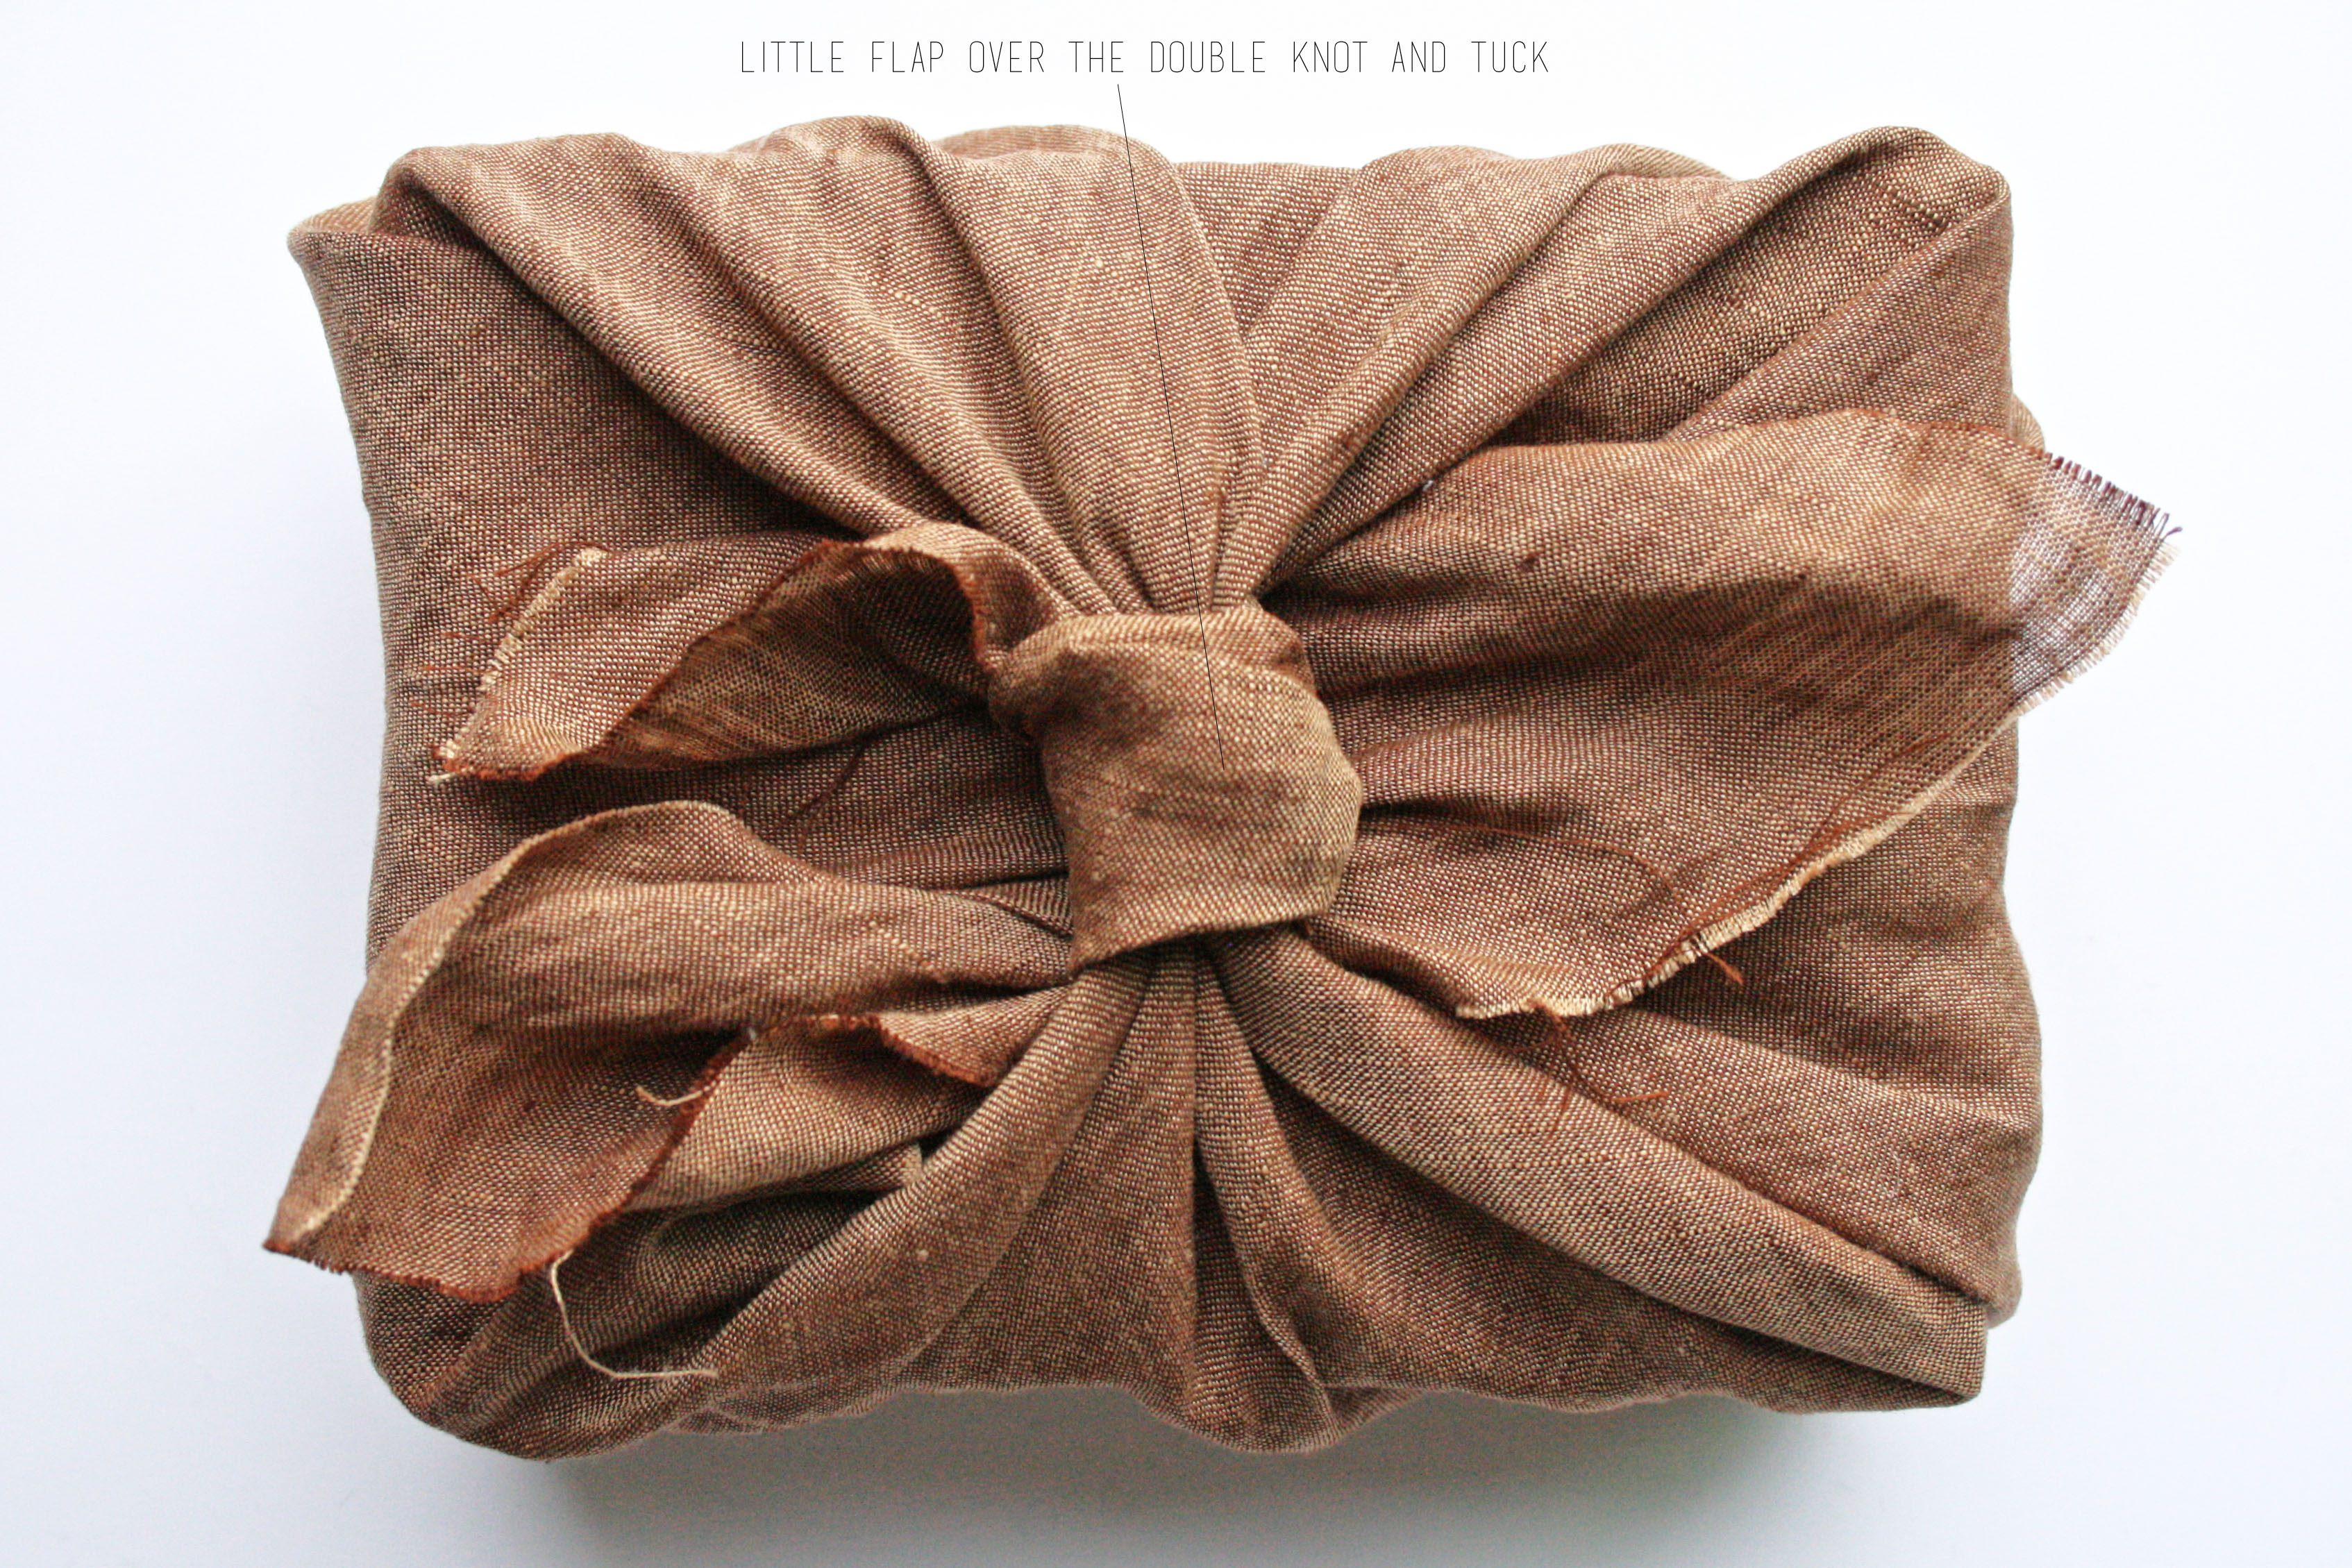 Step 5: Take the little right flap (the knotted flap) and pull over the knot and tuck under the knot.
Step 6: Now, take the other little left flap over the knot and tuck under. Now you just have the big flaps left.
 Step 7: Take the big left flap and pull over the knot and tuck under. You are doing the same thing you did with the little flaps.
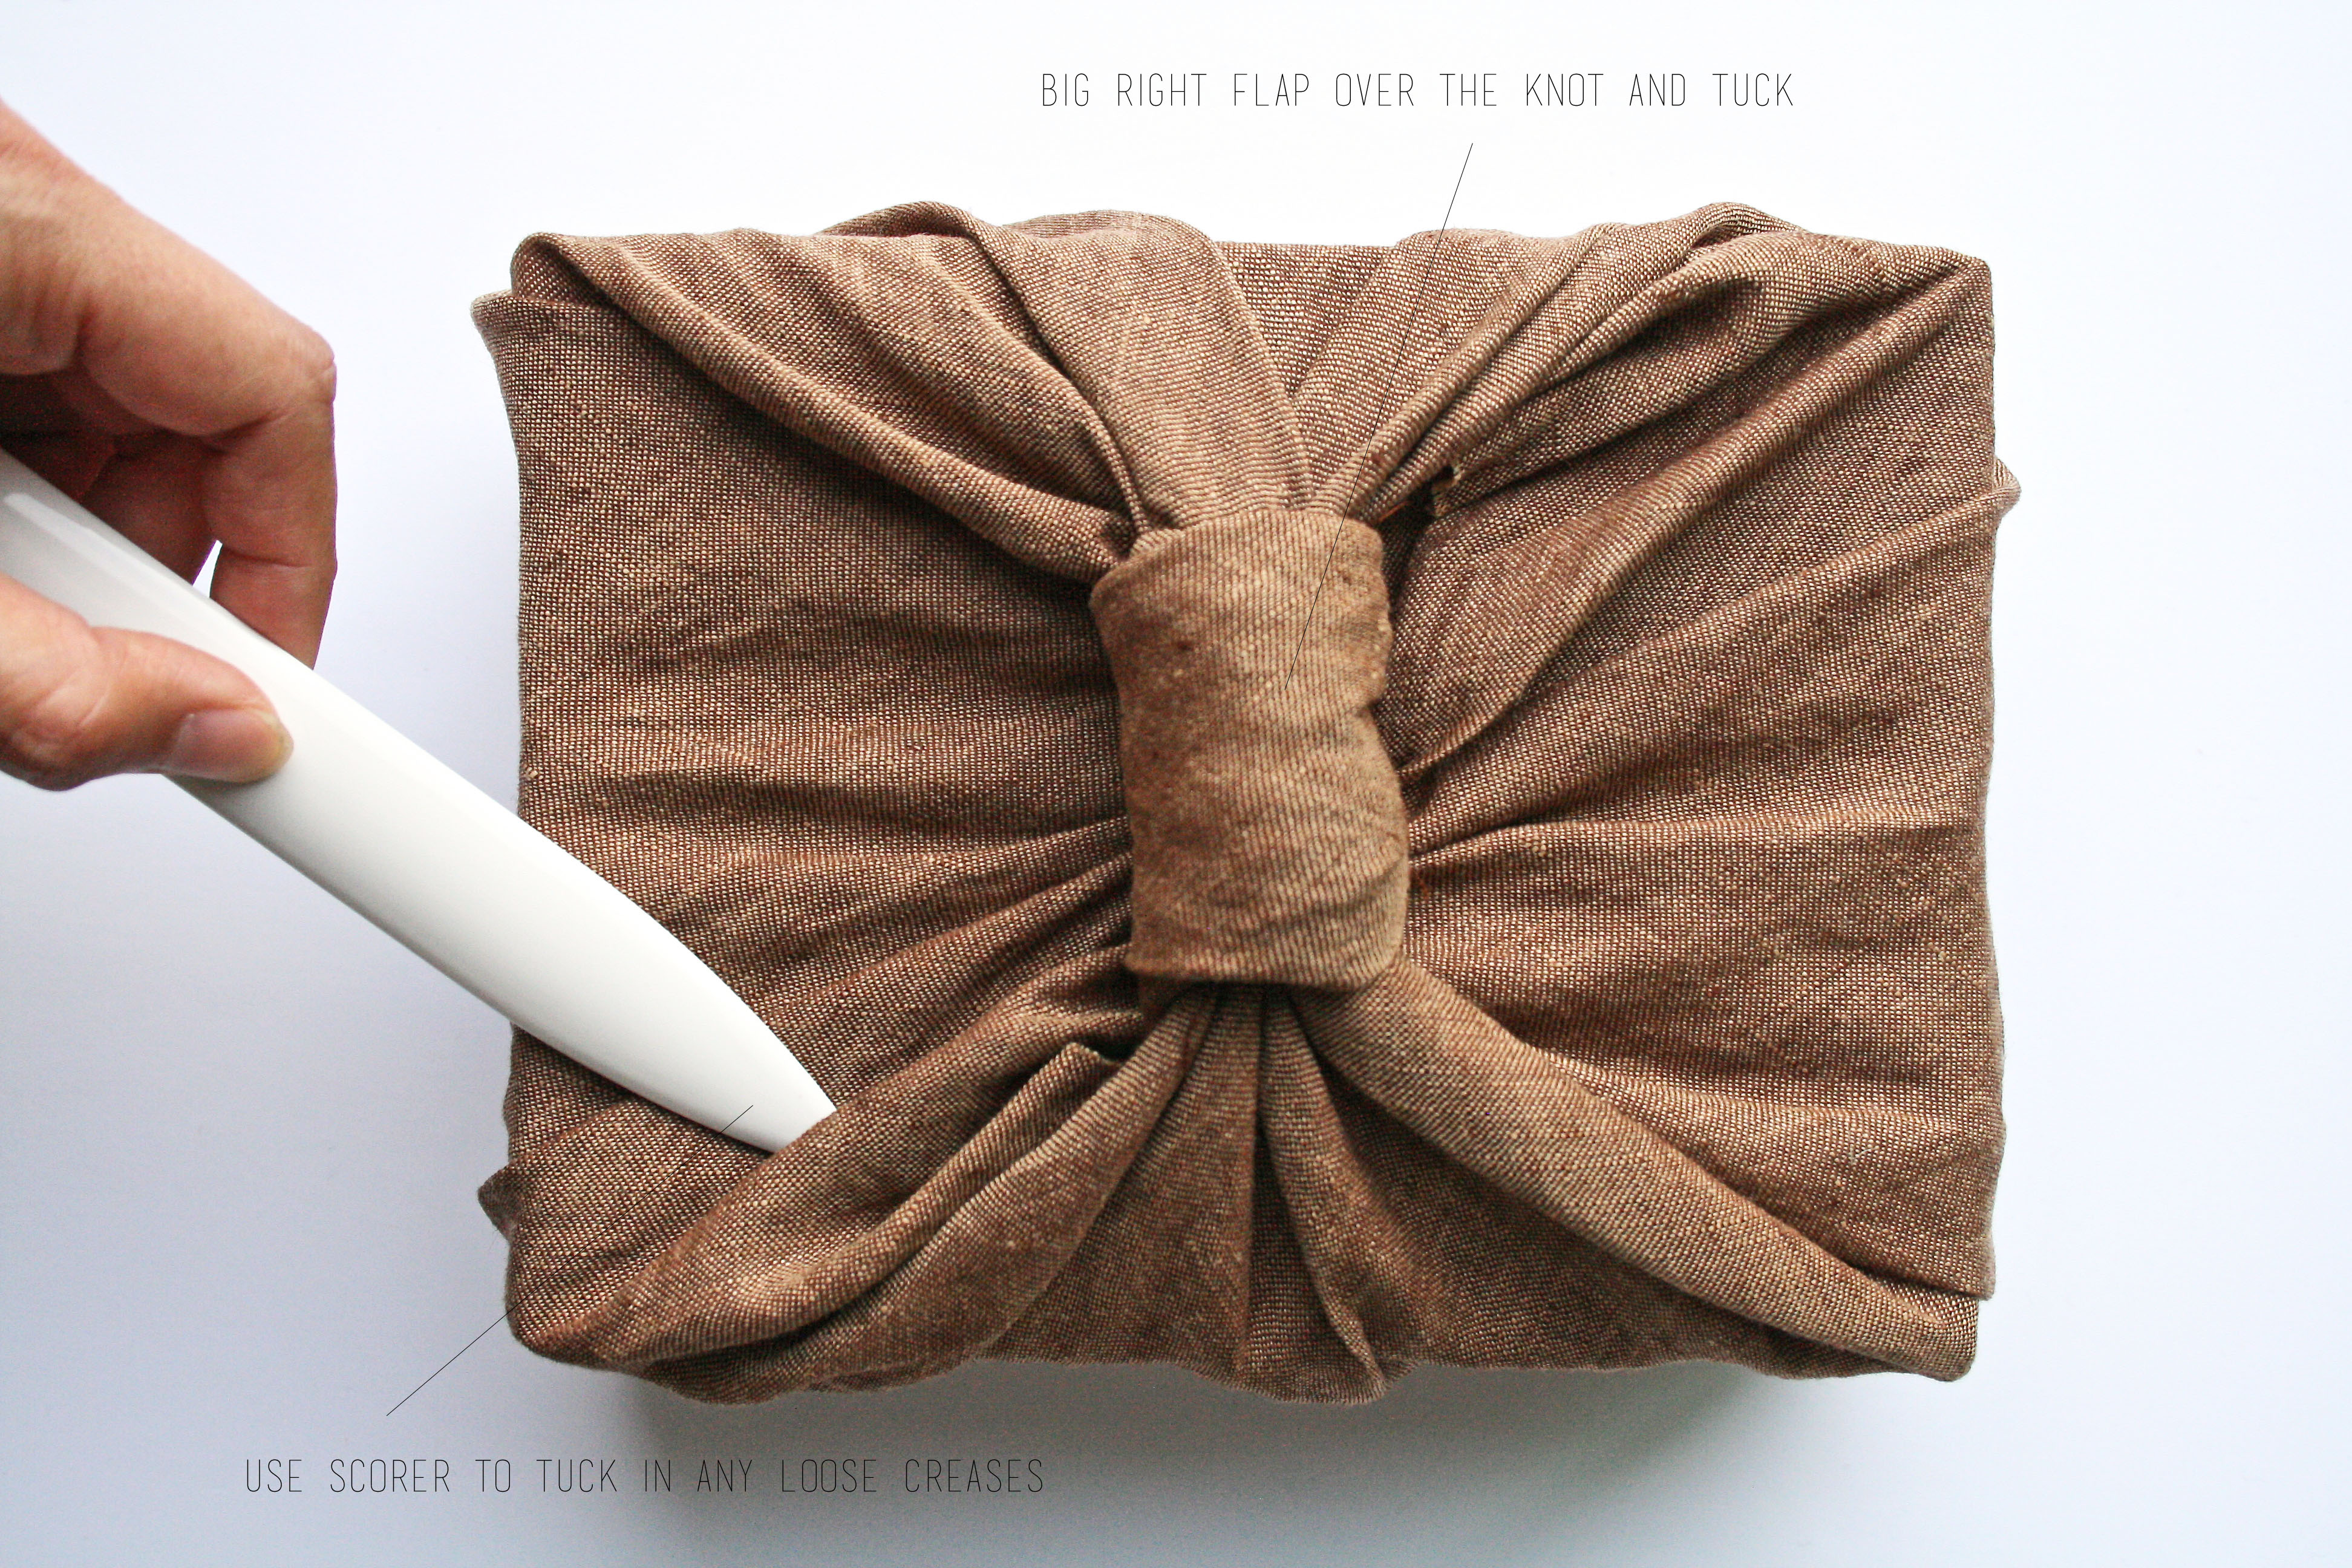 Step 8: Do the same with the big right flap. Pull over the knot and tuck under. Take your scorer and tuck in any loose fabric and creases.
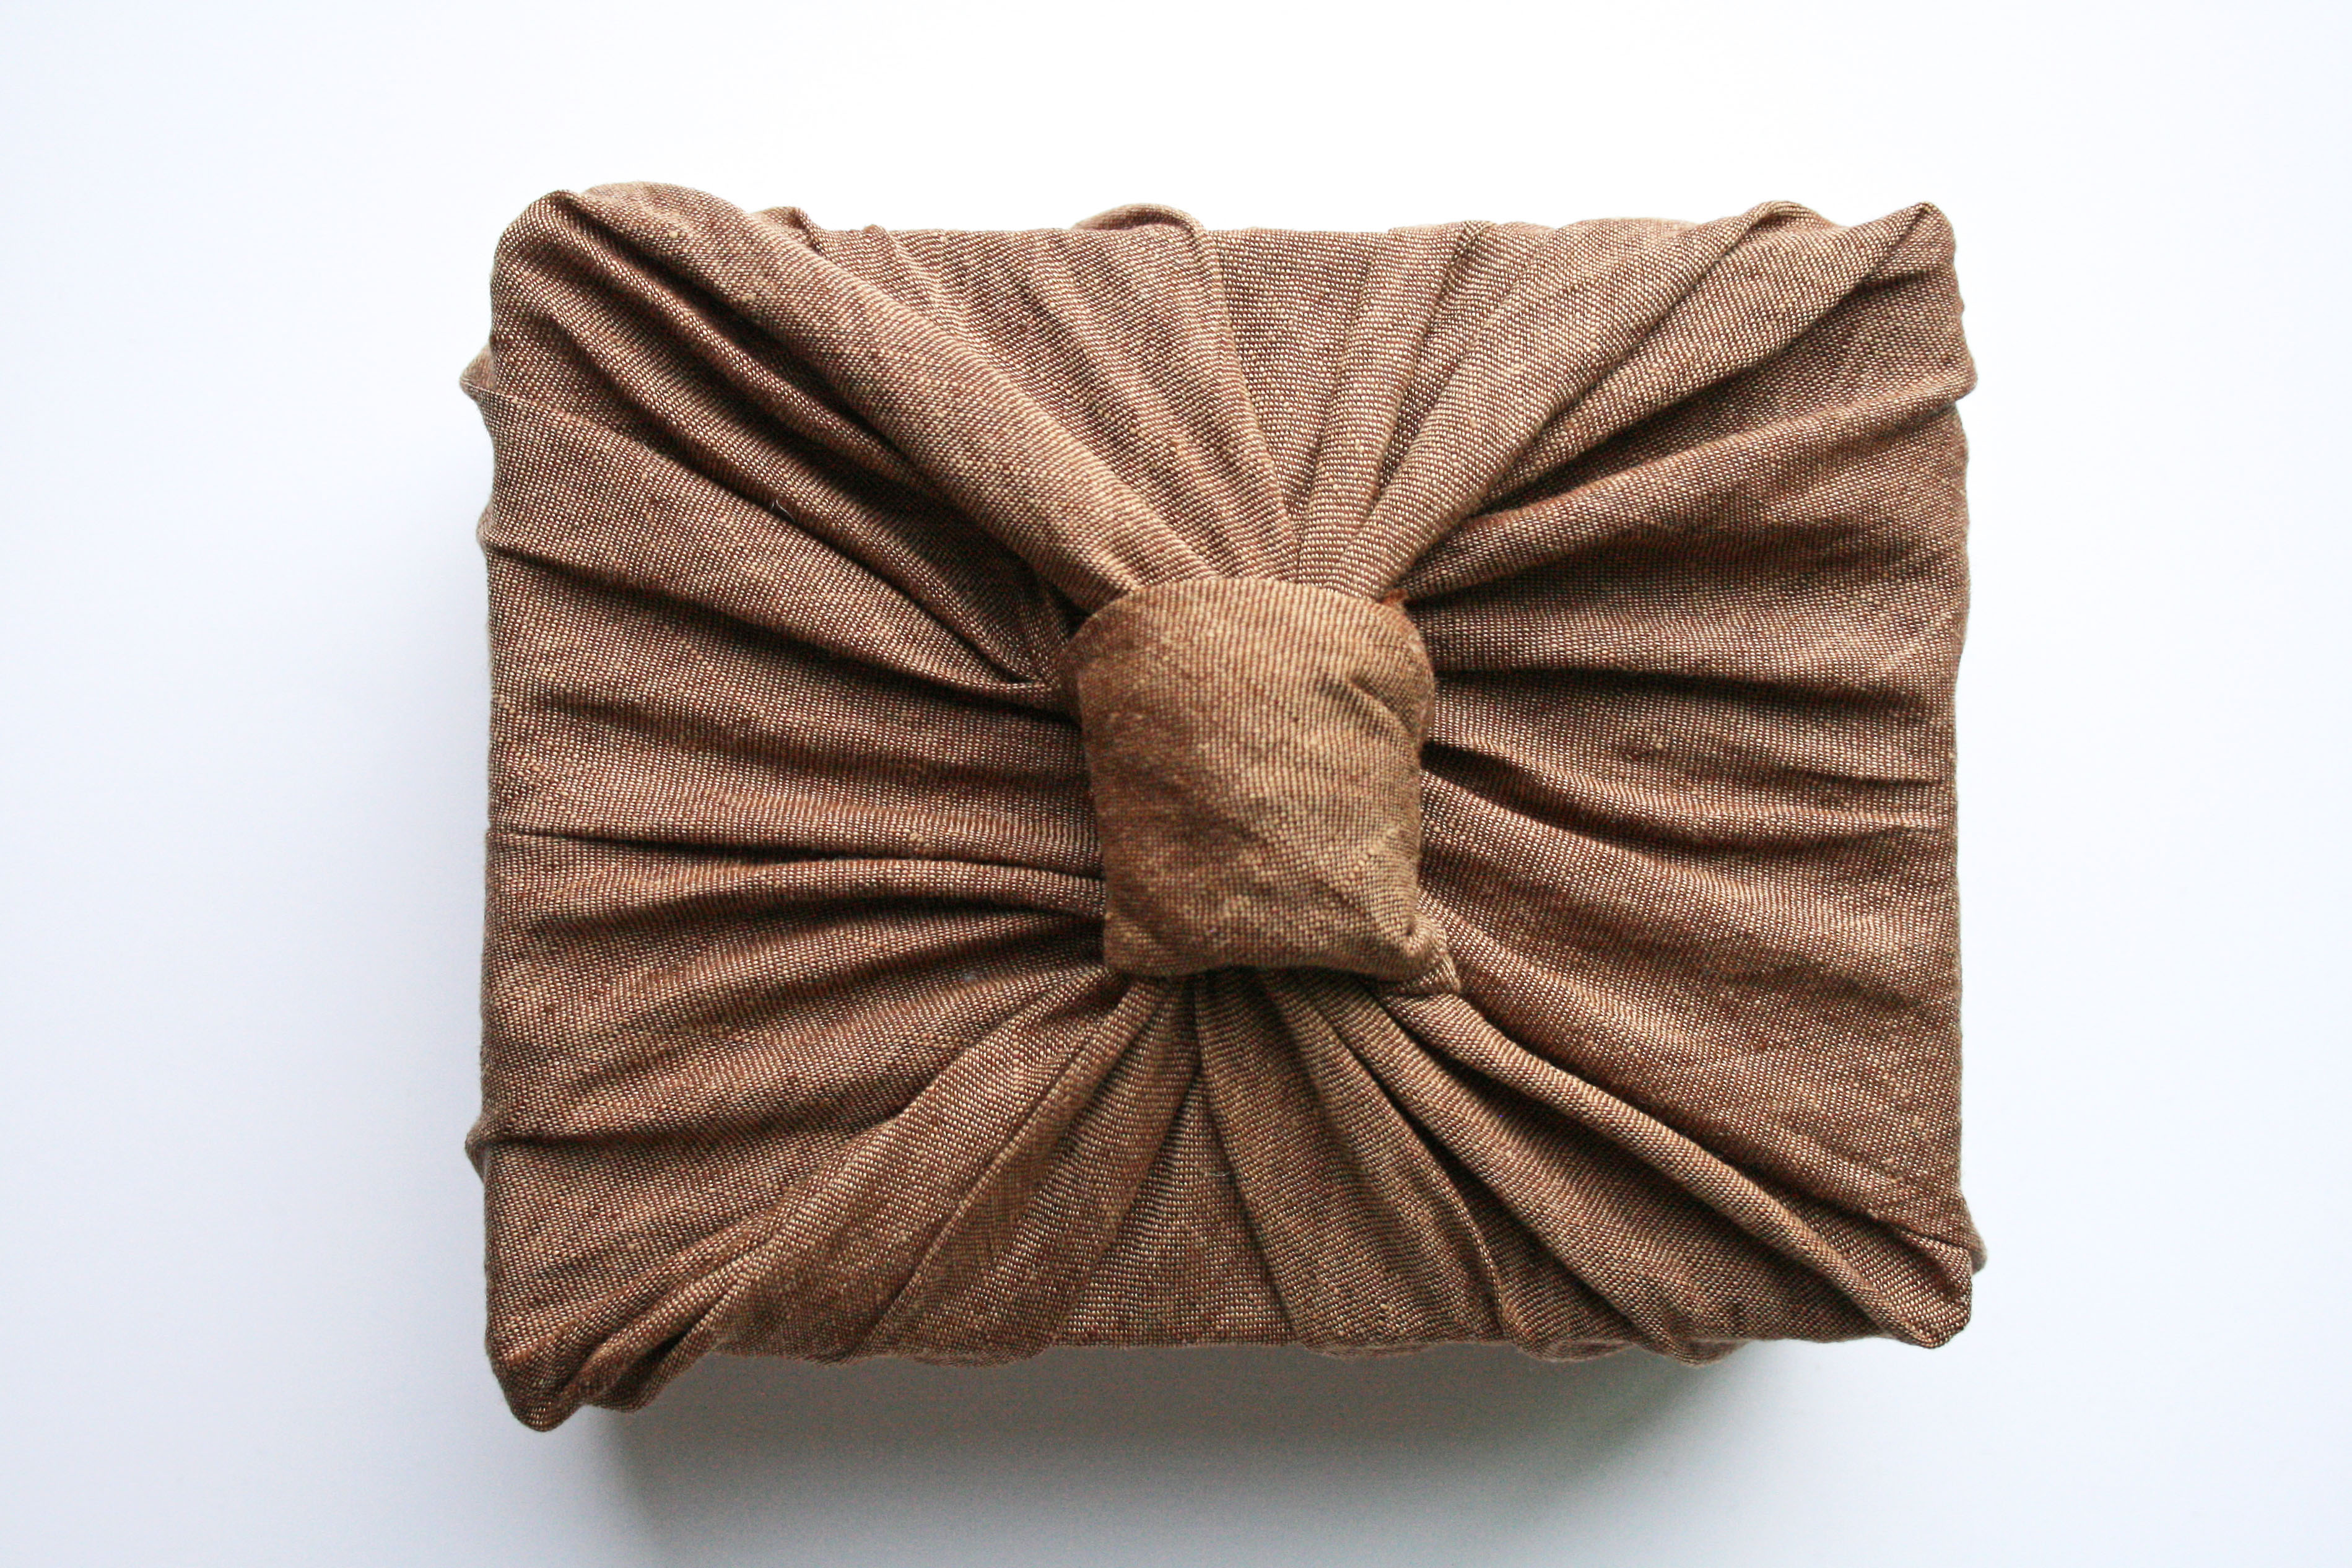 Your wrapping is done! You can stop here and pair it with a lovely card for your recipient. Or you can go on to the next step.
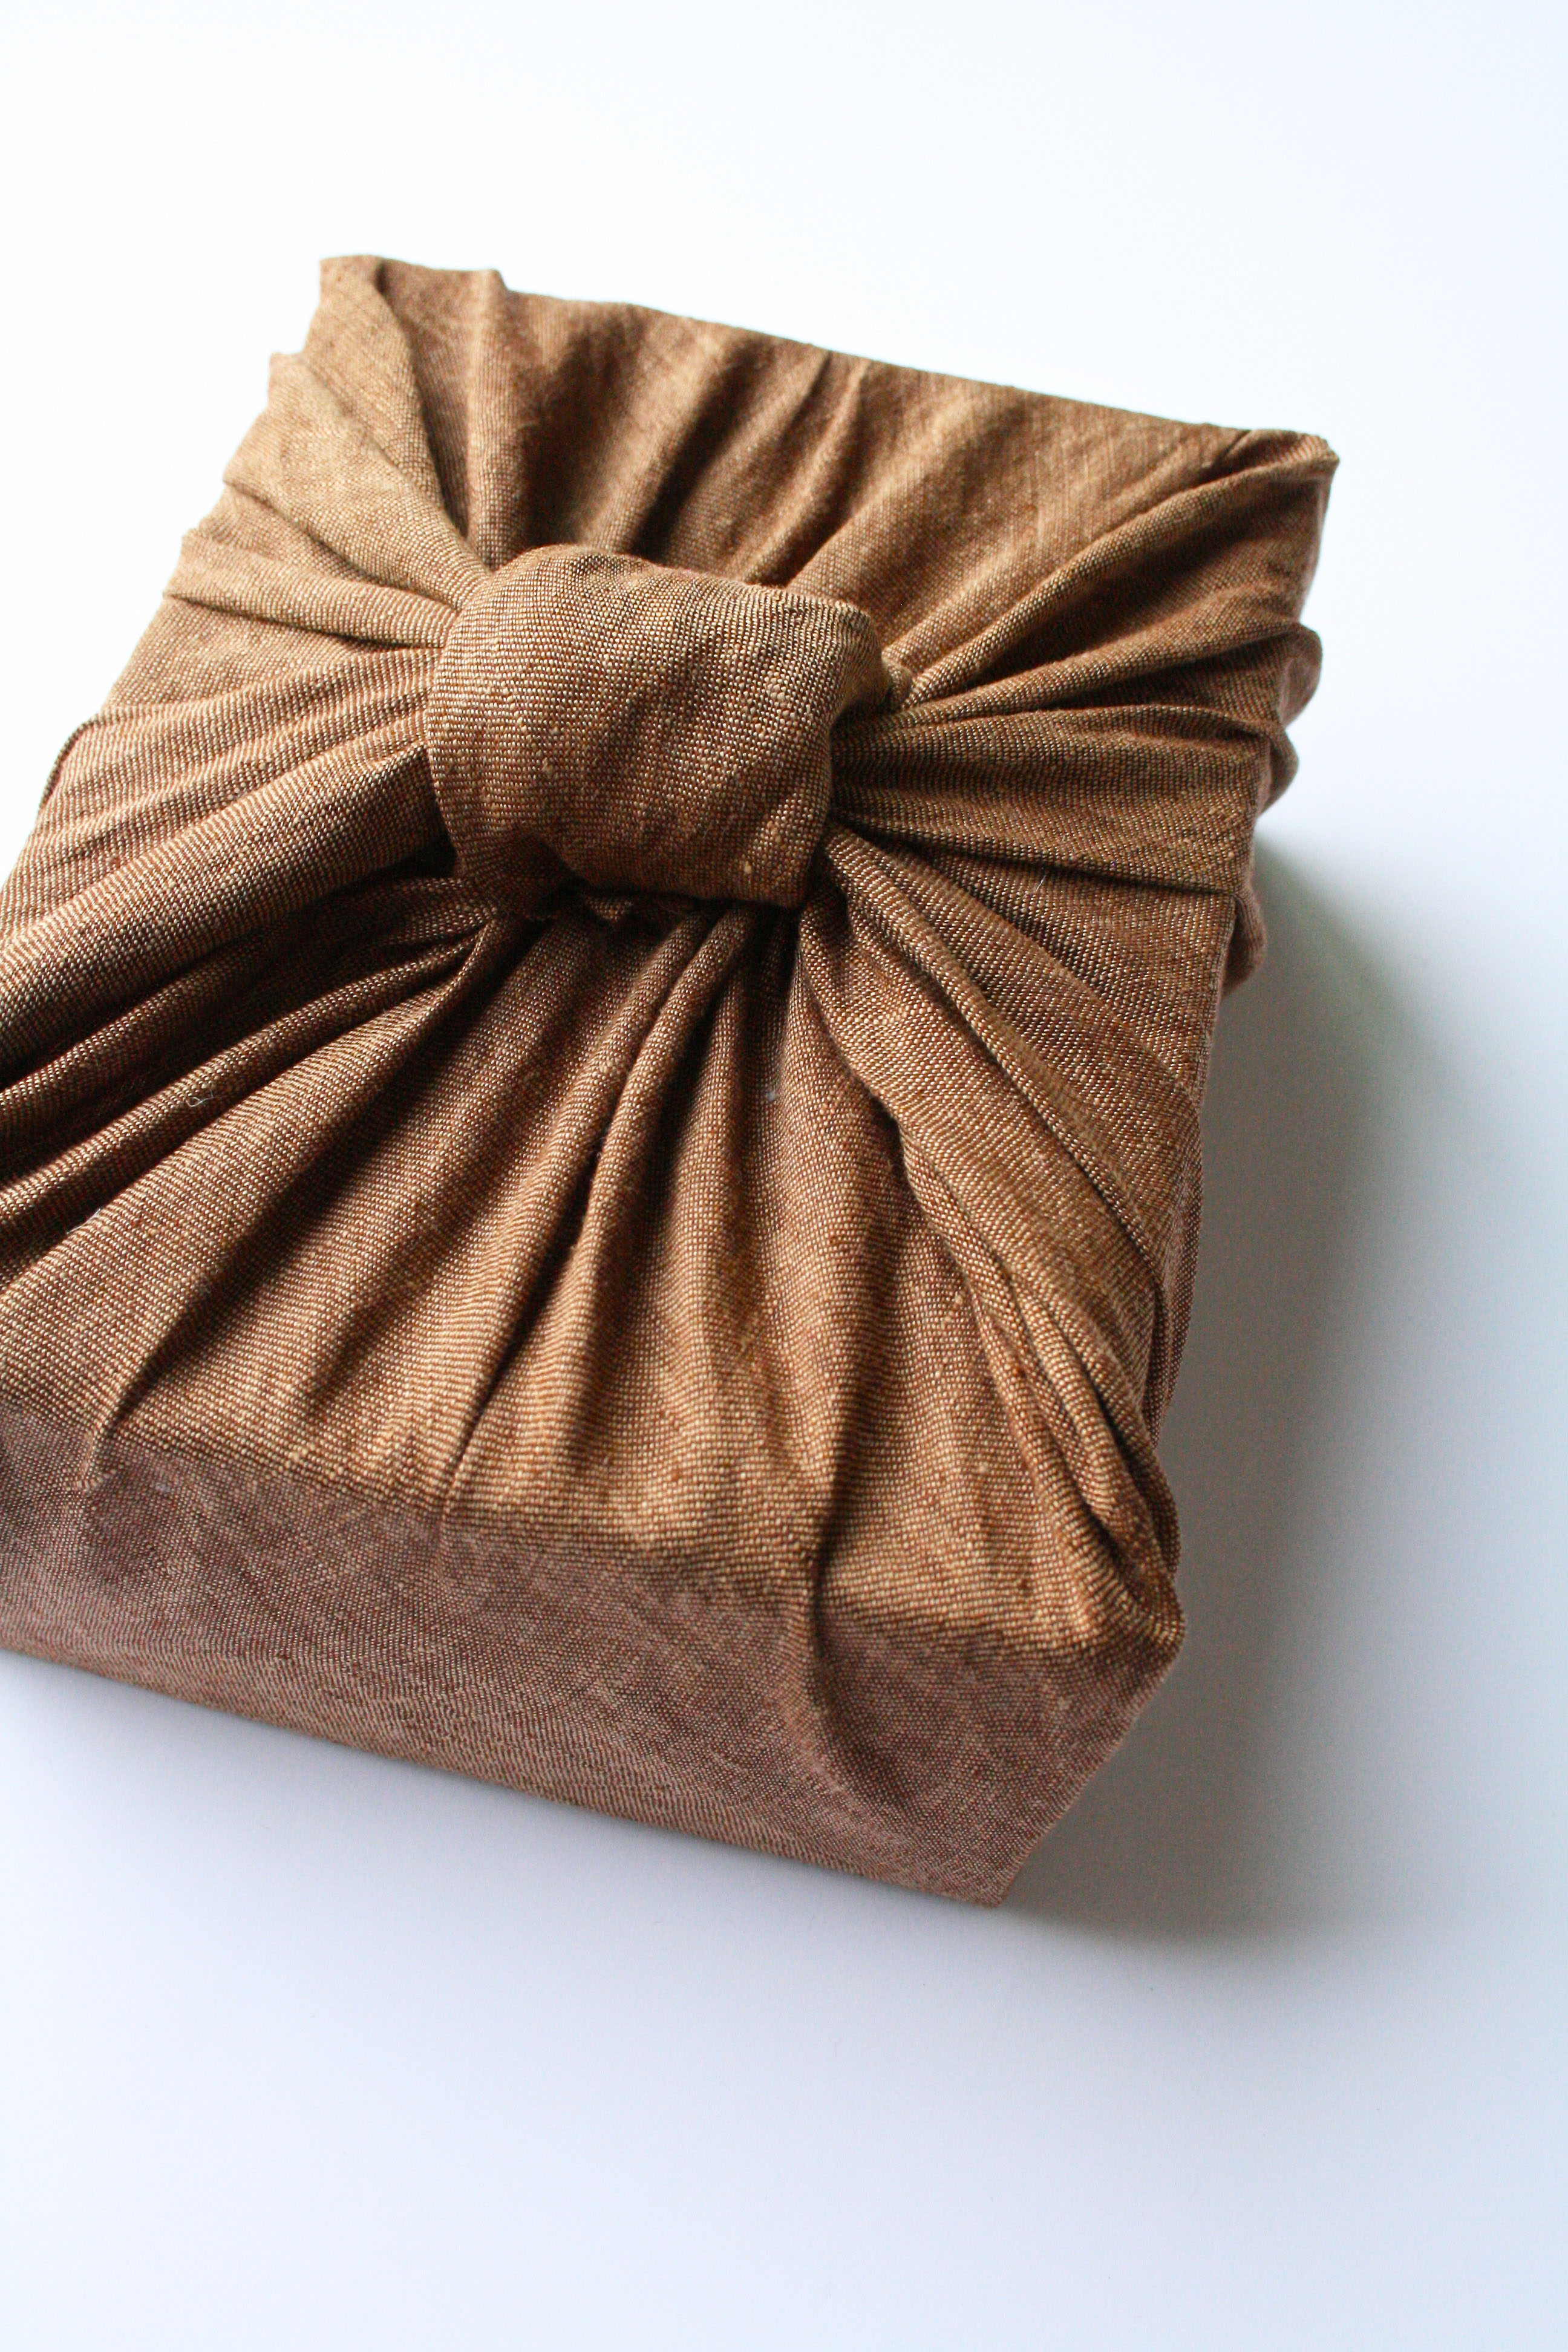 Lovely as it is.
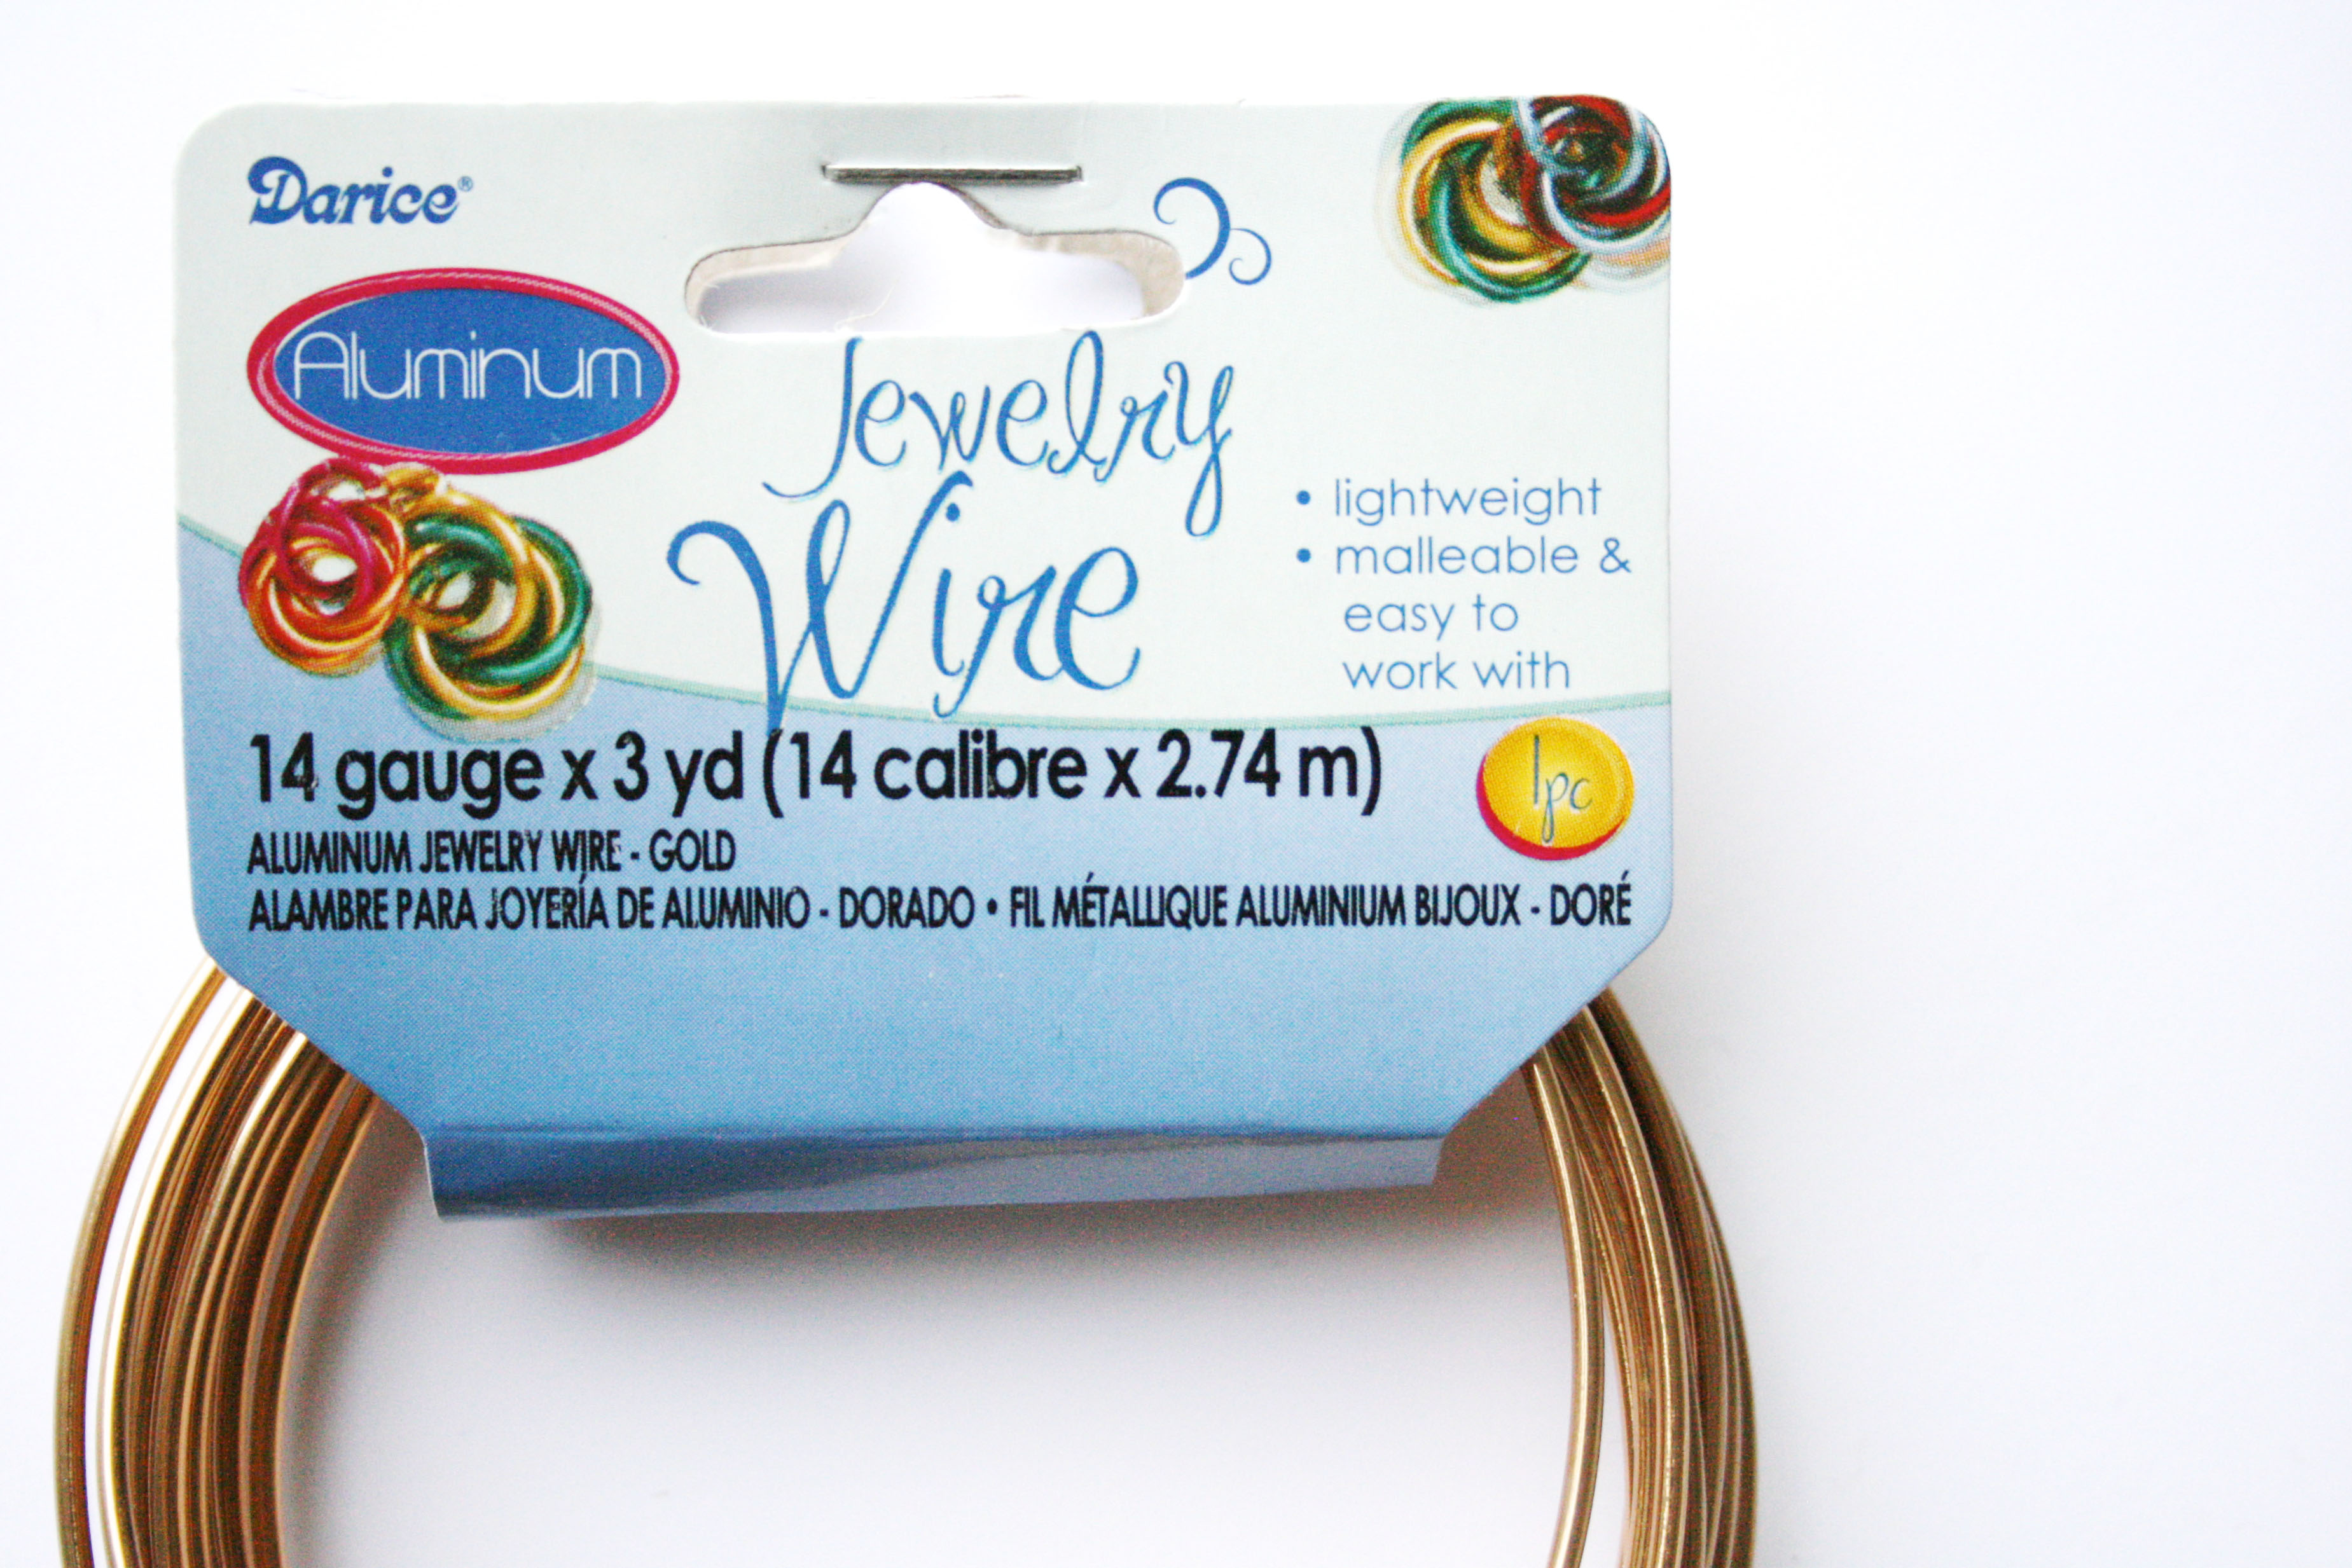 Step 9: I found this great malleable jewelry wire at Joanne’s. It’s really easy to work with and you can use regular scissors to cut it. I just used my ever-so-useful hands to form it into a “C” shape.
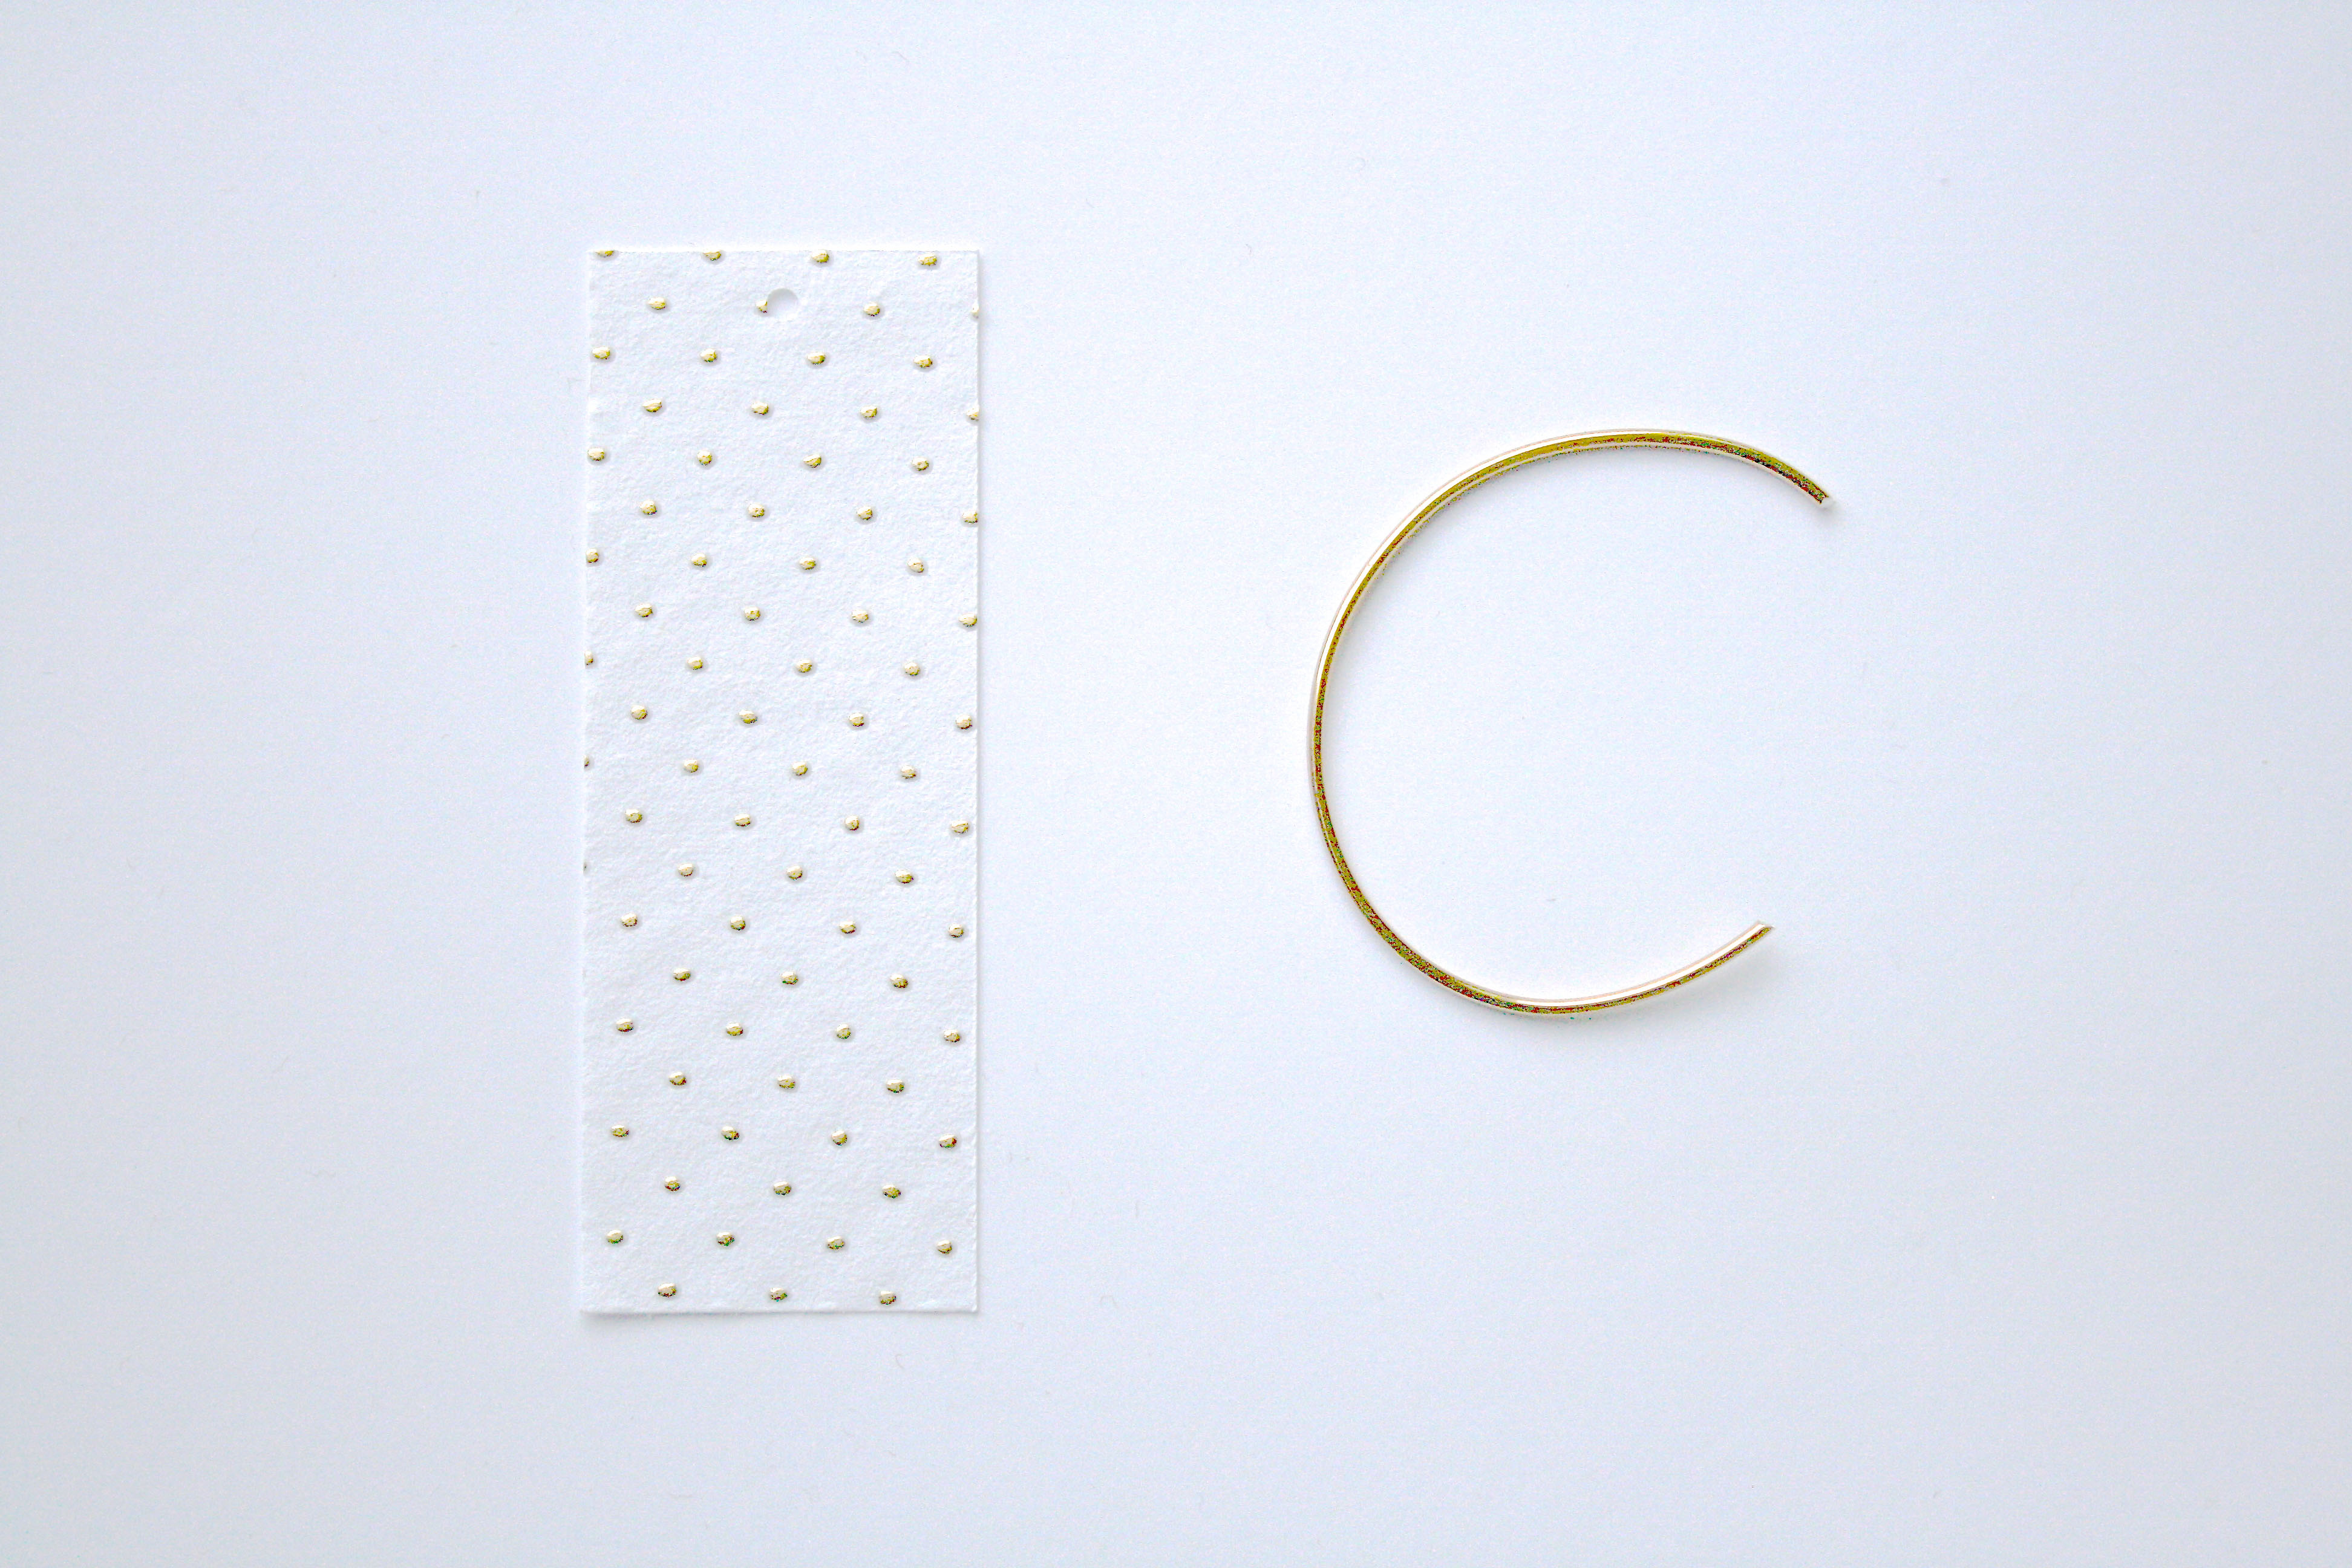 Step 11: Take your gift tag and pull the wire through.
 Step 12: Wrap the wire over the knot and tuck under. All done!
A lovely idea. Thanks for sharing.
thank you for stopping by!