Fabric Gift Wrapping Tutorial #4
Next week is first week of kindergarten for my son. (Pausing, as I wail~…where did my baby go?)
I started to think about what to make for the back-to-school teacher’s gift. I usually try to get creative with it but my creative juices have been running on fumes, lately. Yes, it has been a long summer. So, I decided to go with a simple gift of local coffee beans and a pretty mug. I have yet to meet the teacher so I don’t know what her likes and dislikes are. As I get to know the teacher more throughout the year, I will have a better idea what to make.
I decided to give the wrapping more personality to balance out my “safe” gift. I love furoshiki – the Japanese art of wrapping with fabric. So far, I’m a self-taught fabric wrapper, but would love to attend a class one day. If you guys know of any classes or great books on furoshiki, please shoot me a note.
Fabric wrapping is great since the fabric is reusable by the recipient, and it just looks so darn pretty! It’s really simple and fun to do. You can use any fabric of your choosing but I recommend that you stay with thin fabrics. Linen, satin, and cotton all work great. I prefer linen, like I used here, because it’s easy to work with and I love the look and feel of it.
There are many ways to wrap with fabric. Check out my previous methods Fabric wrapping #2 and Fabric wrapping #3.
Today, I decided to go with this method. You can use tea towels or napkins. I used my own fabric just because I have fabric coming out of my ears.
You need:
2 items of comparable size (2 wine bottles will work great here)
fabric (I used linen roughly the size of 24″ x 24″)
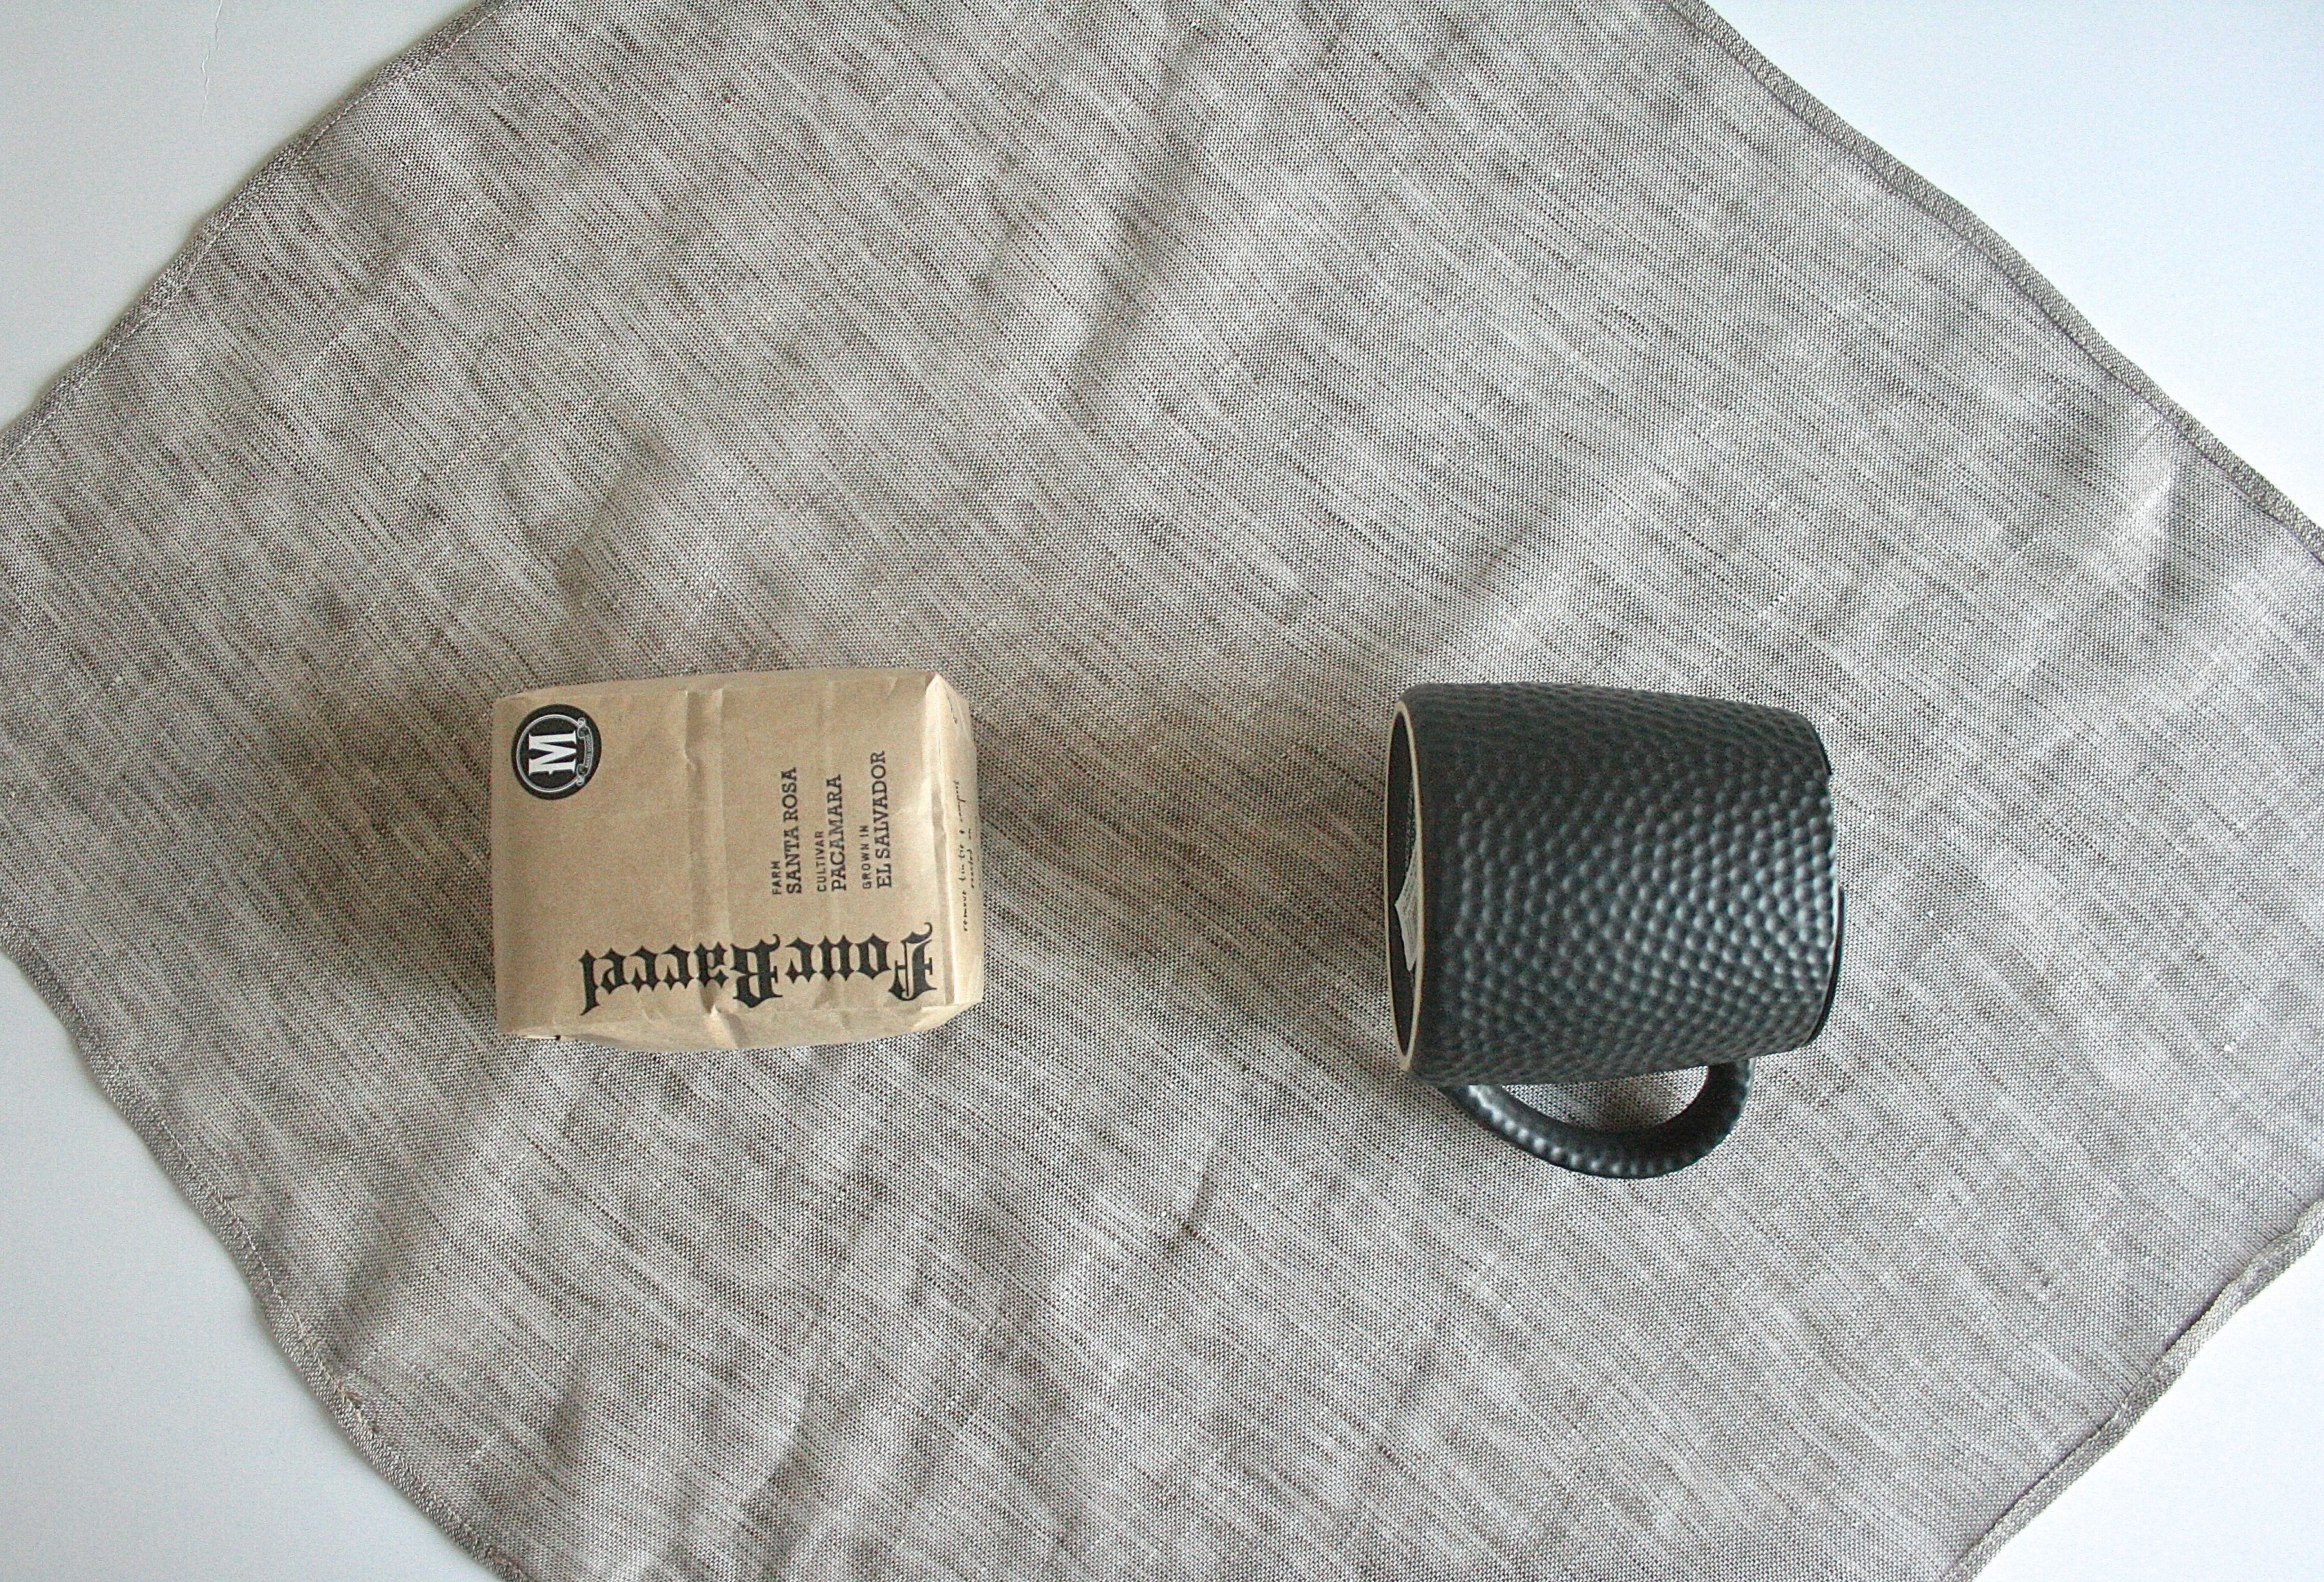
Step 1: Lay out your items in the middle of the fabric as shown here.

Step 2: Take the bottom corner of the fabric over the items. Tuck under. Step 3: Fold in the top corner.
 Step 4: Roll the items over the top corner fold.
 Step 5: Stand the items up on its “feet”.
 Step 6: Tie.
 Step 7: Tie one more time to make a double knot. You want to make sure your tie is secure.
 Step 8: Twist the excess fabric. Tie on top twice to make another double knot.
 Step 9: You are all done! The next steps are optional if you want to add a gift tag.
  Step 10: I got this awesome paper twine for Paperphine but you can use any twine, of course. Man, my hands got dark this summer! 🙂
 Step 11: Tie the tag around the knot.
Isn’t it beautiful? And so simple? Such a pretty present to give 🙂
Pingback: Interesting Gift Wrapping Ideas that will Make your Gift Special